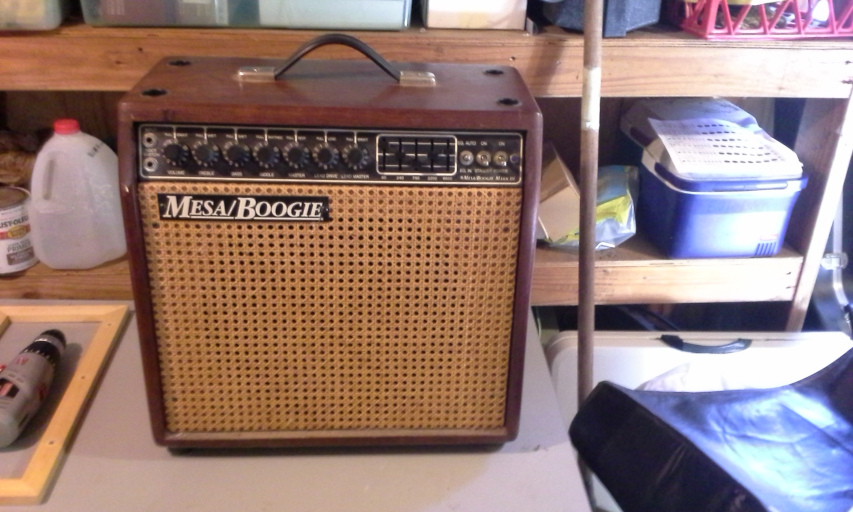

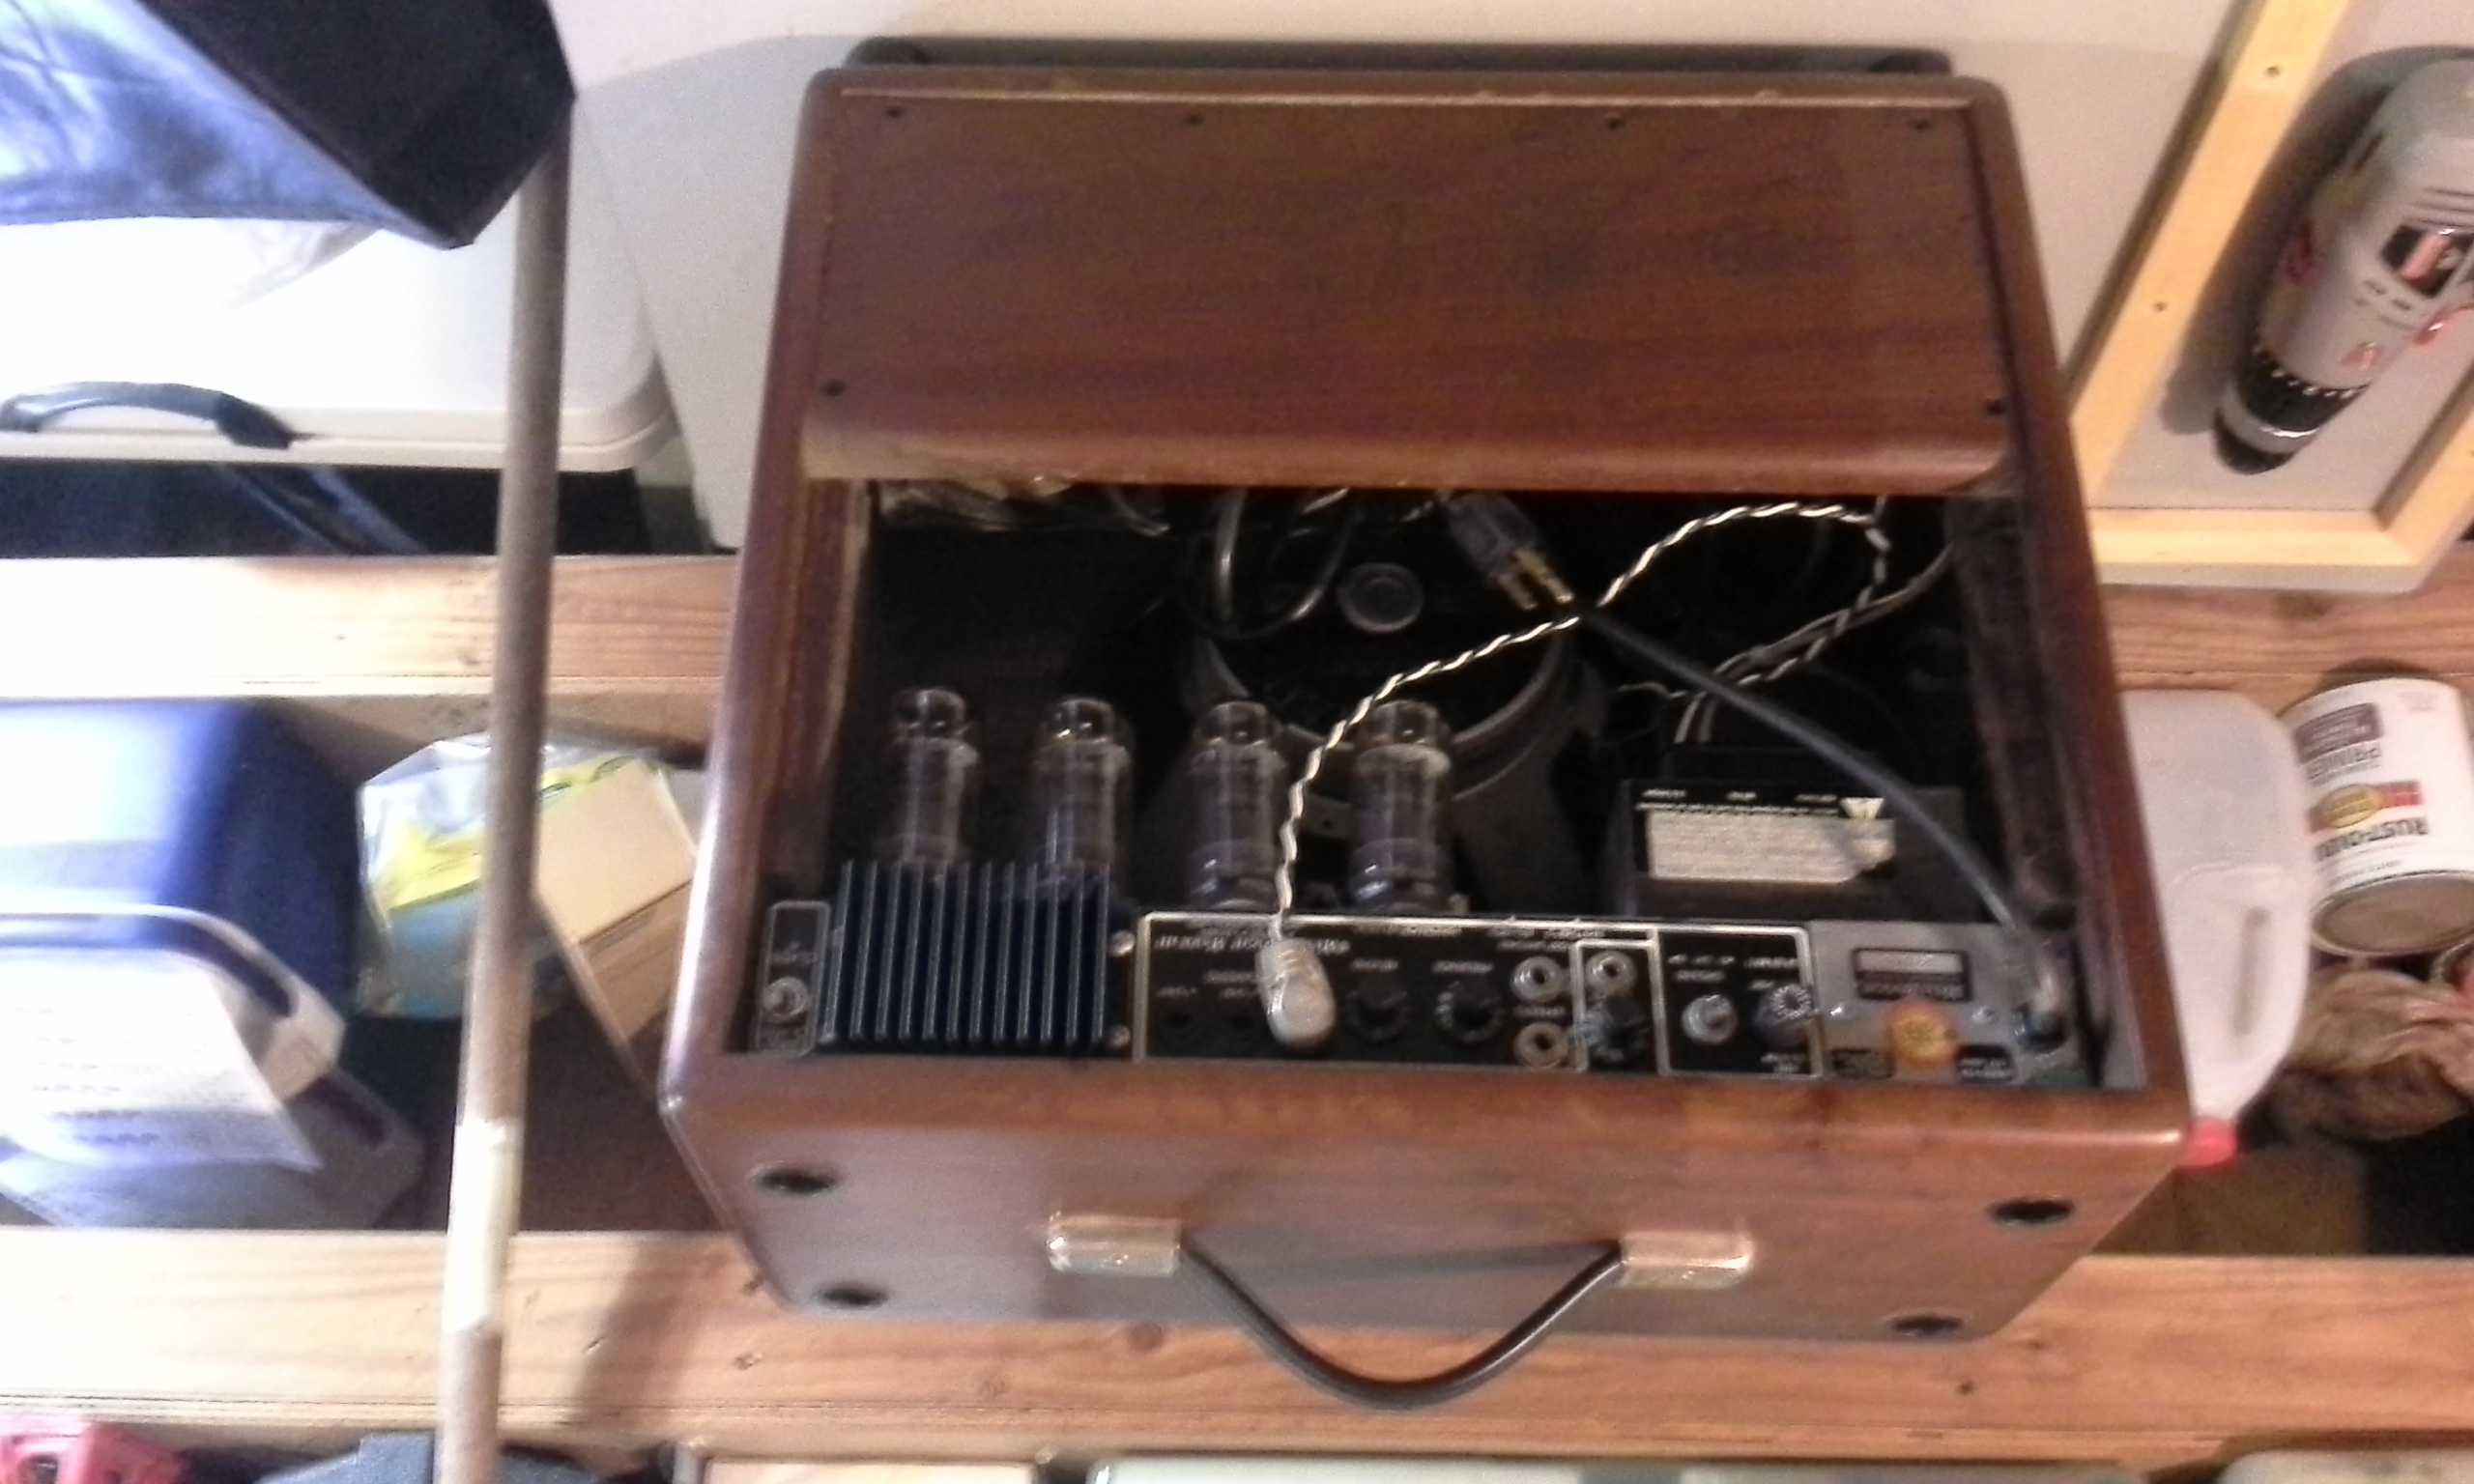
put a shim on the table, so the amp doesn't sit on the top handle a picture frame works well
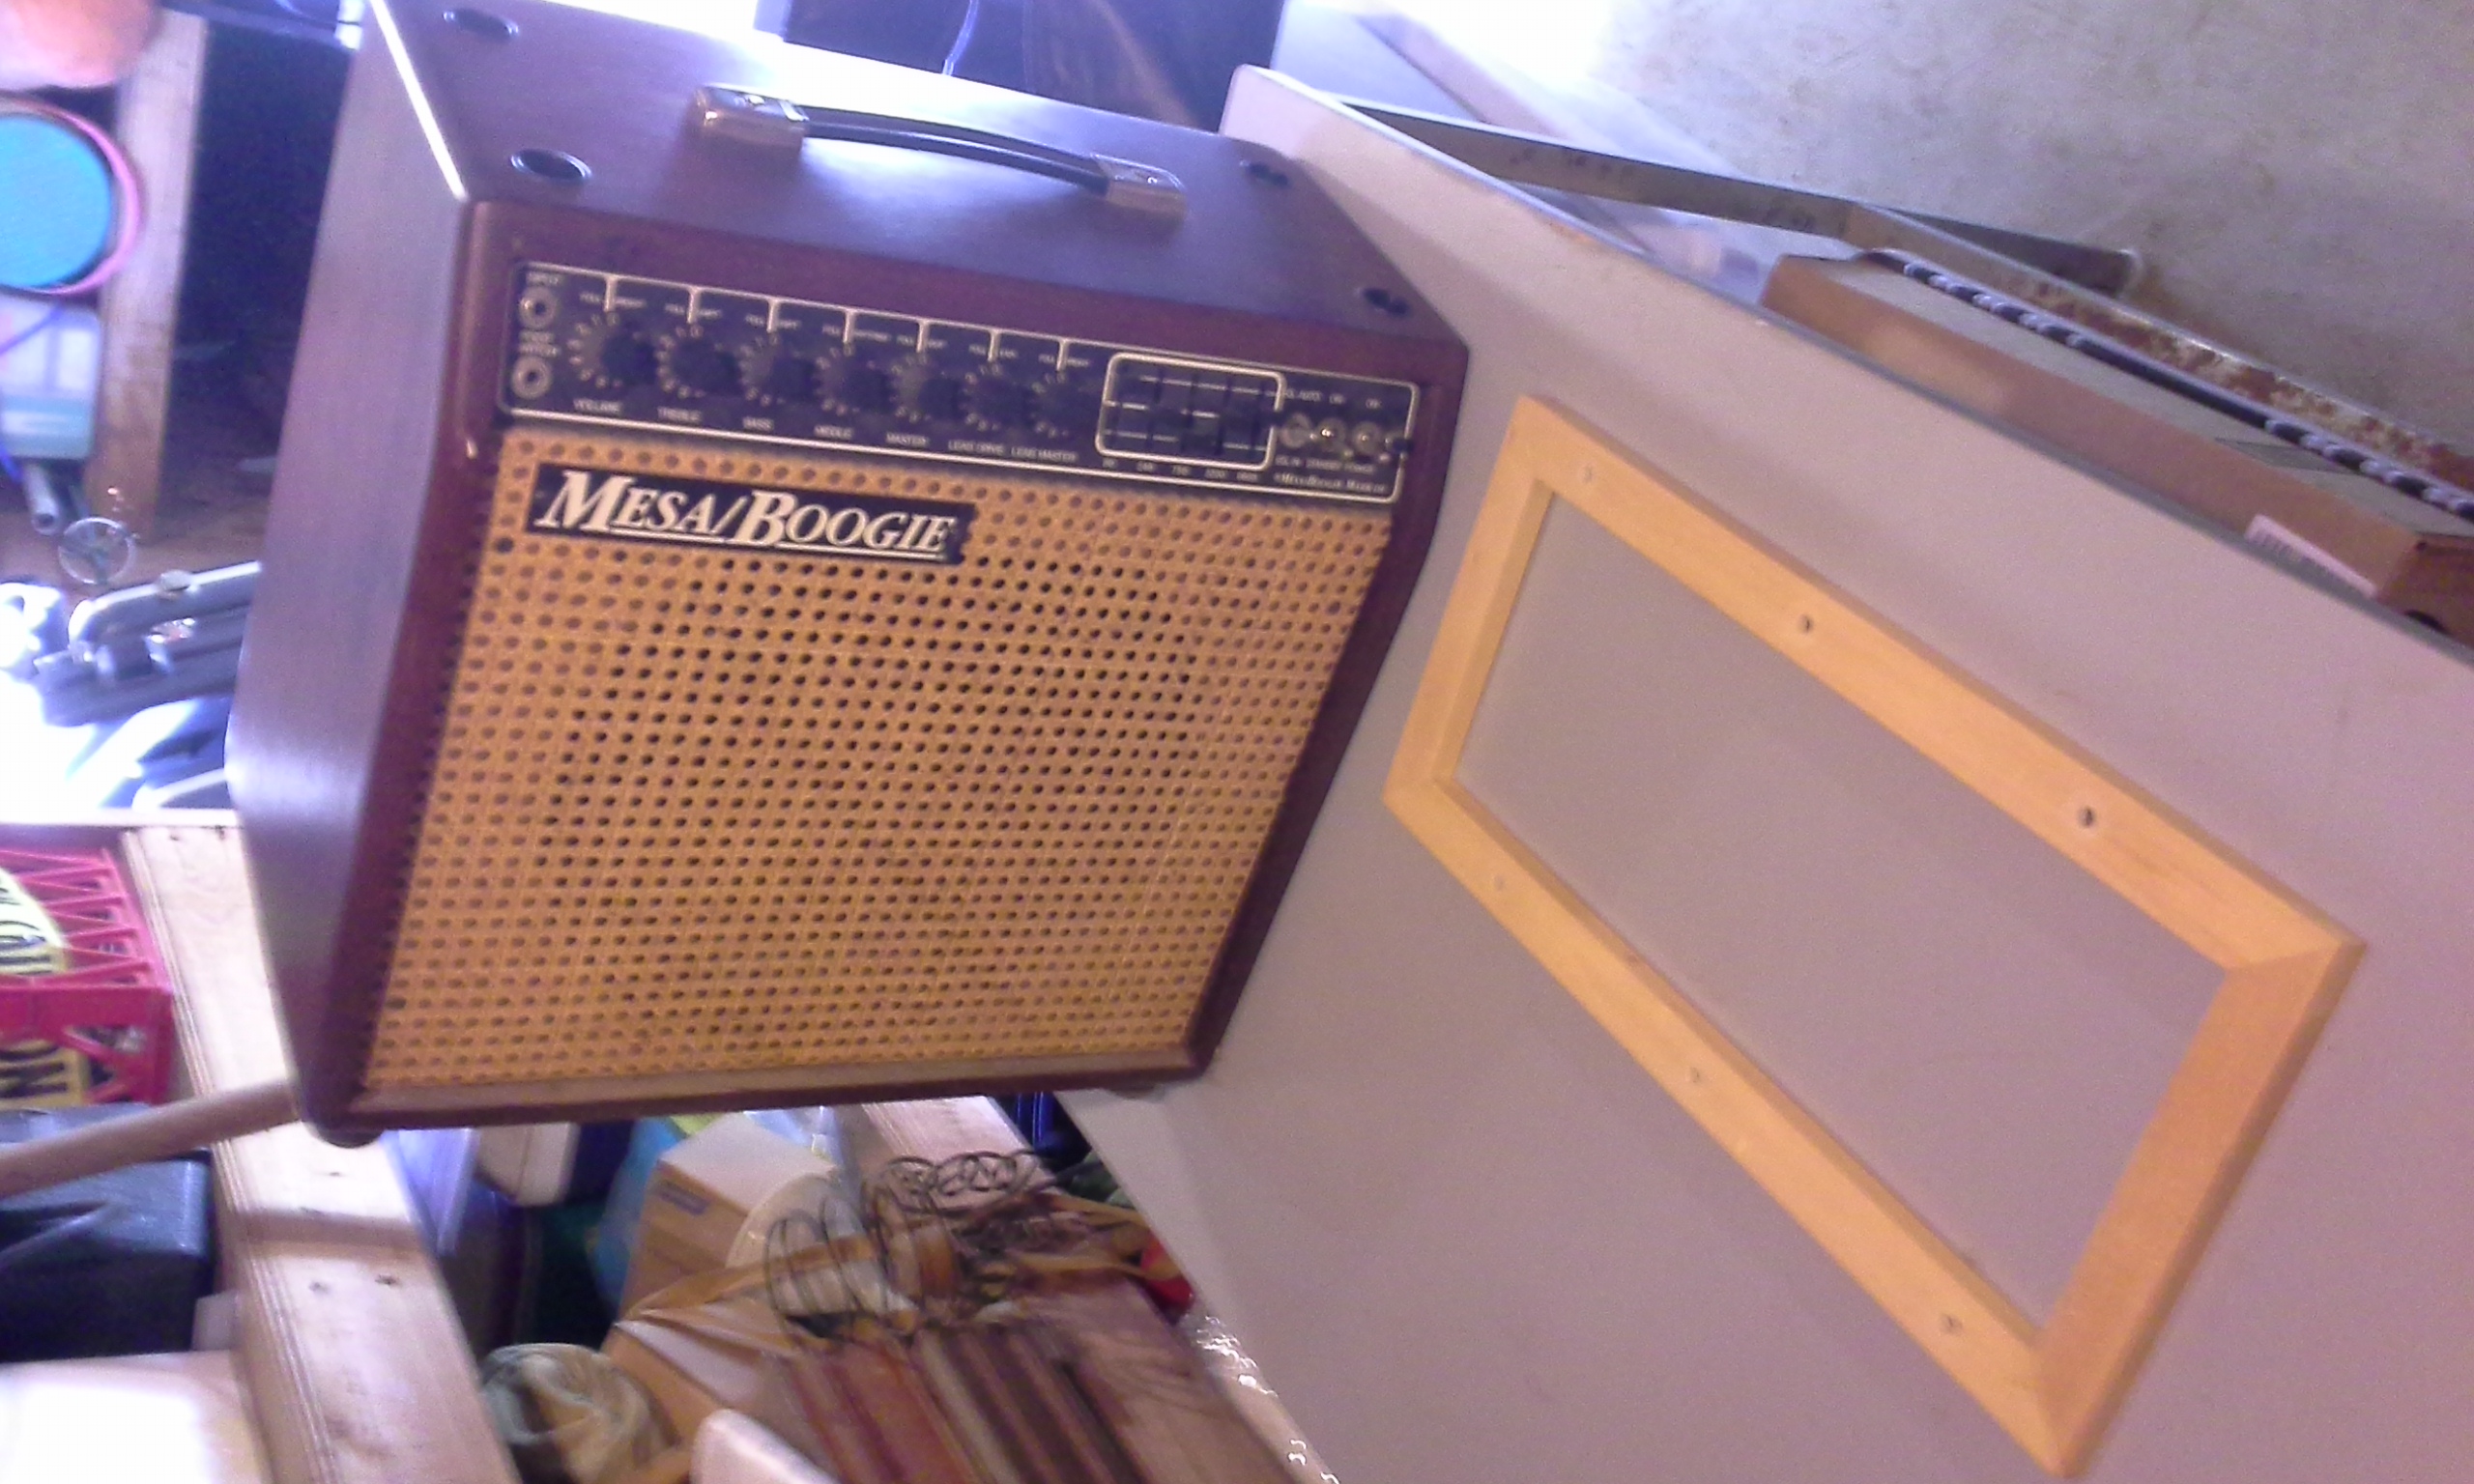
turn the amp over, so it's sitting on its top, the handle inside the shim opening
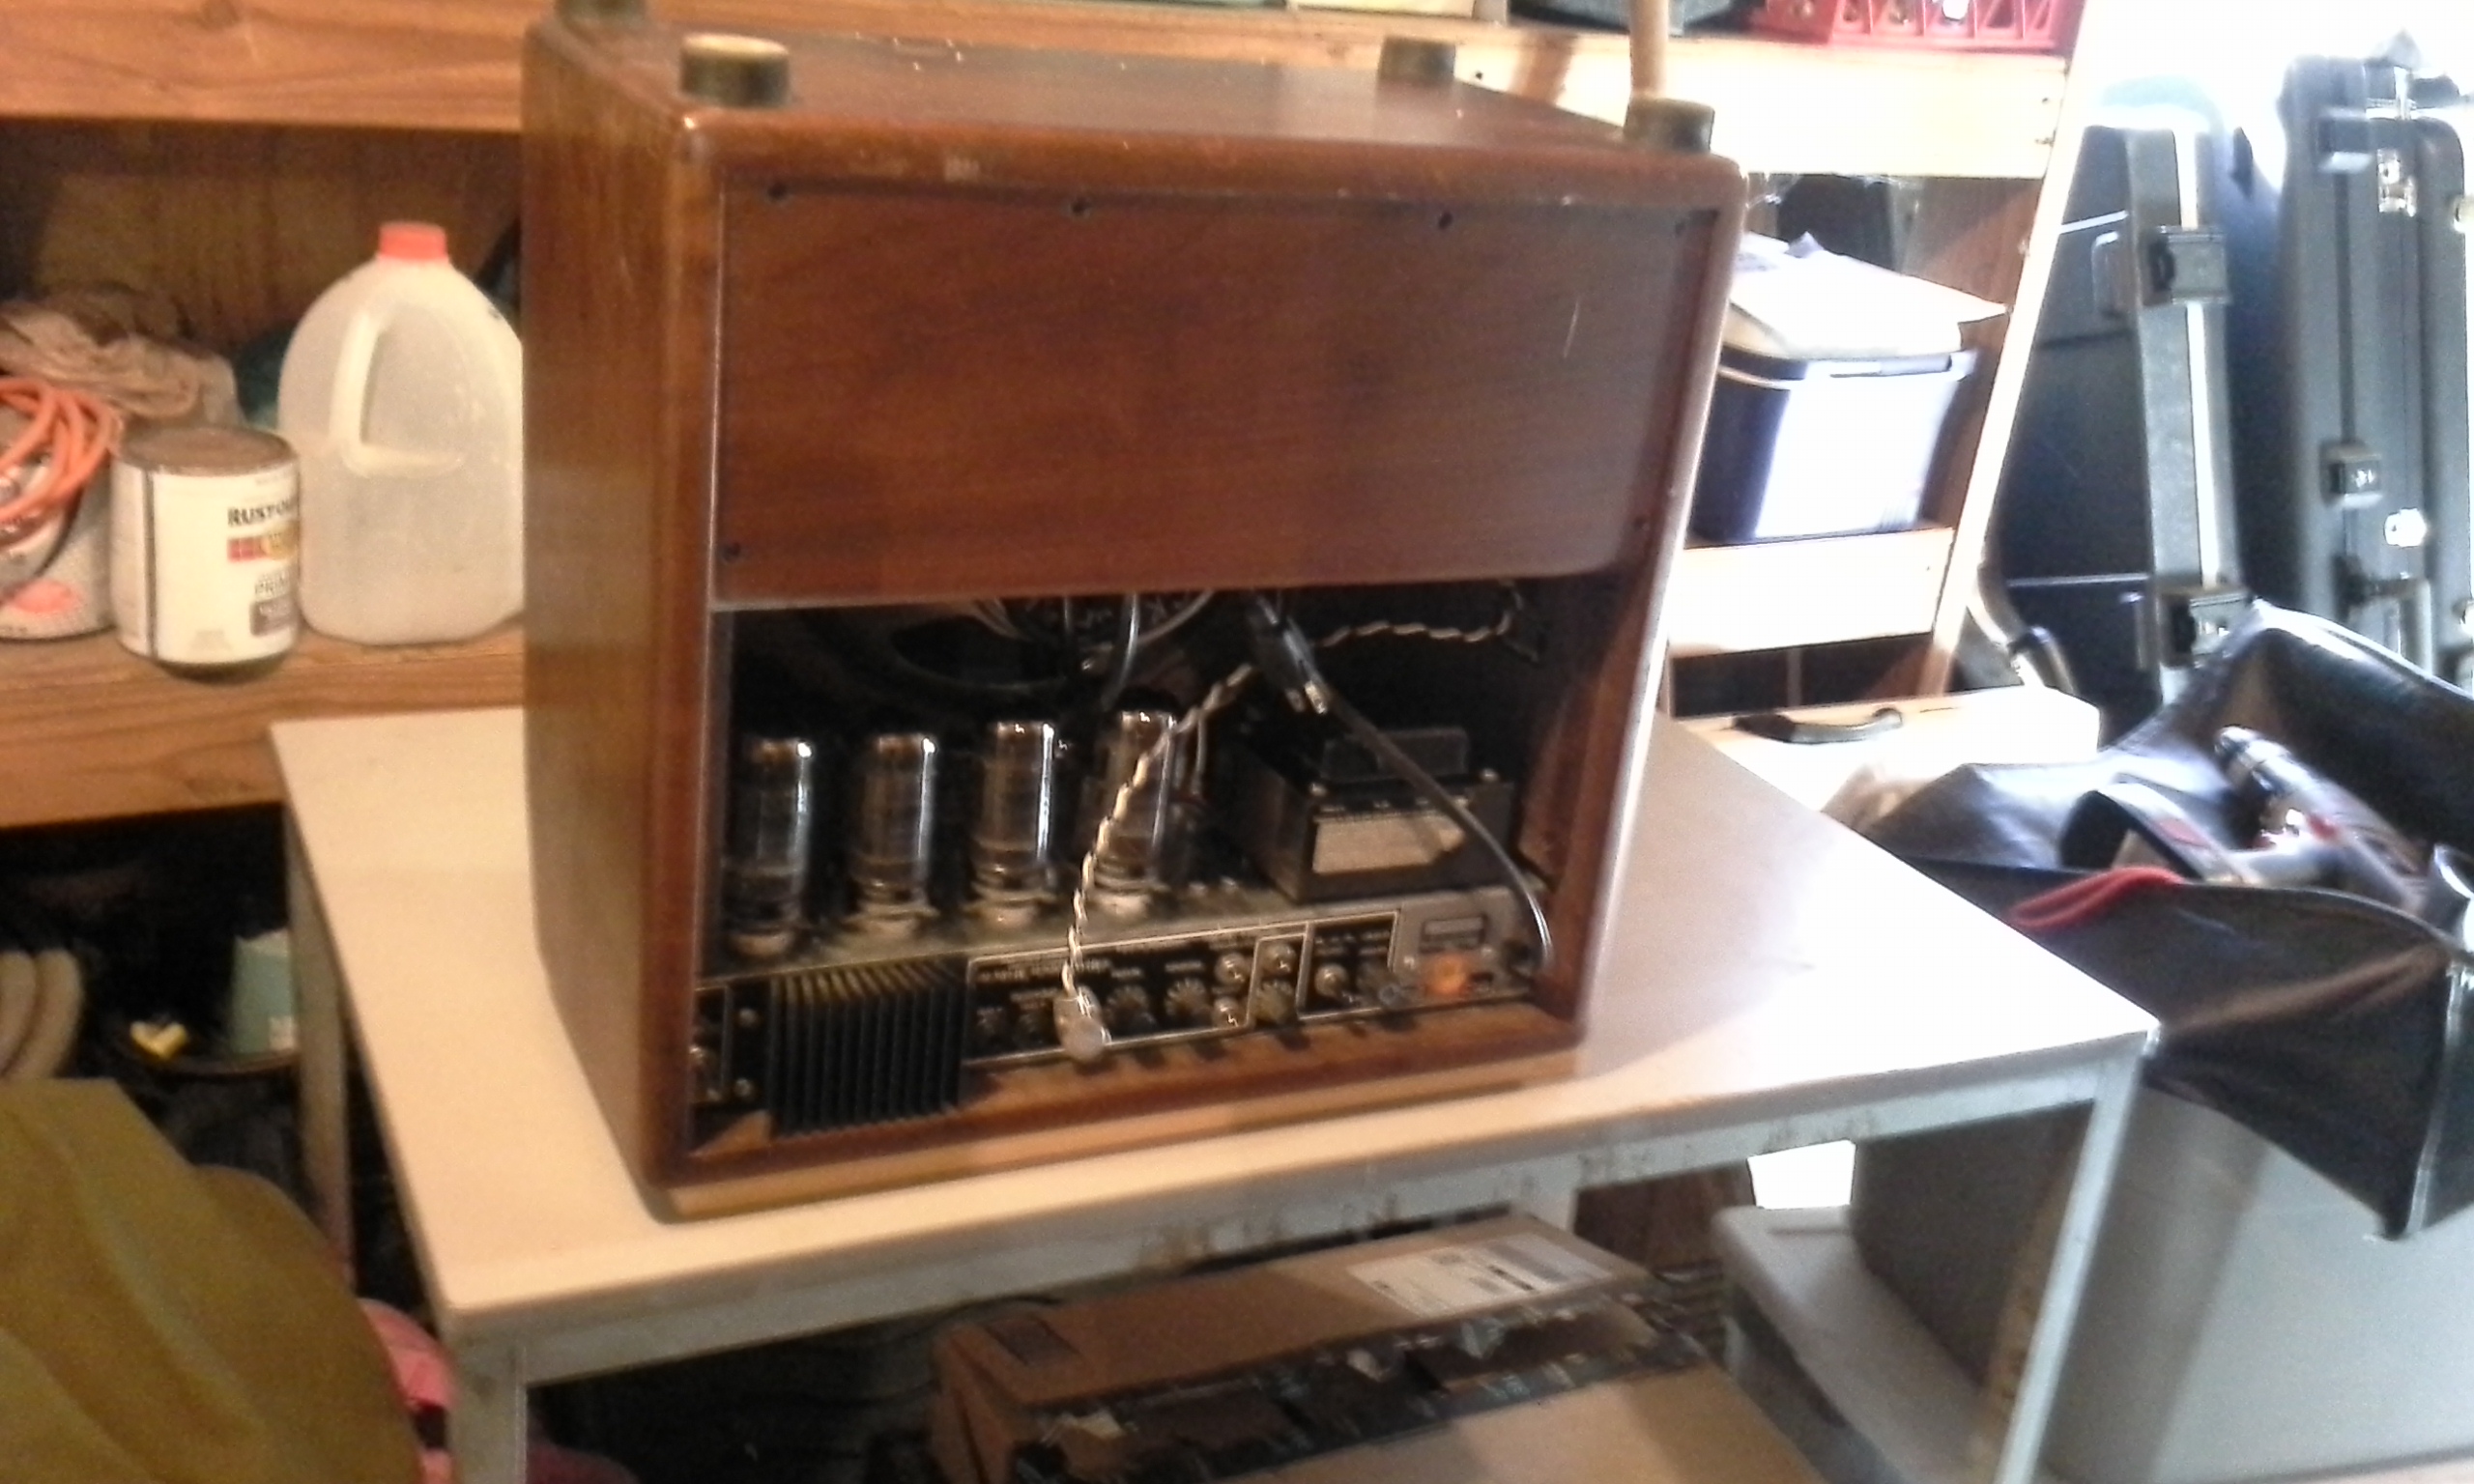
mark the bottom of the cabinet where the chassis sits with a sharpie, on both sides
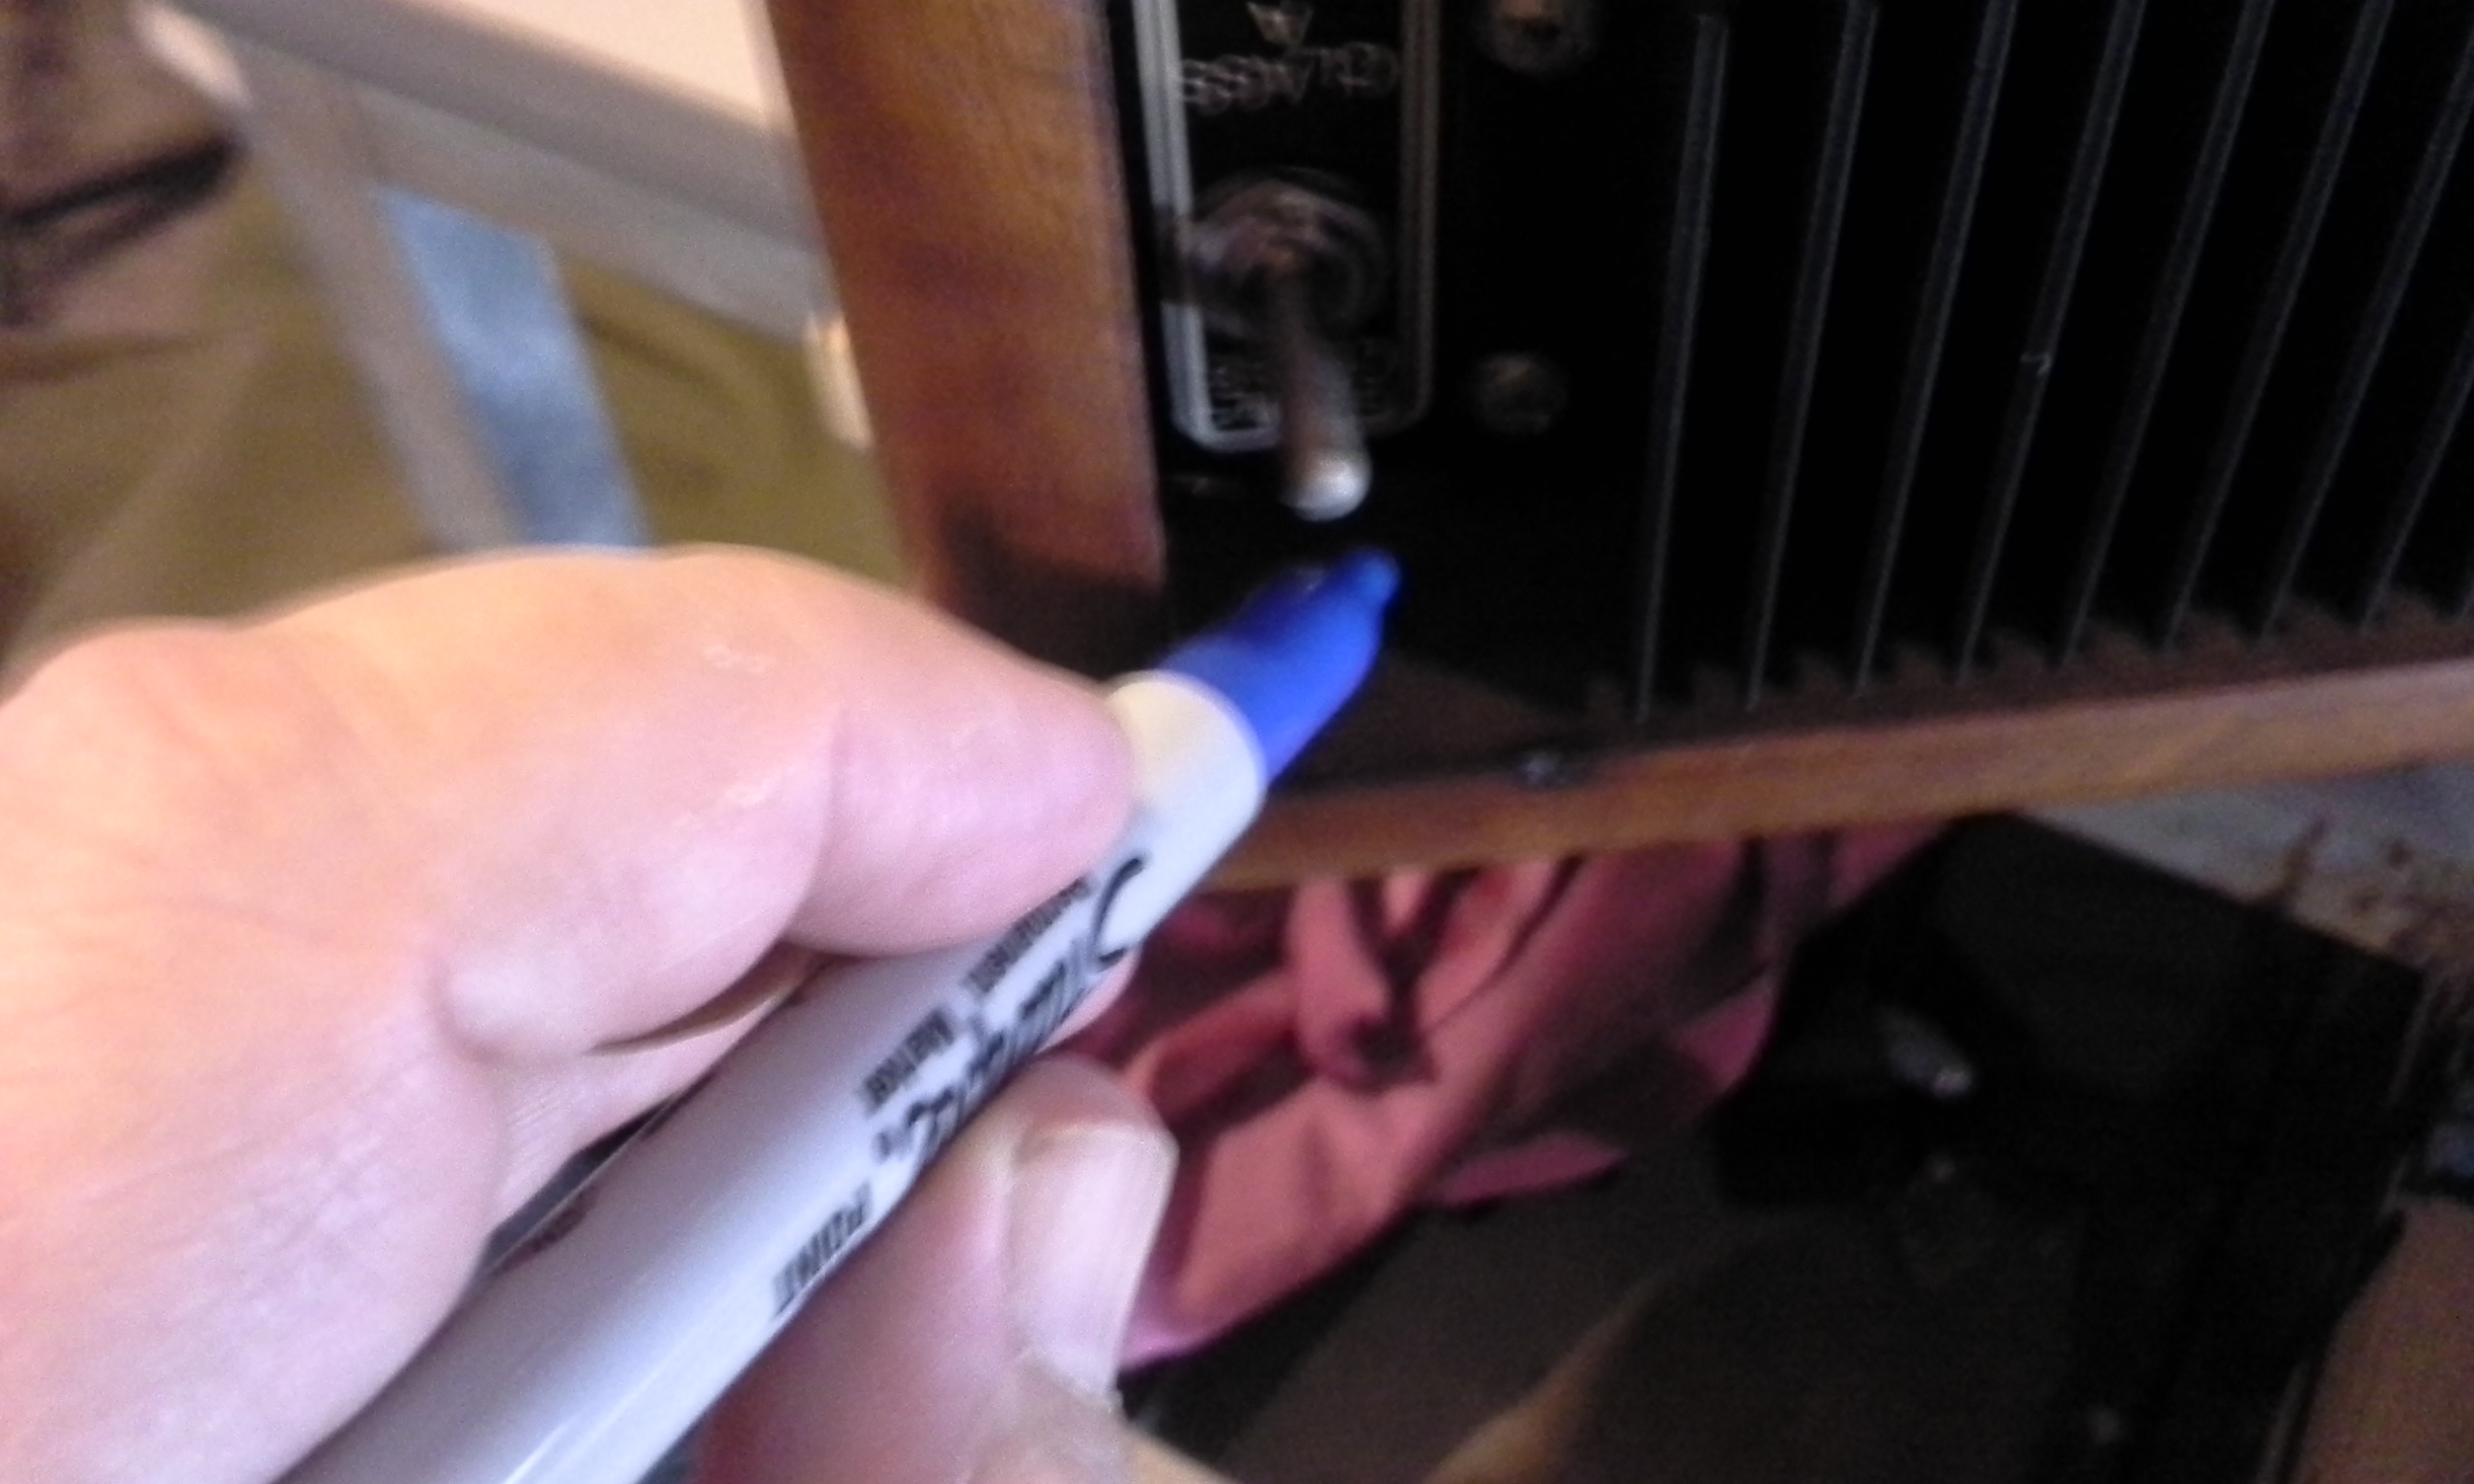
slide the amp and shim to the edge of the table so the mounting socket is exposed
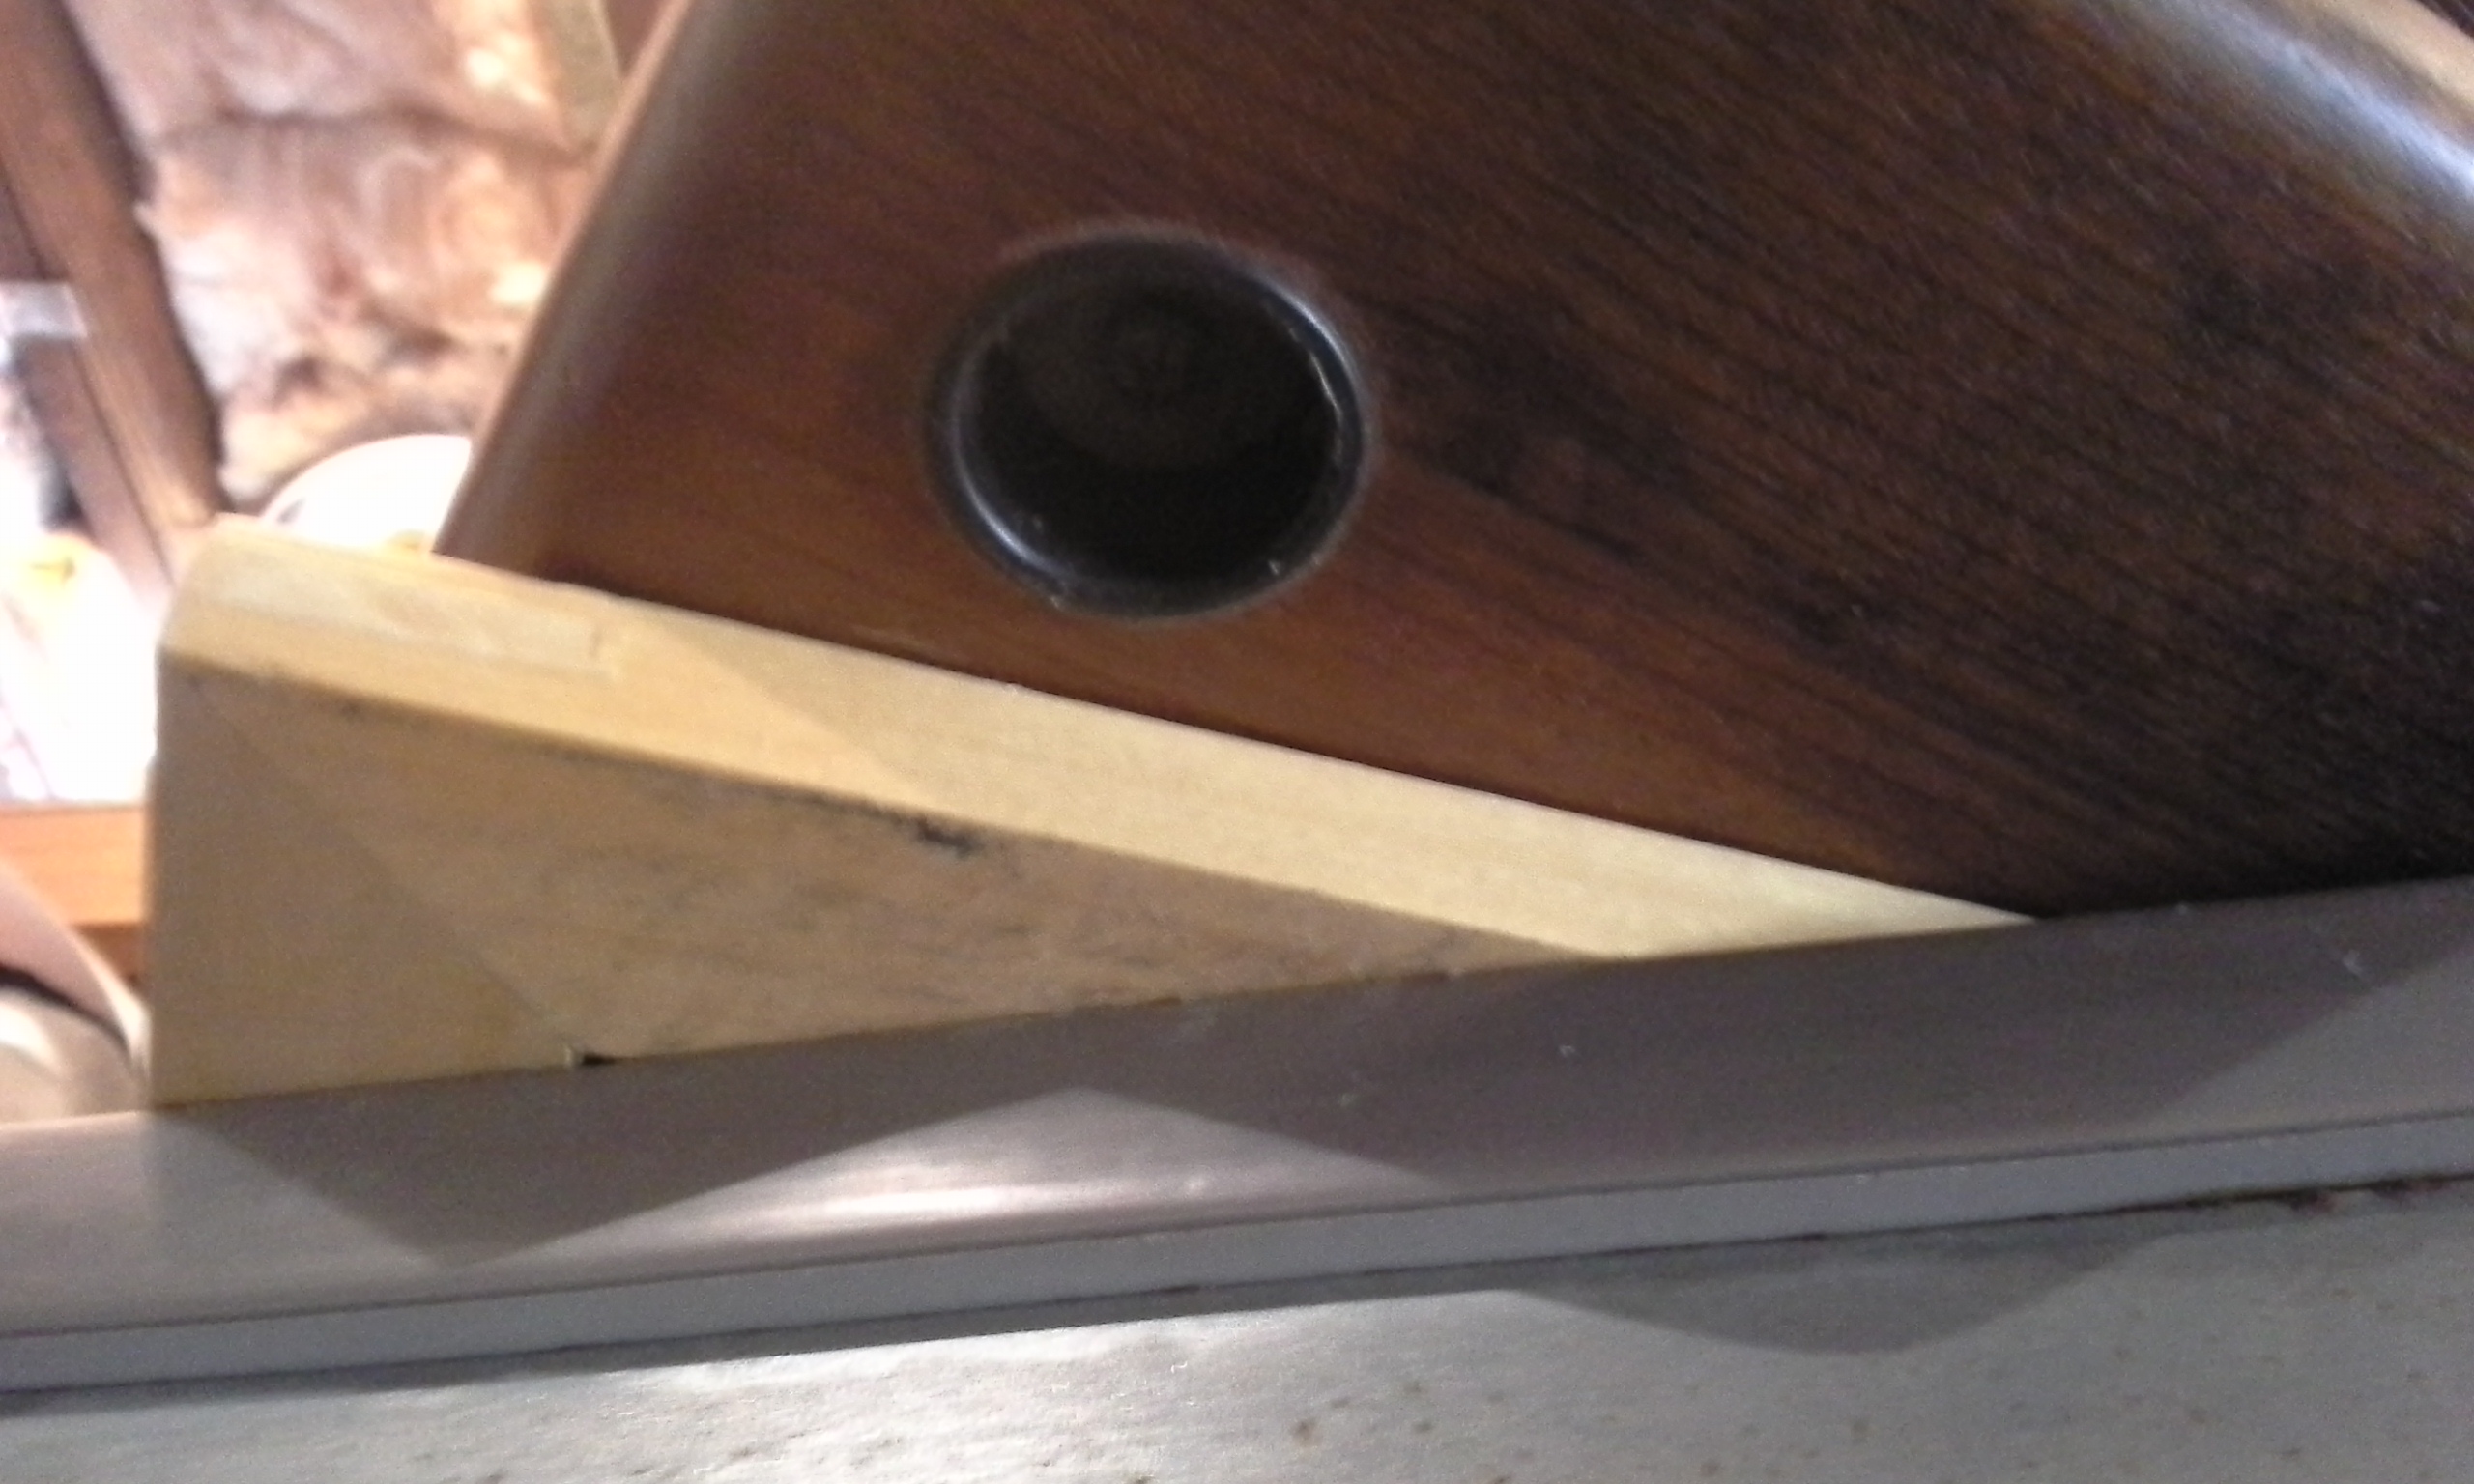
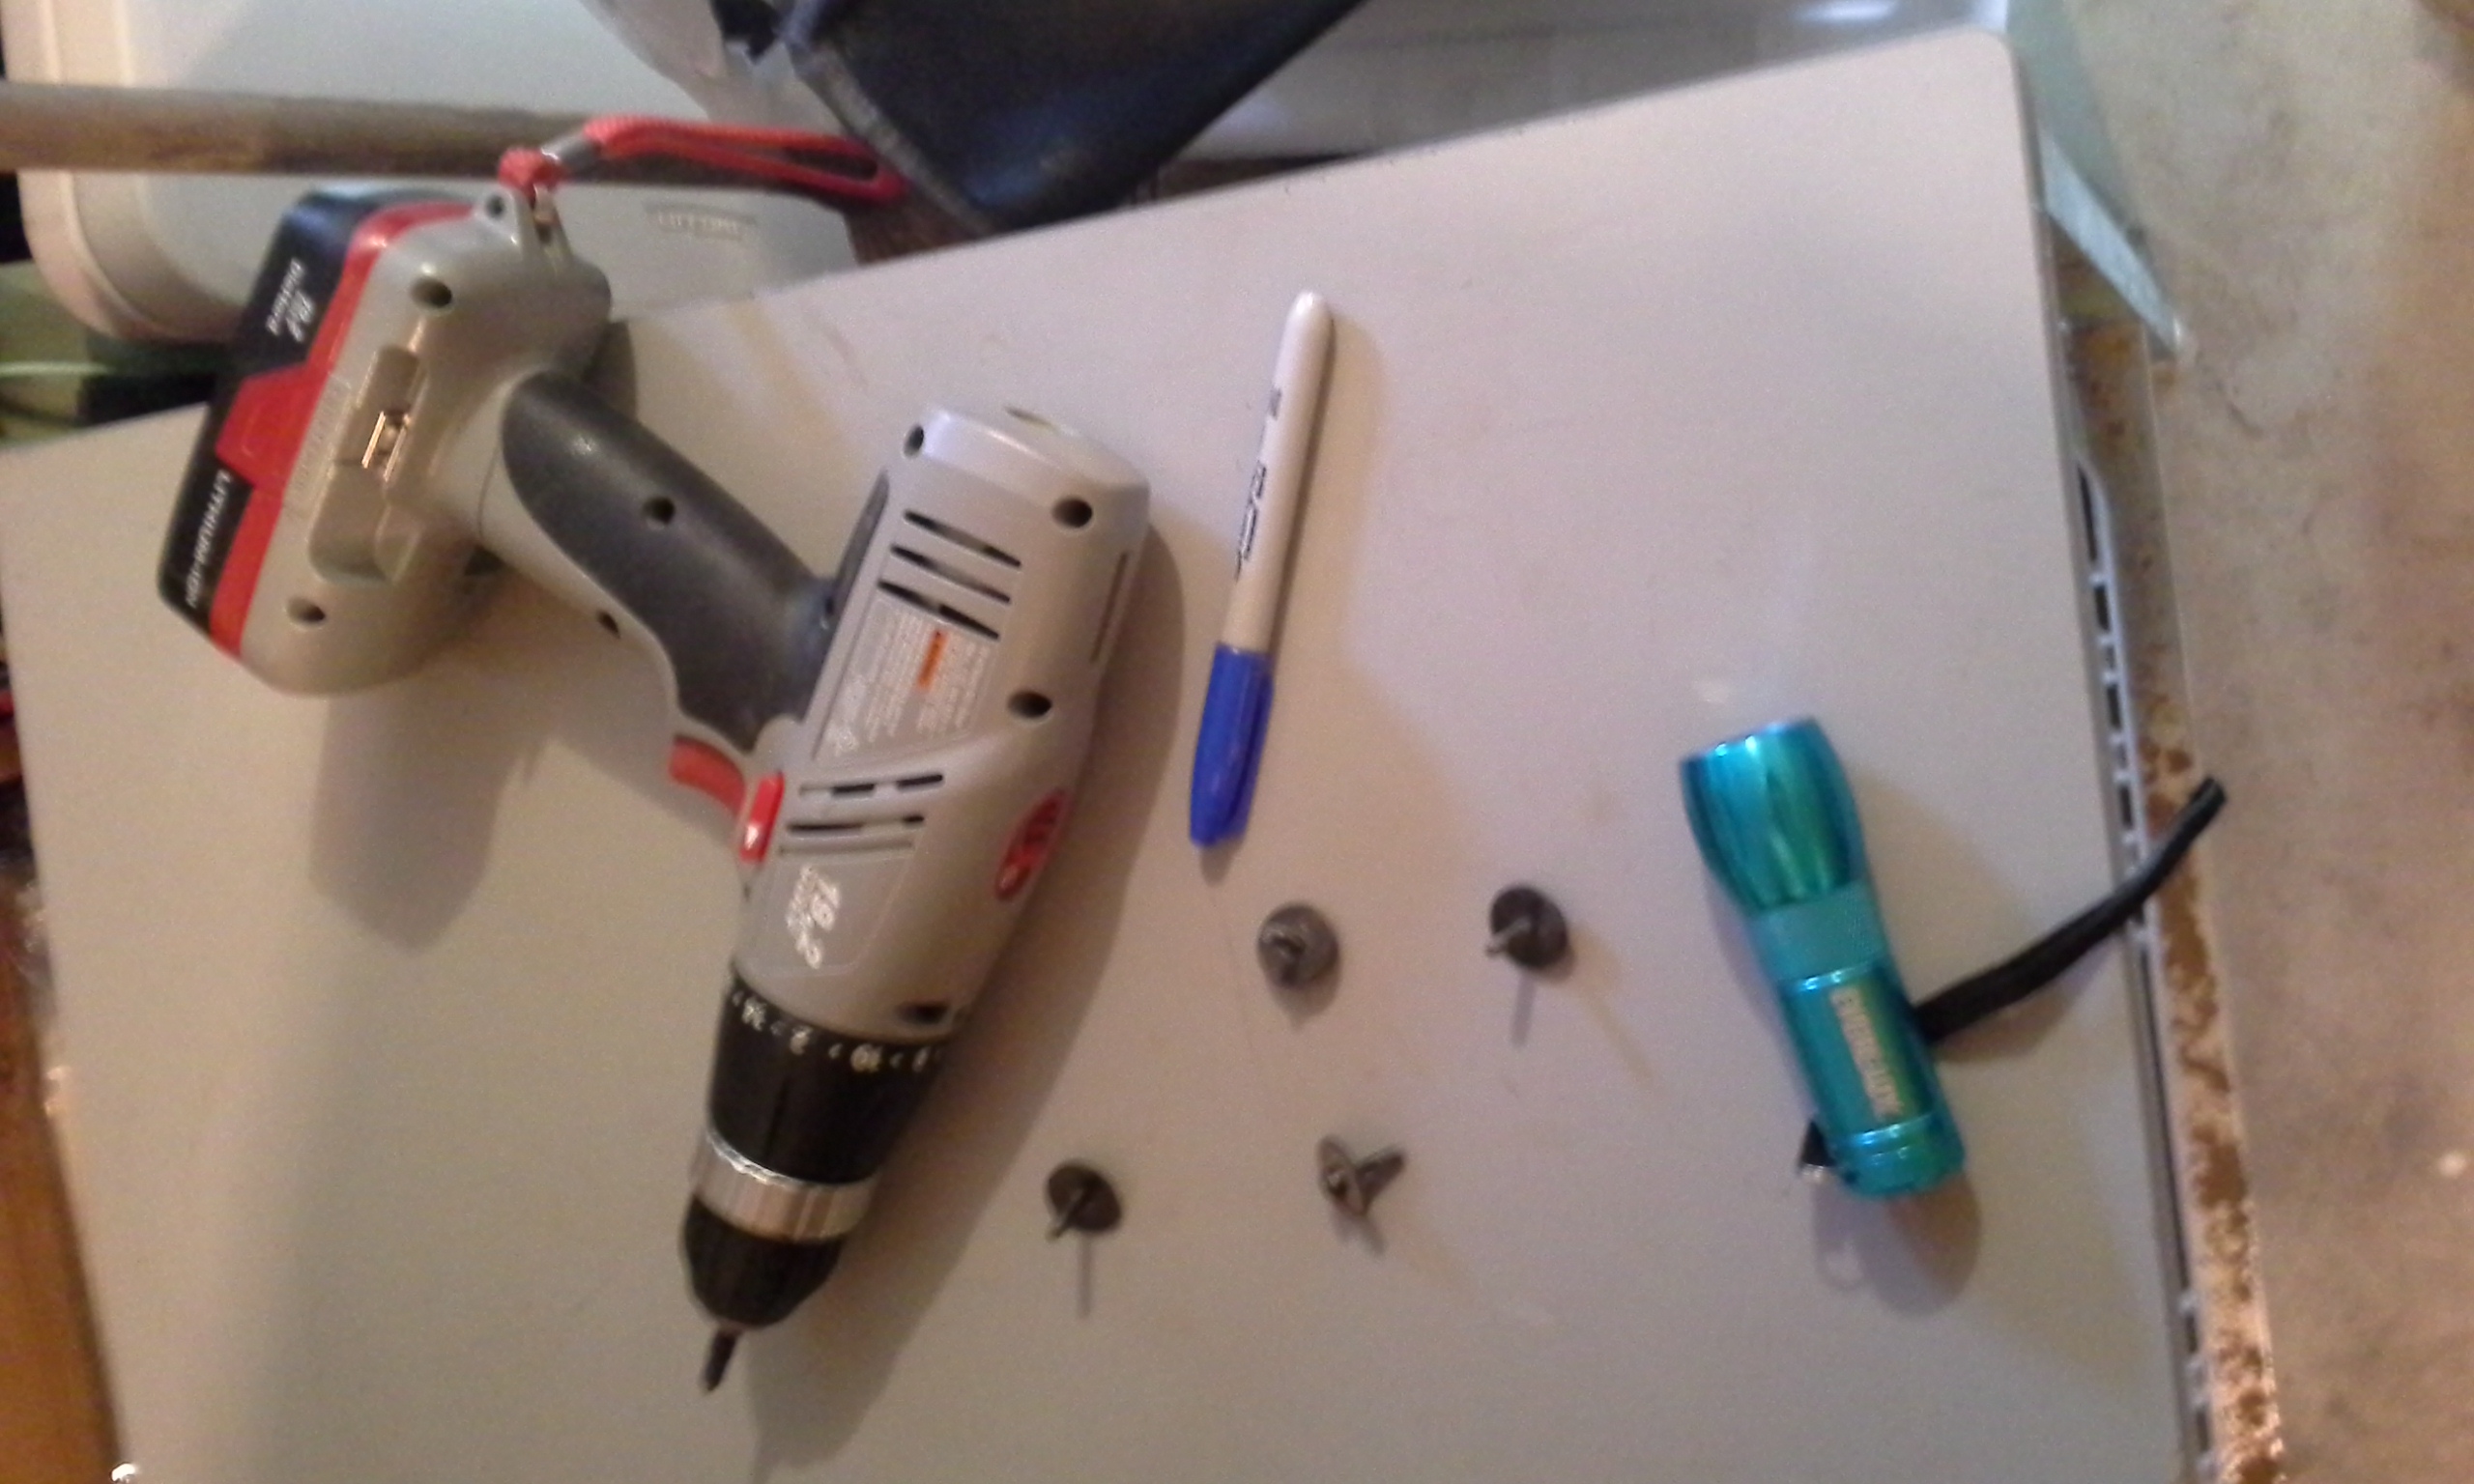
insert the screwdriver in the mounting bolt inside the mounting socket and remove the bolt and washer
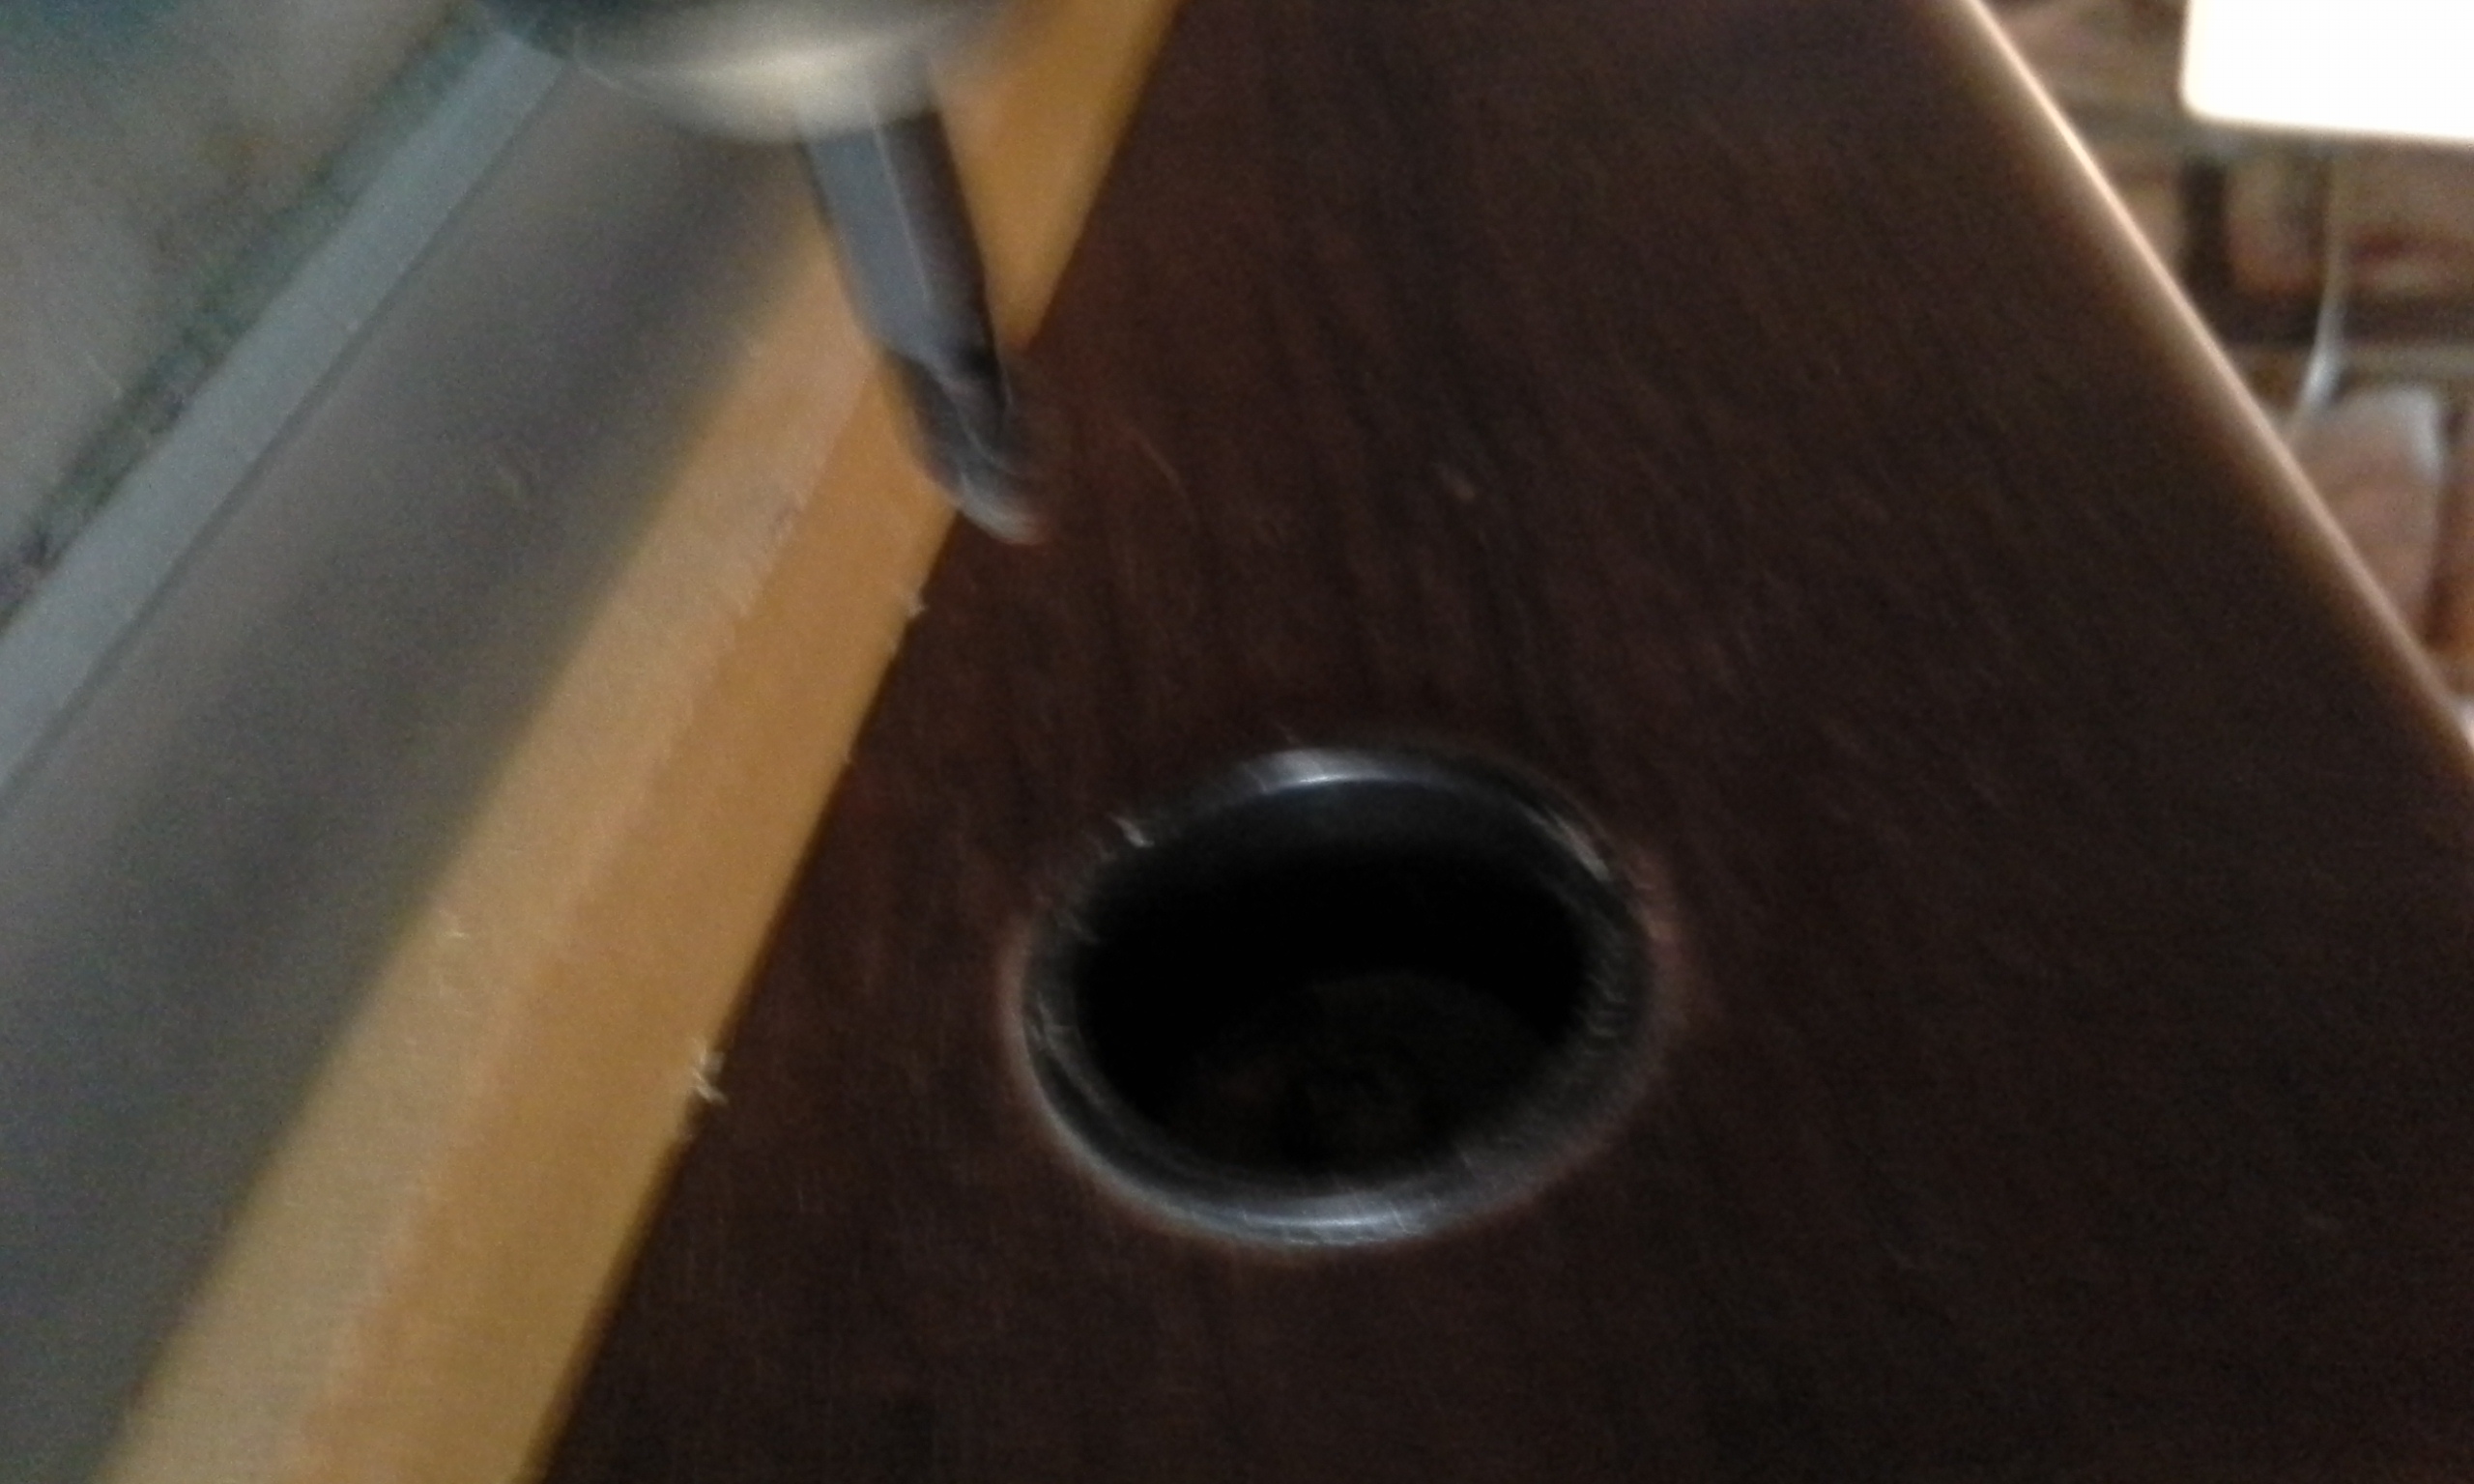
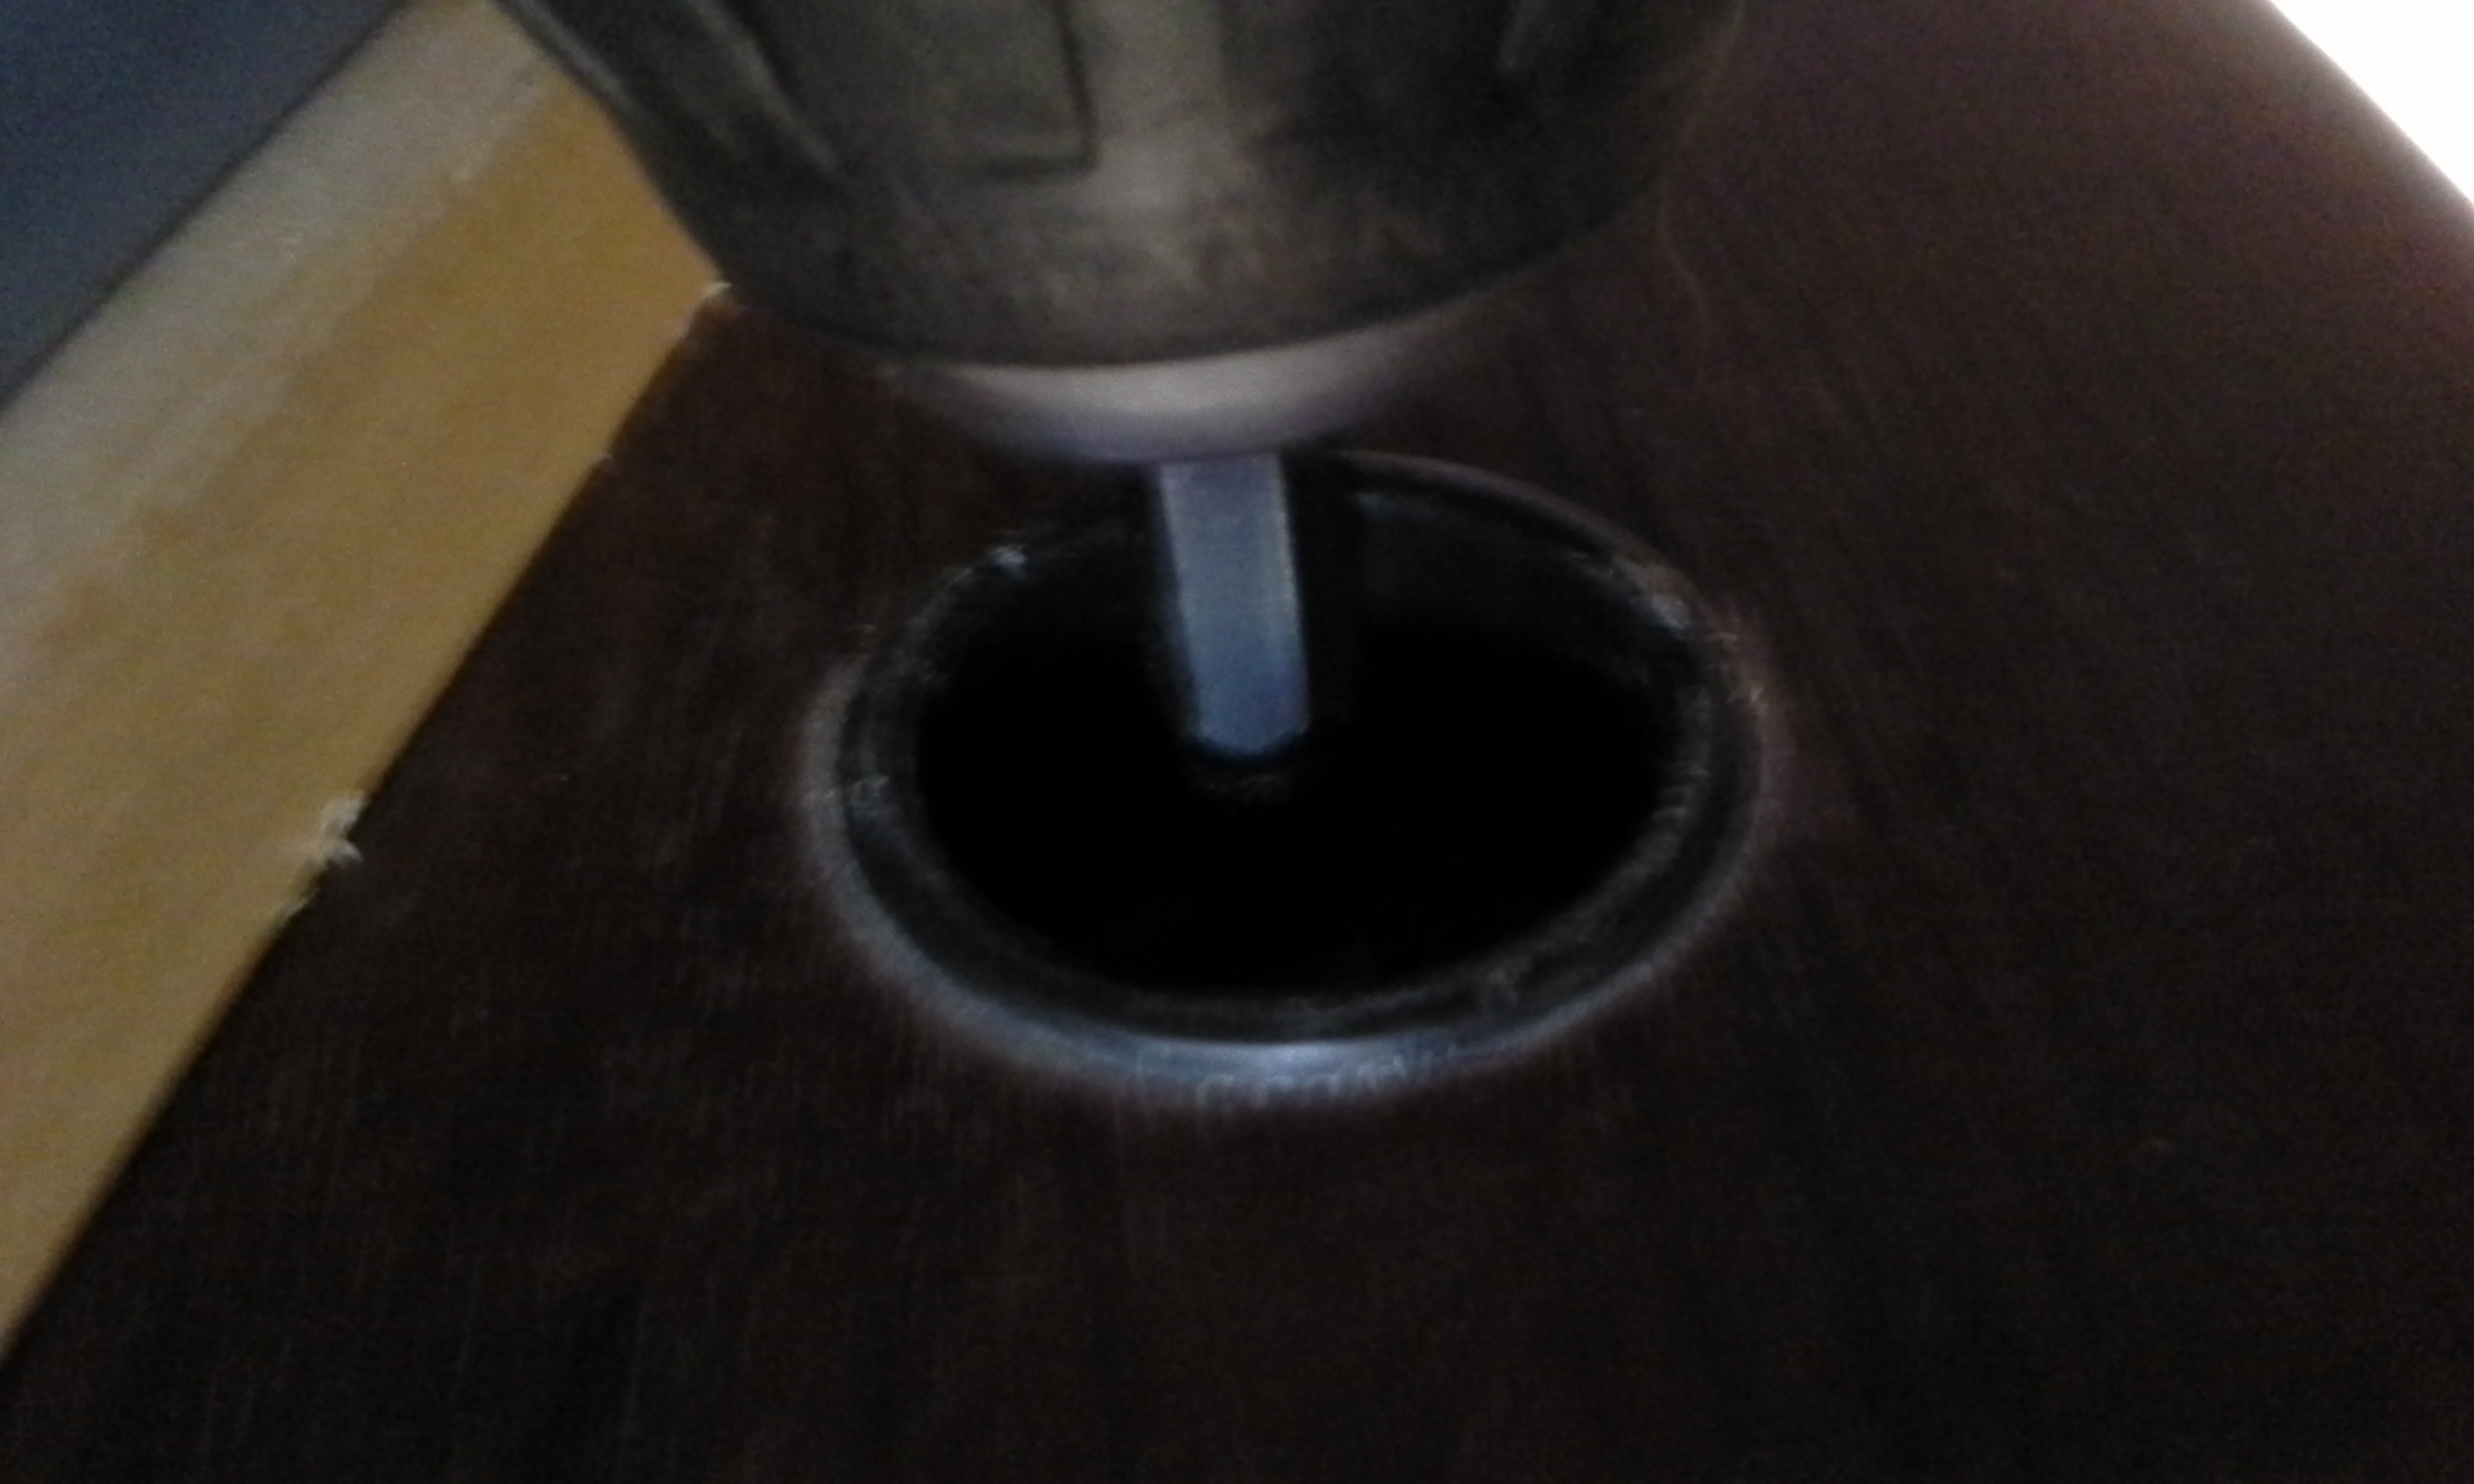
repeat for all sockets
unplug the speaker cable
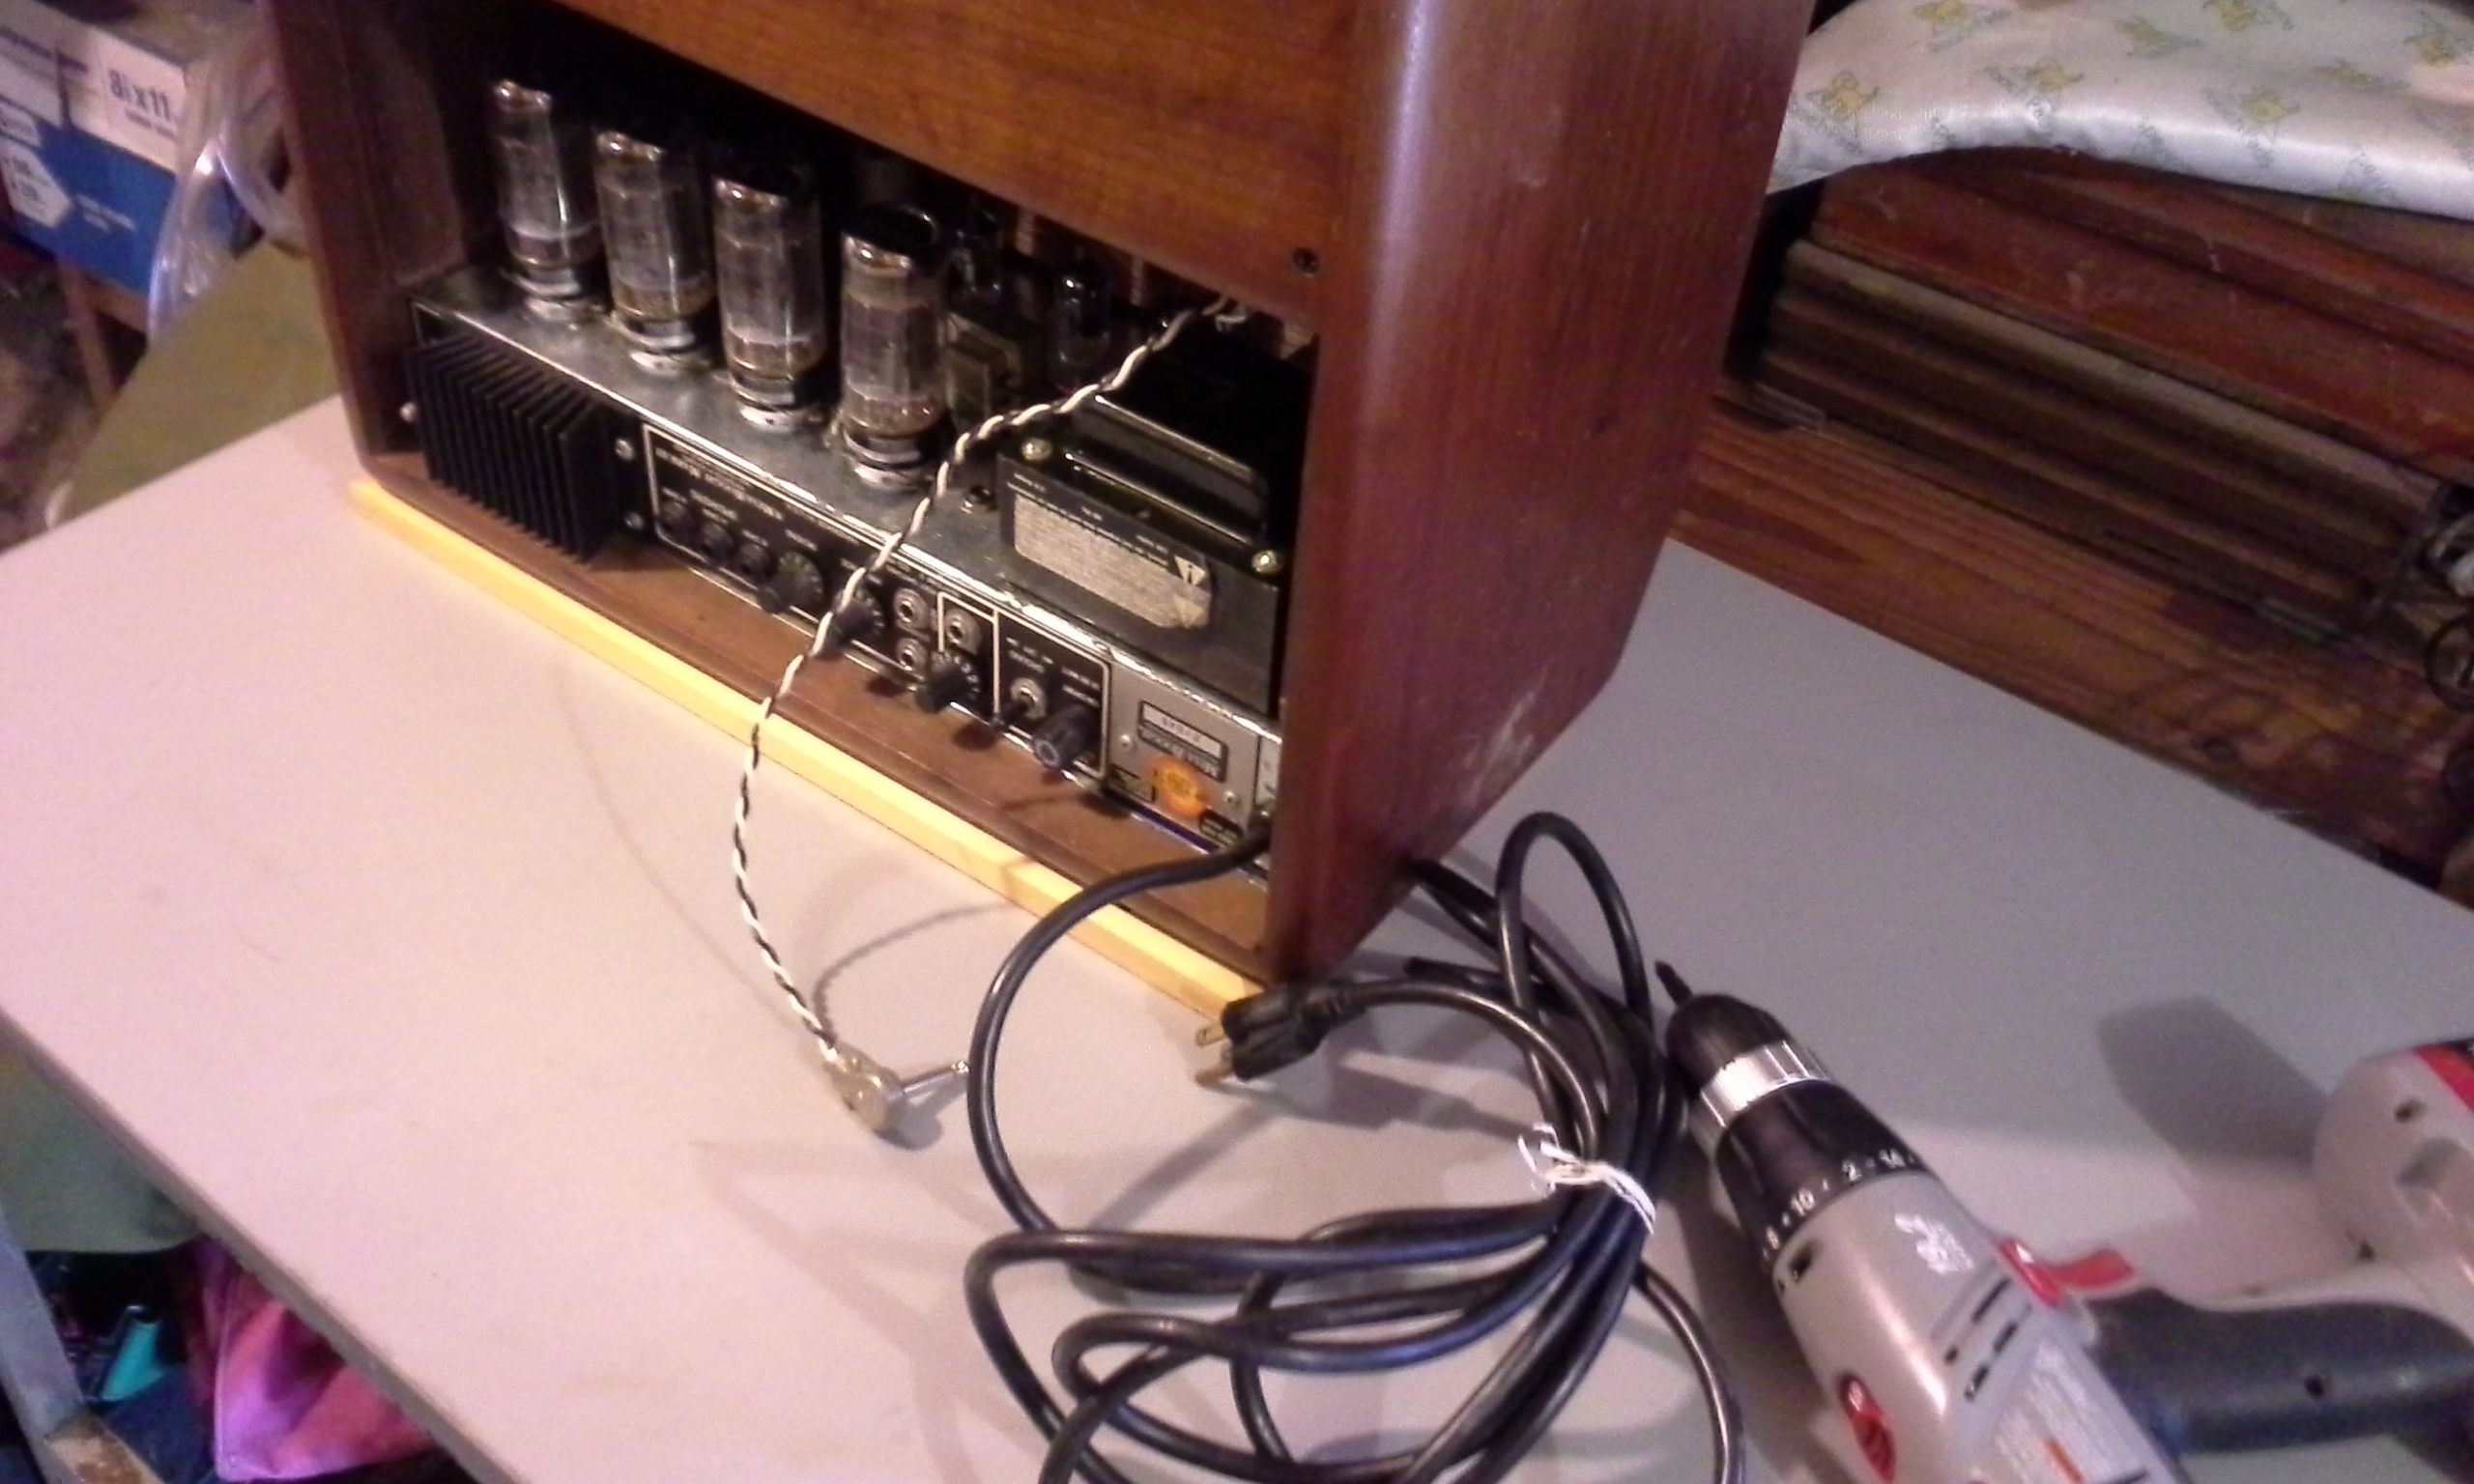
carefully pull out the amp chassis part of the way until the fan plug is visible
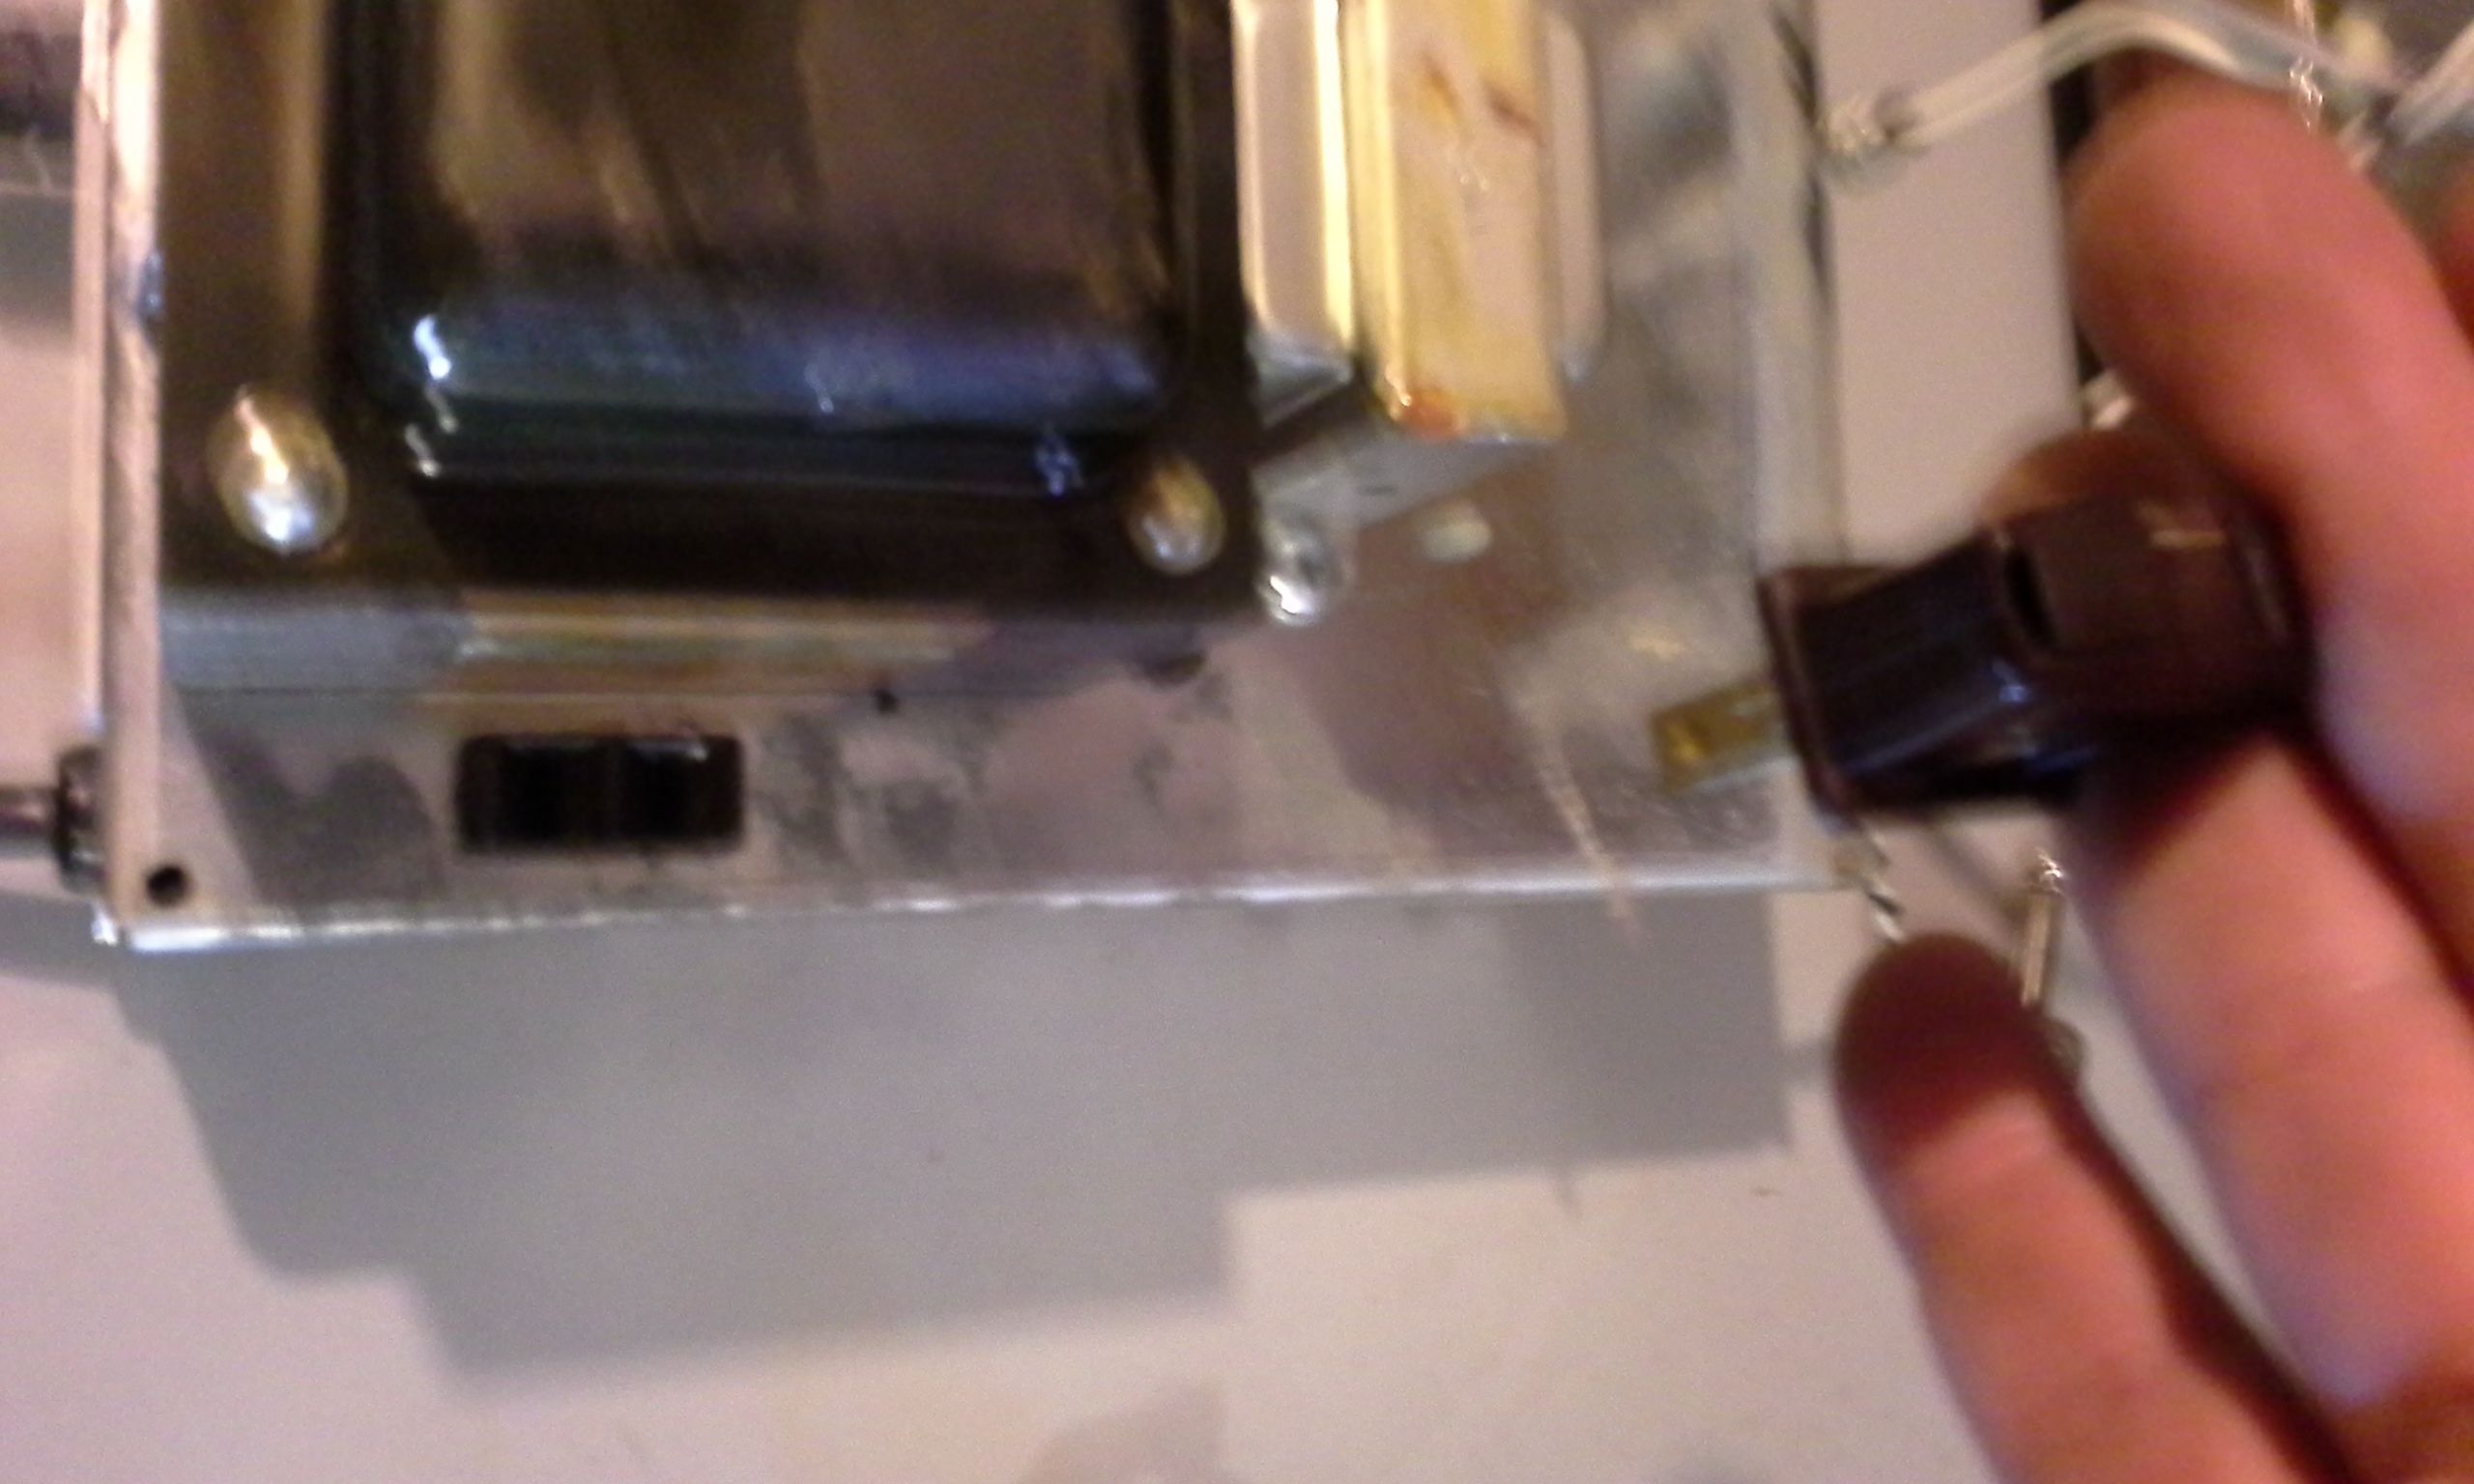
Note: The fan plug will block the chassis from beting removed, i.e. you cannot pull out the chassis until the fan plug is removed
unplug the fan
carefully pull out the amp chassis part of the way
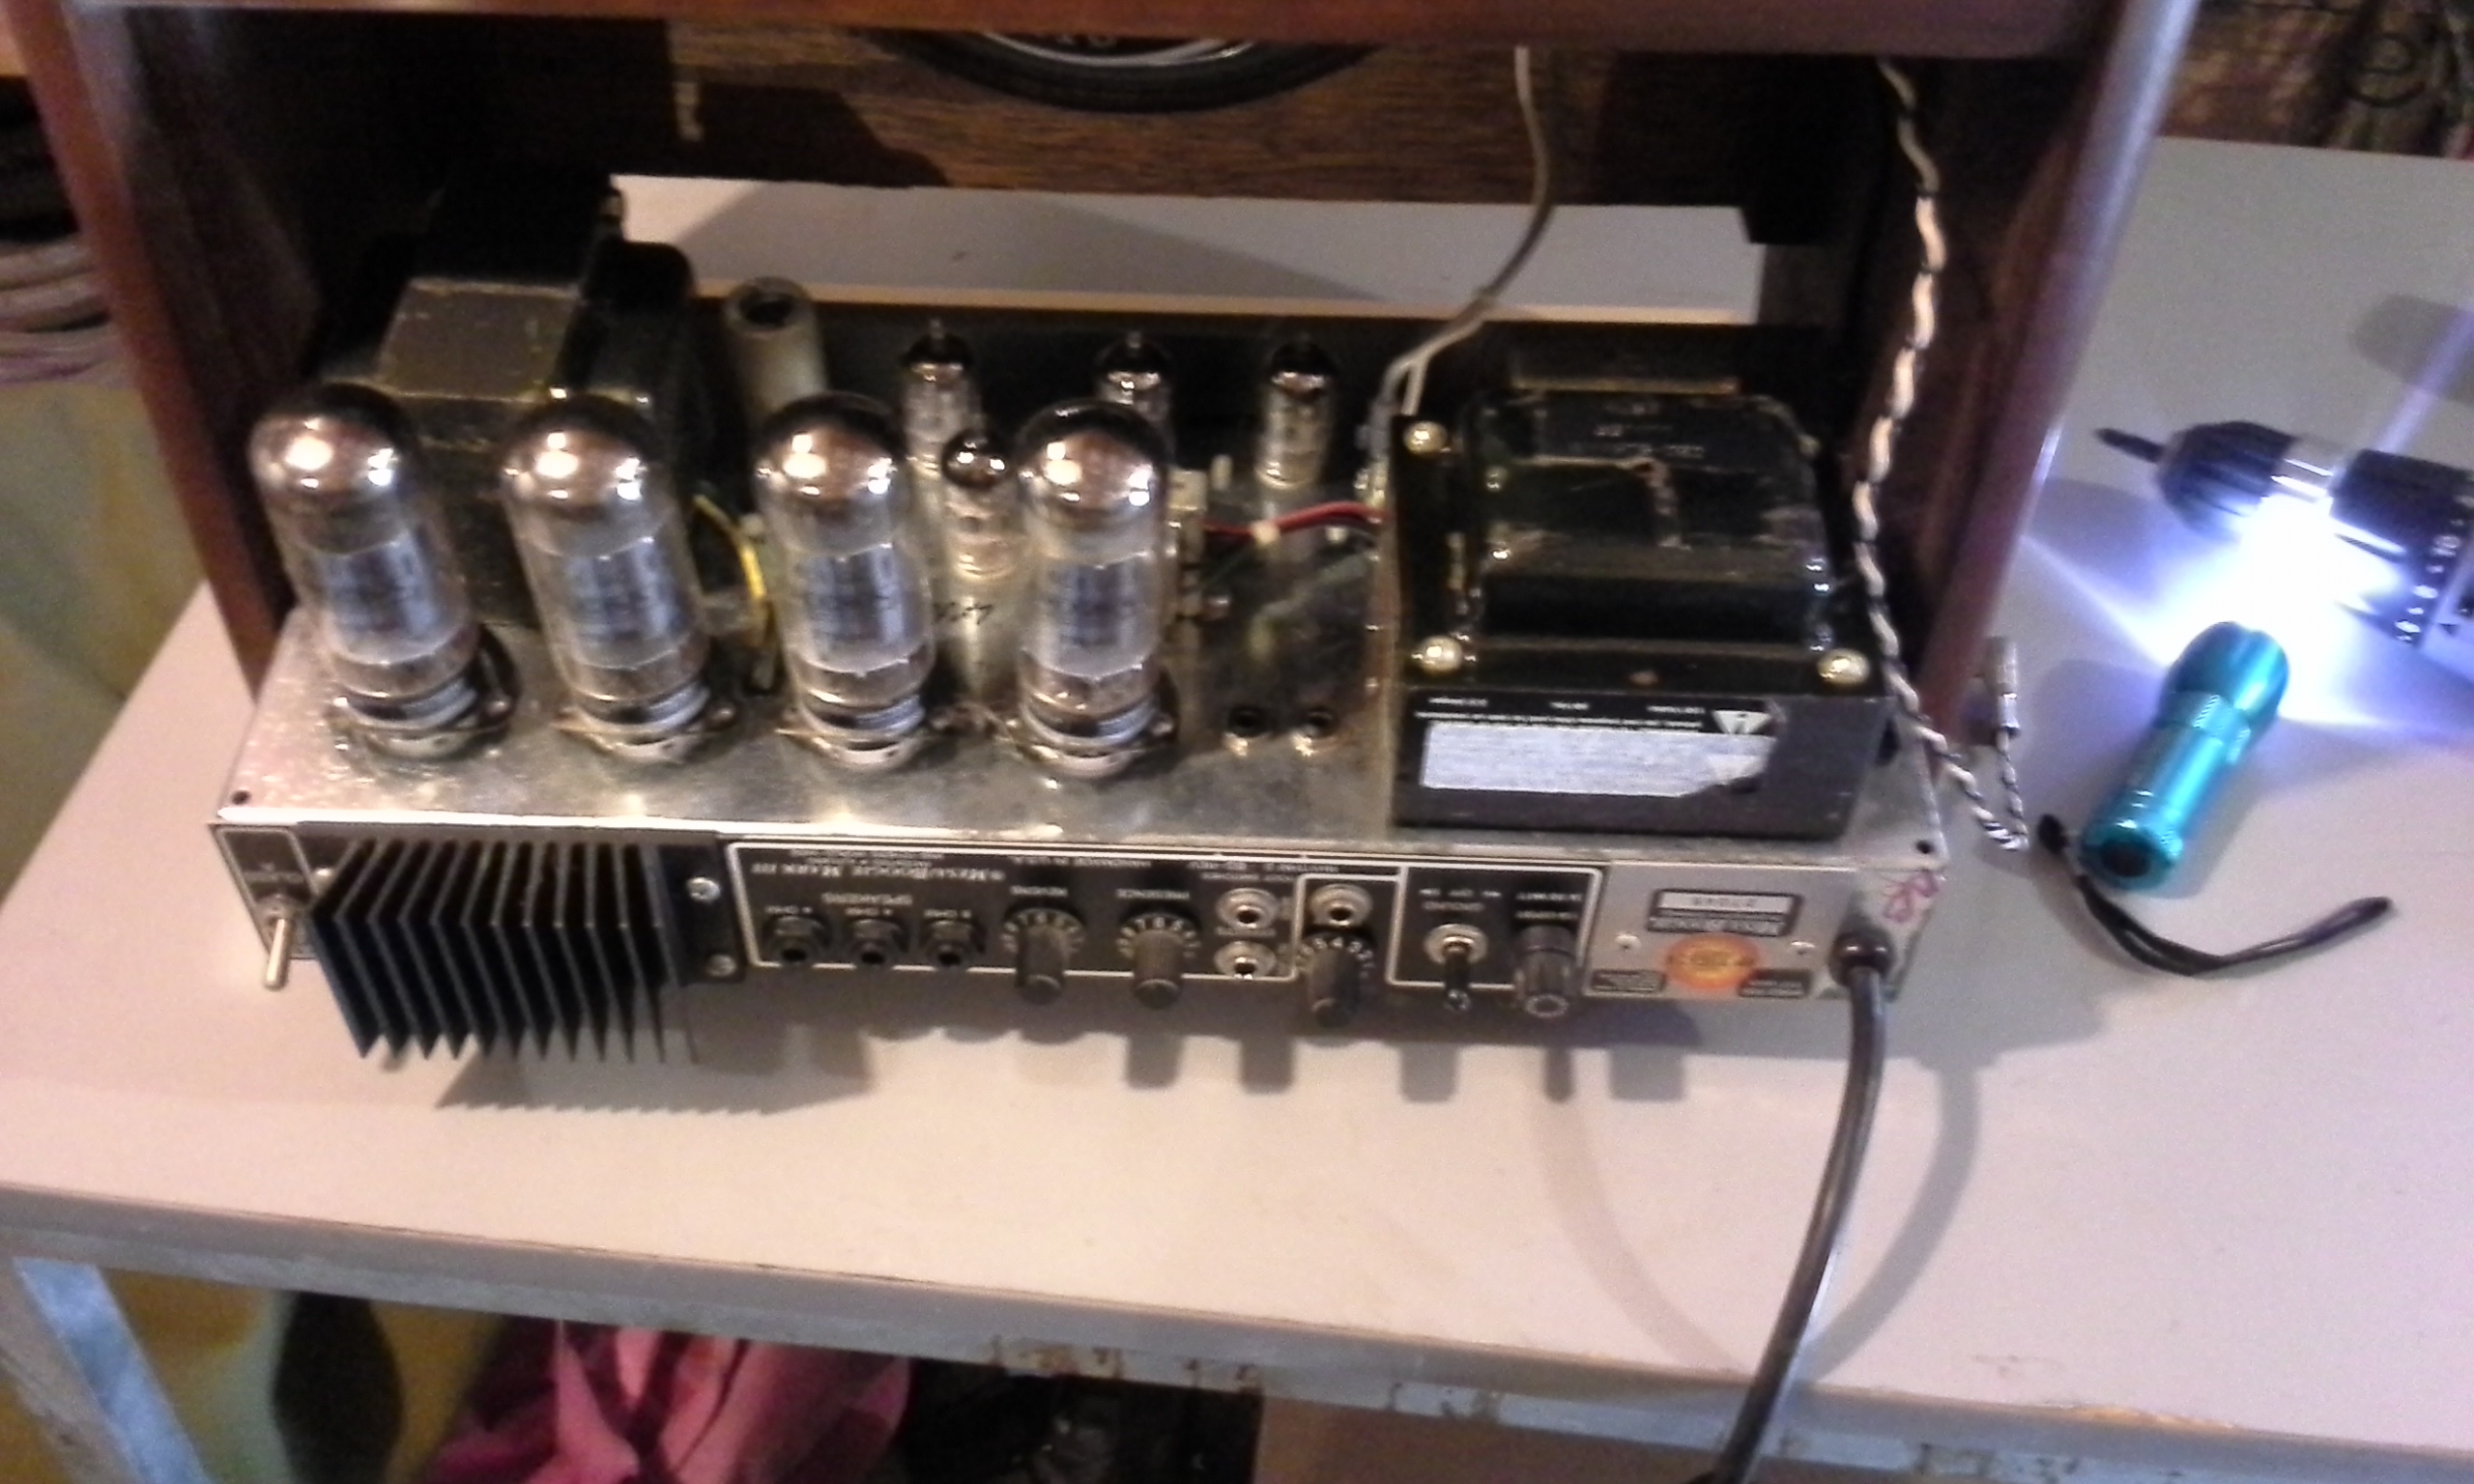
note: there are attachments that cling to the chaasis
unplug the equalizer cables
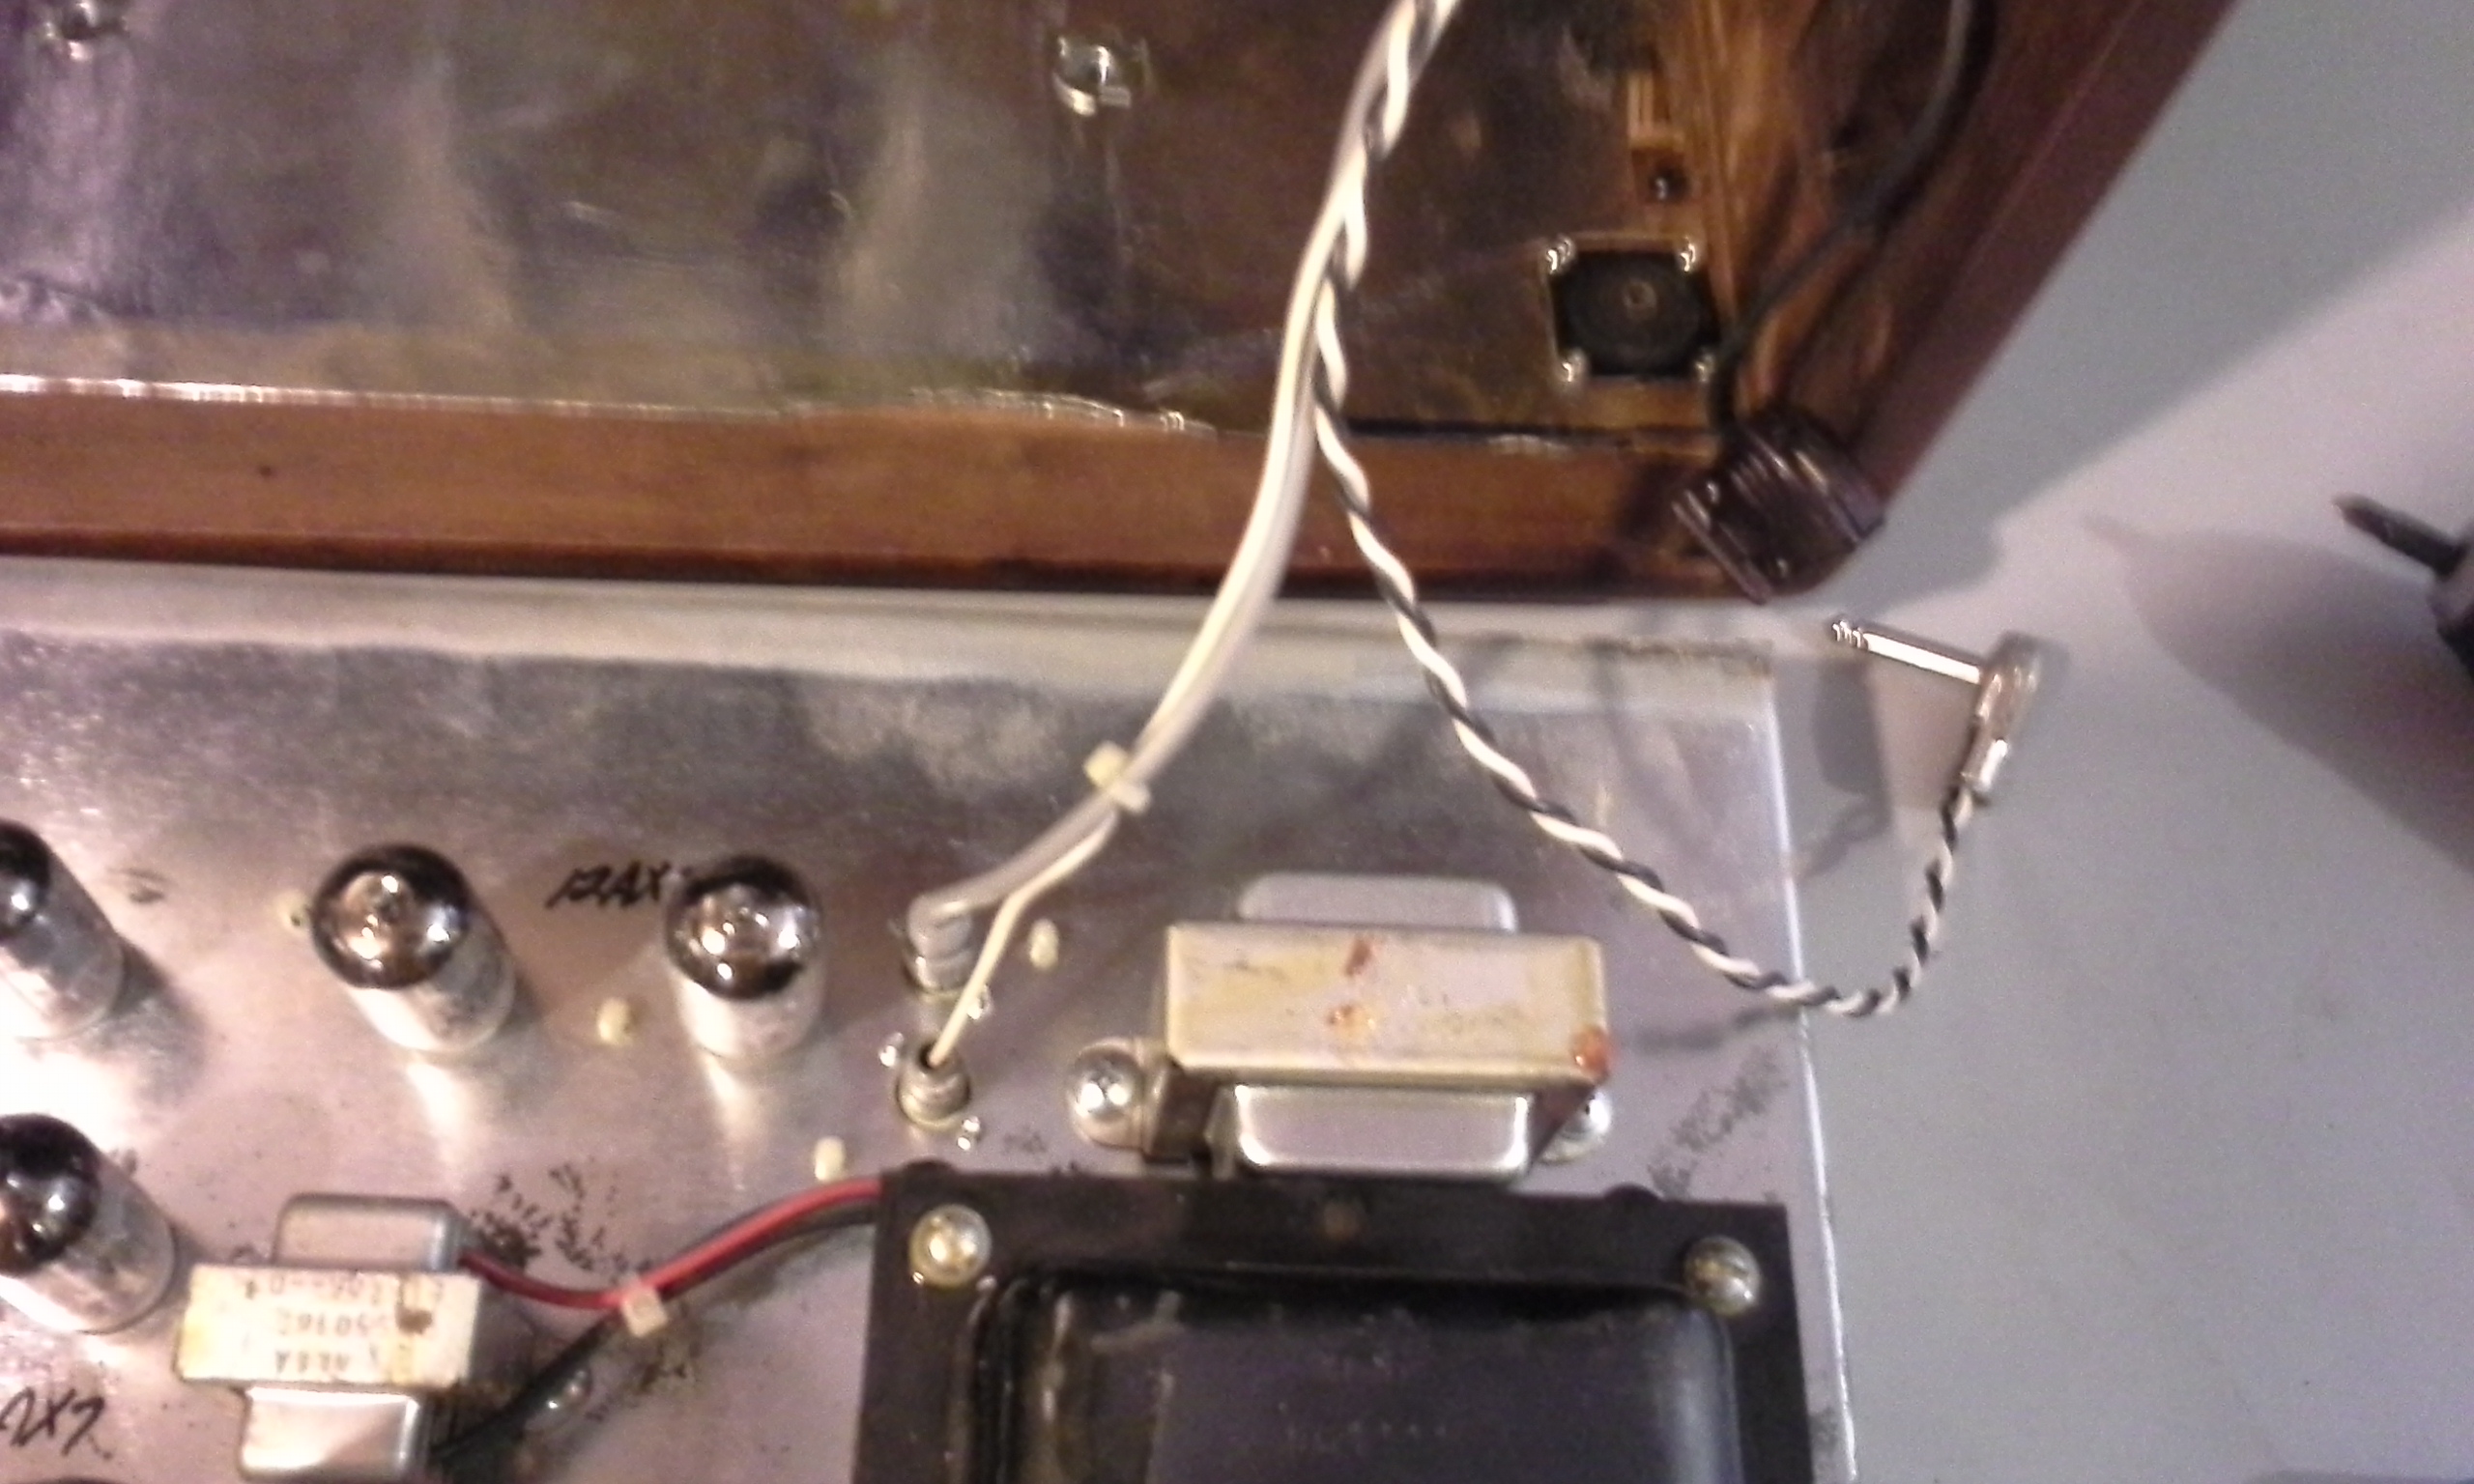
tube locations. Note: the first preamp tube is the 12AX7 inside the metal cover
  _____________________
  |+-------------------
  ||   chassis
  ||
  ||   =( ) +-------+
  ||        | xfm   |
  ||   =( ) +-------+
  ||             =( )
  ||   =( )  =( )
  ||             =( )
  ||   =( )
  ||             =( )
  ||
  ||             =( )
  ||
  ||         +-------+
  ||         | xfm   |
  ||         +-------+
  |+----------------------
  ------------------------
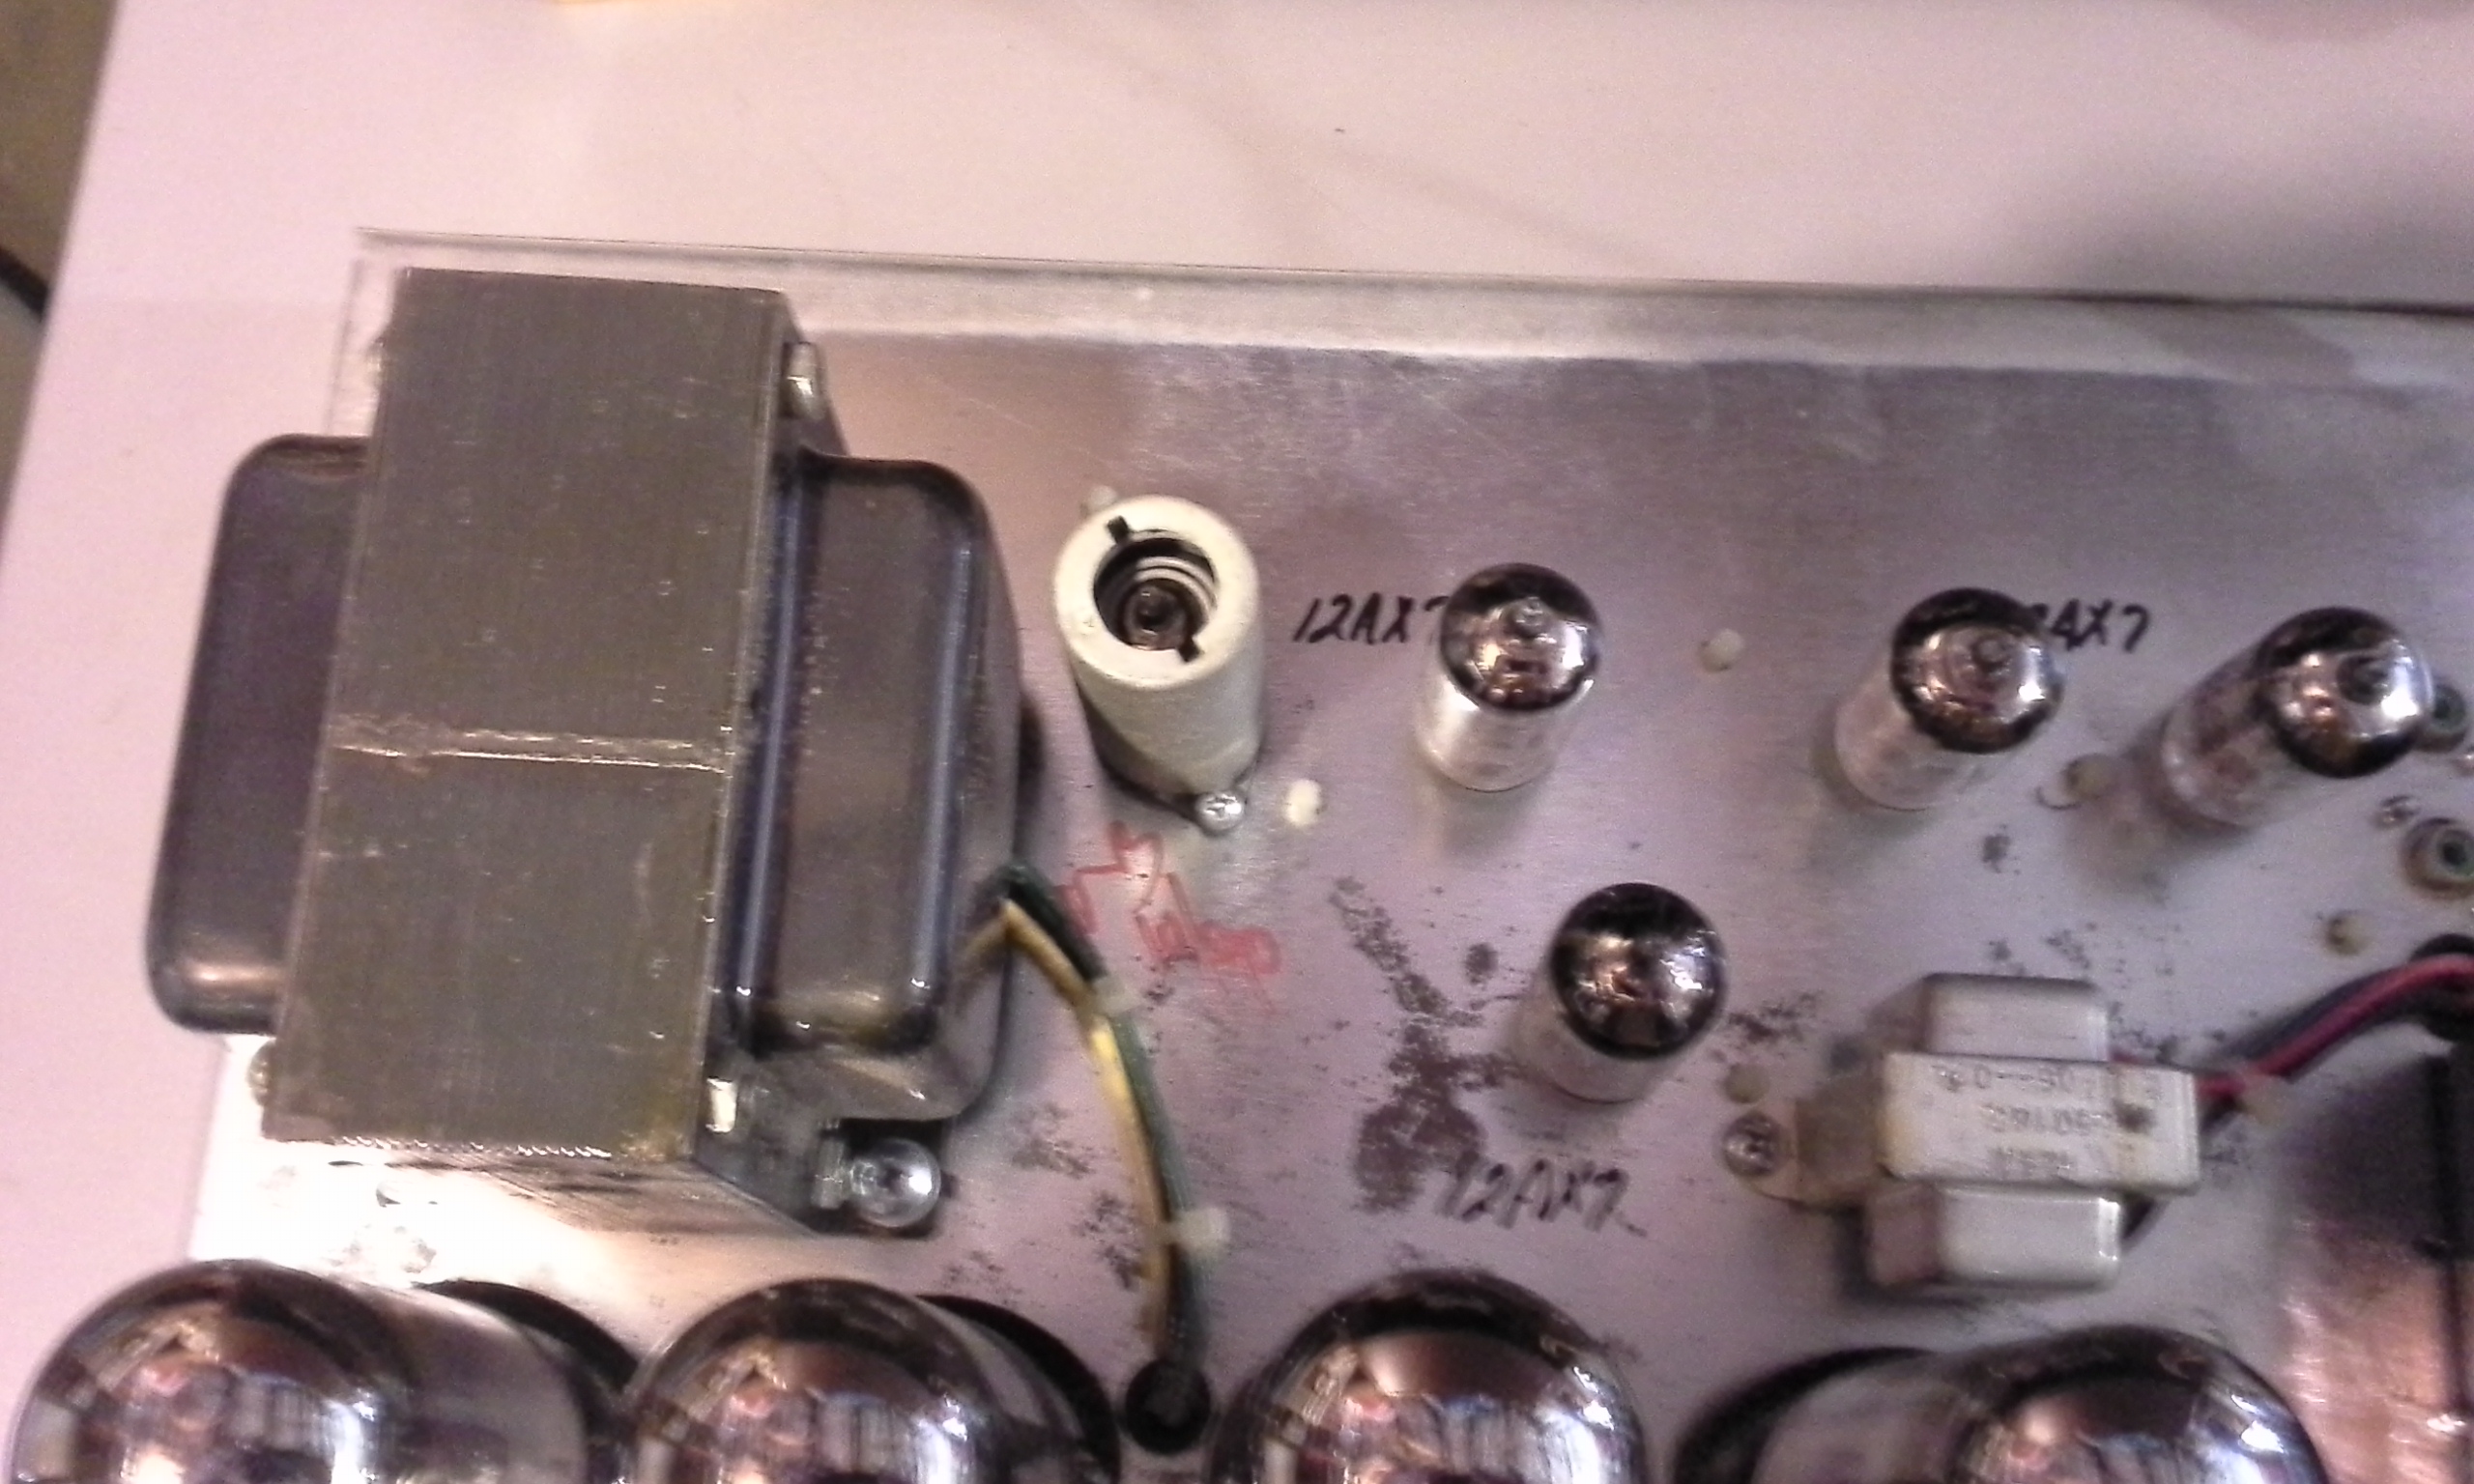
to replace the first preamp tube, unscrew the mounting screws on the cover and remove the cover
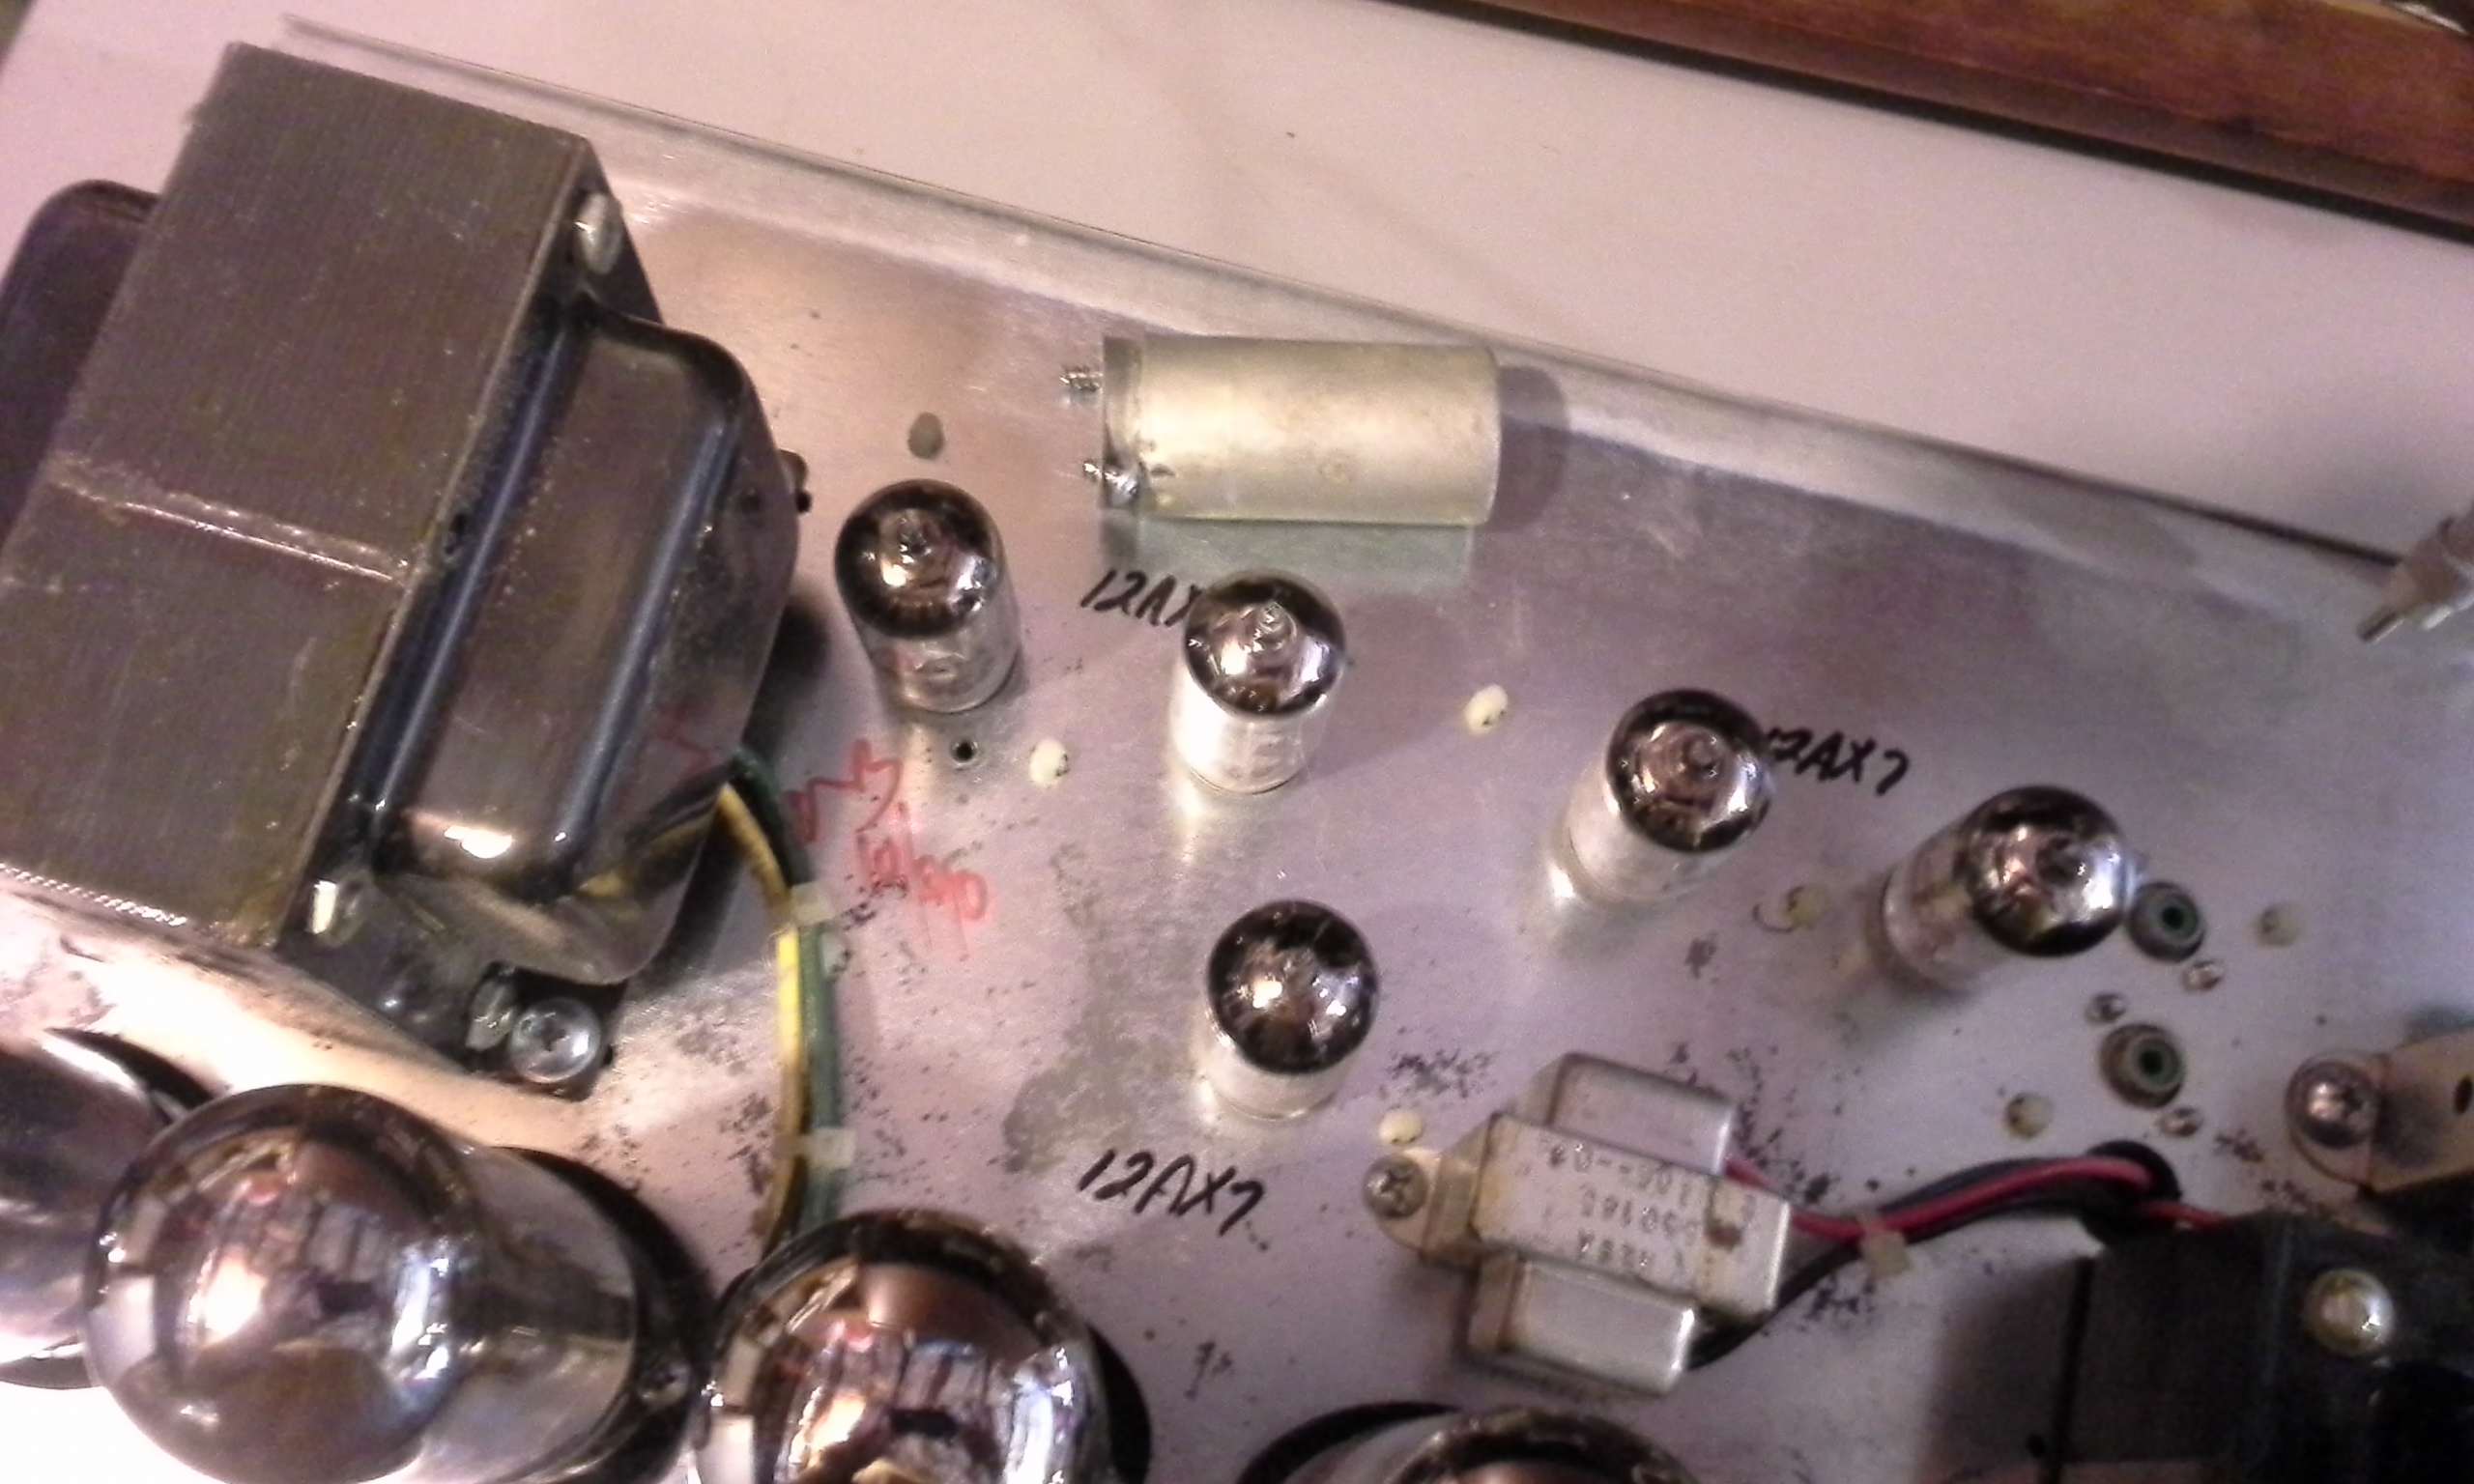
remove the tube
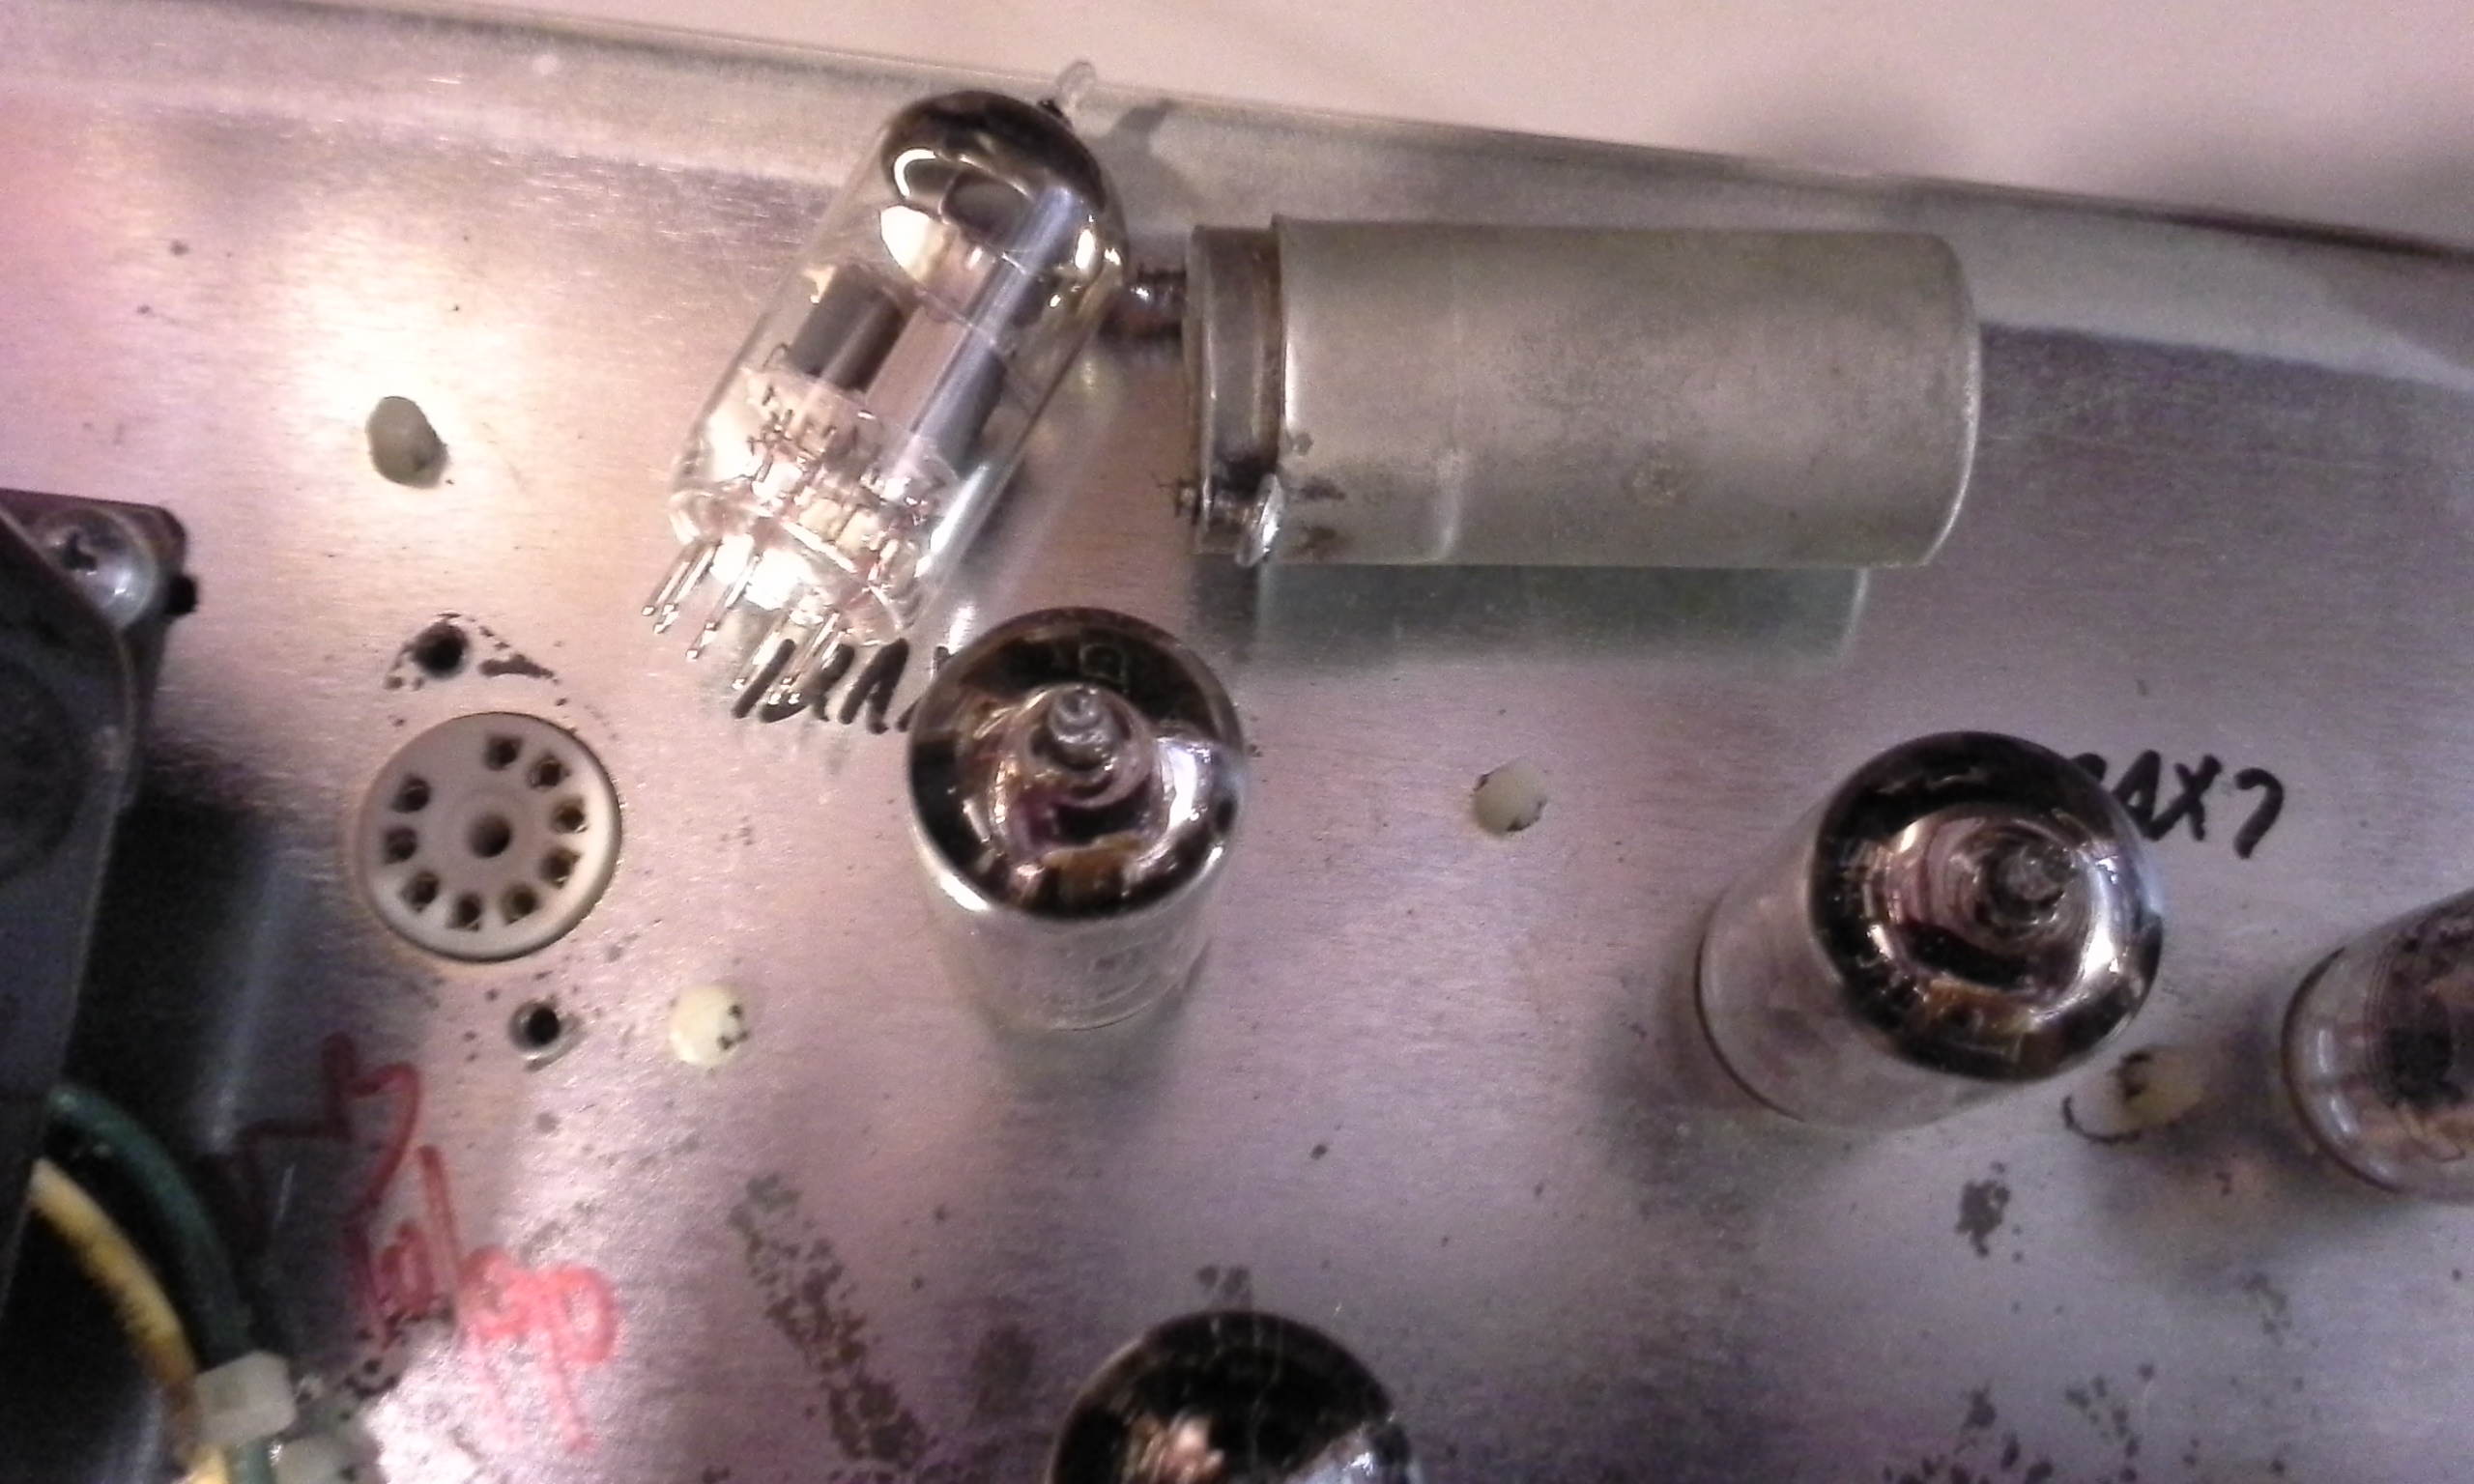
use a mesa tube replacement only
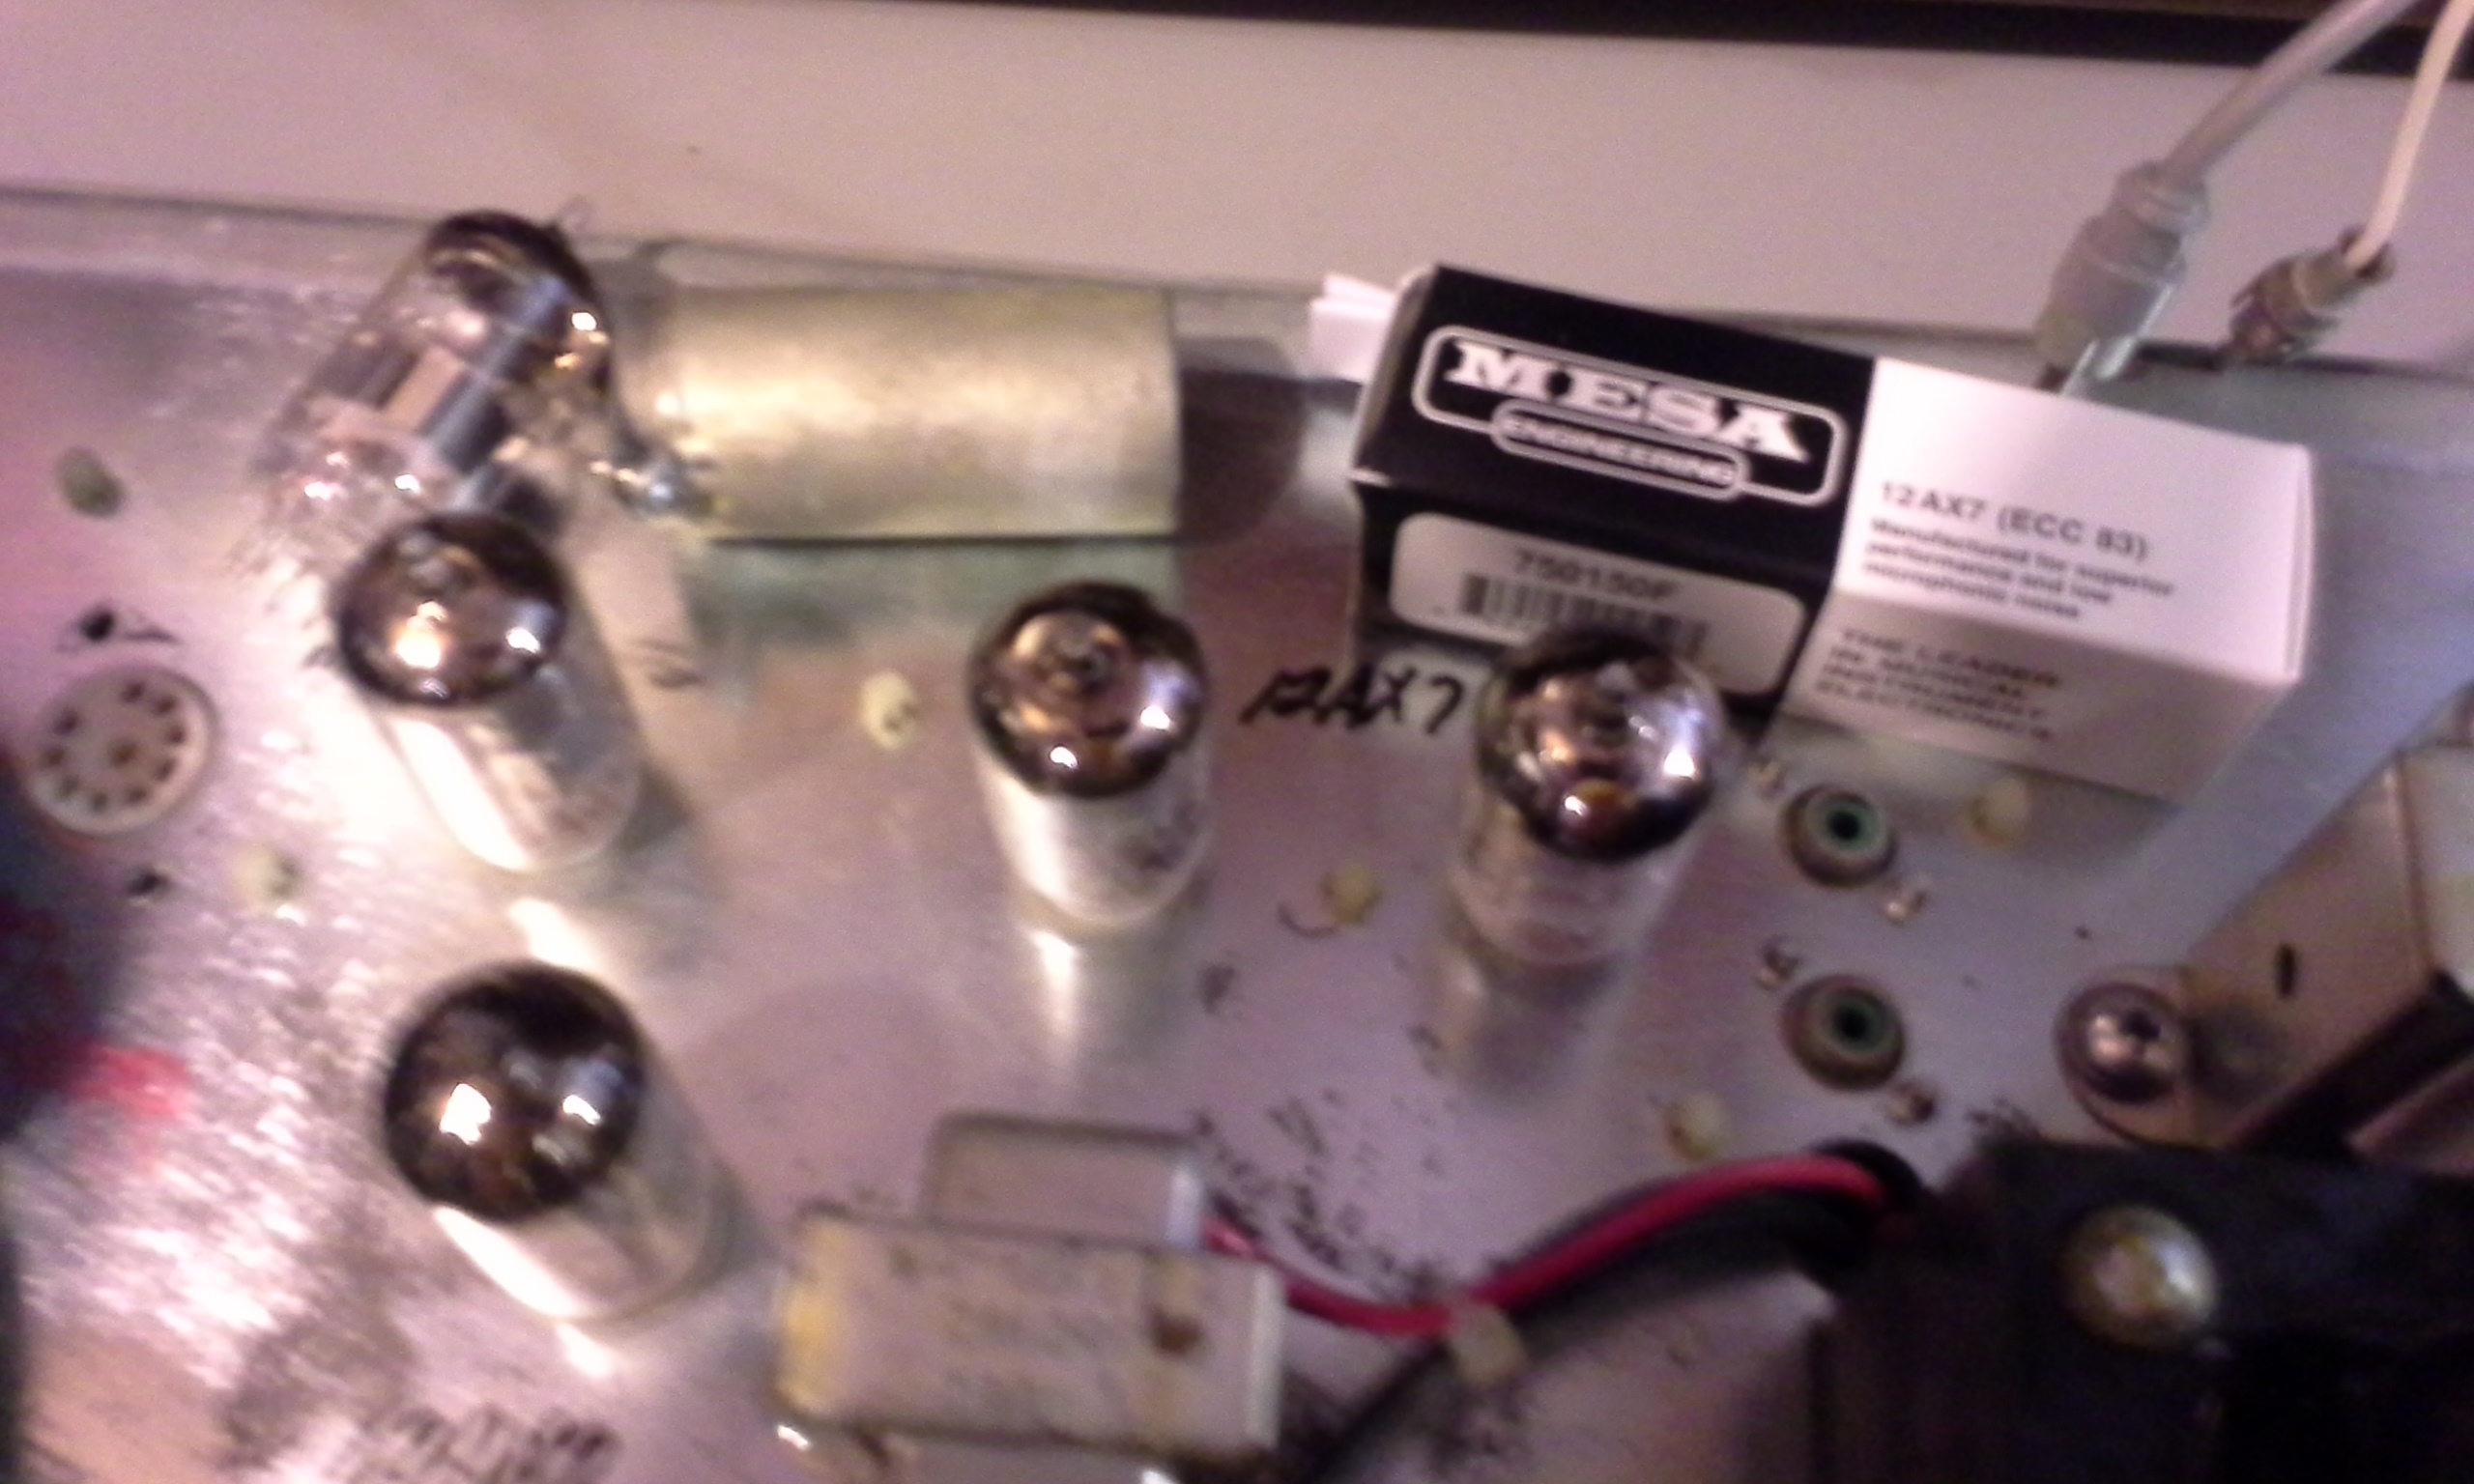
insert the new tube
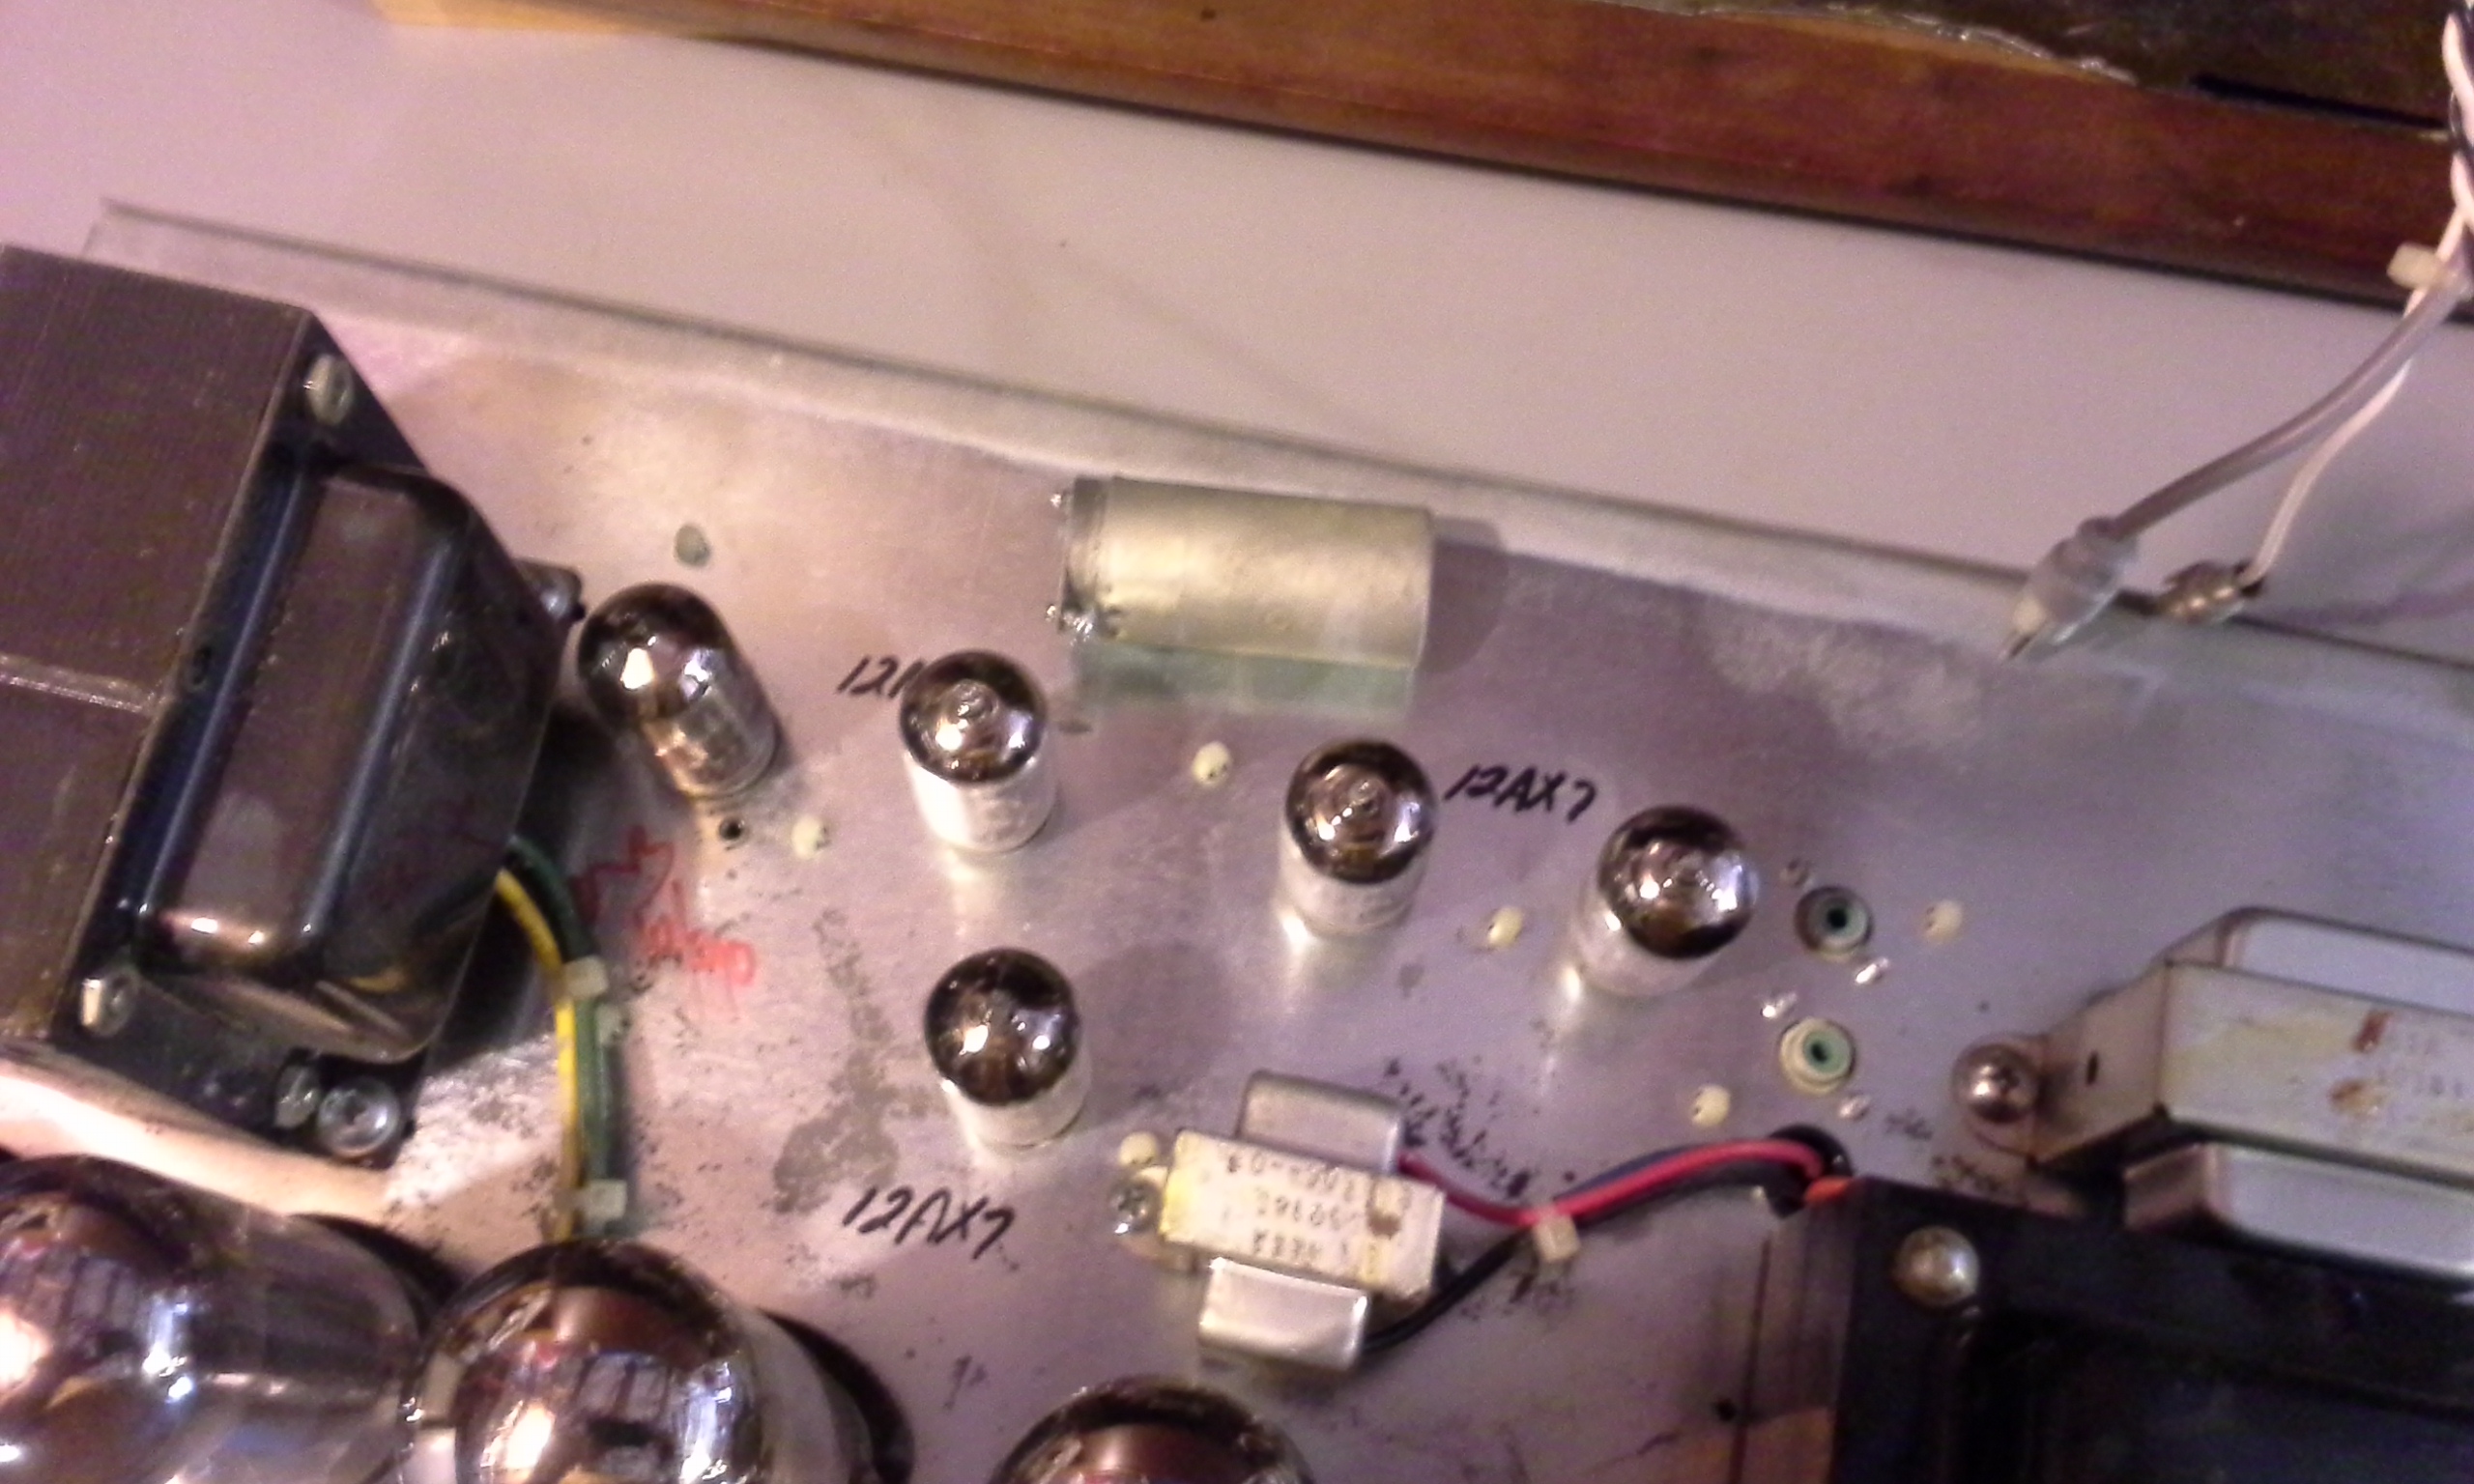
replace the metal cover
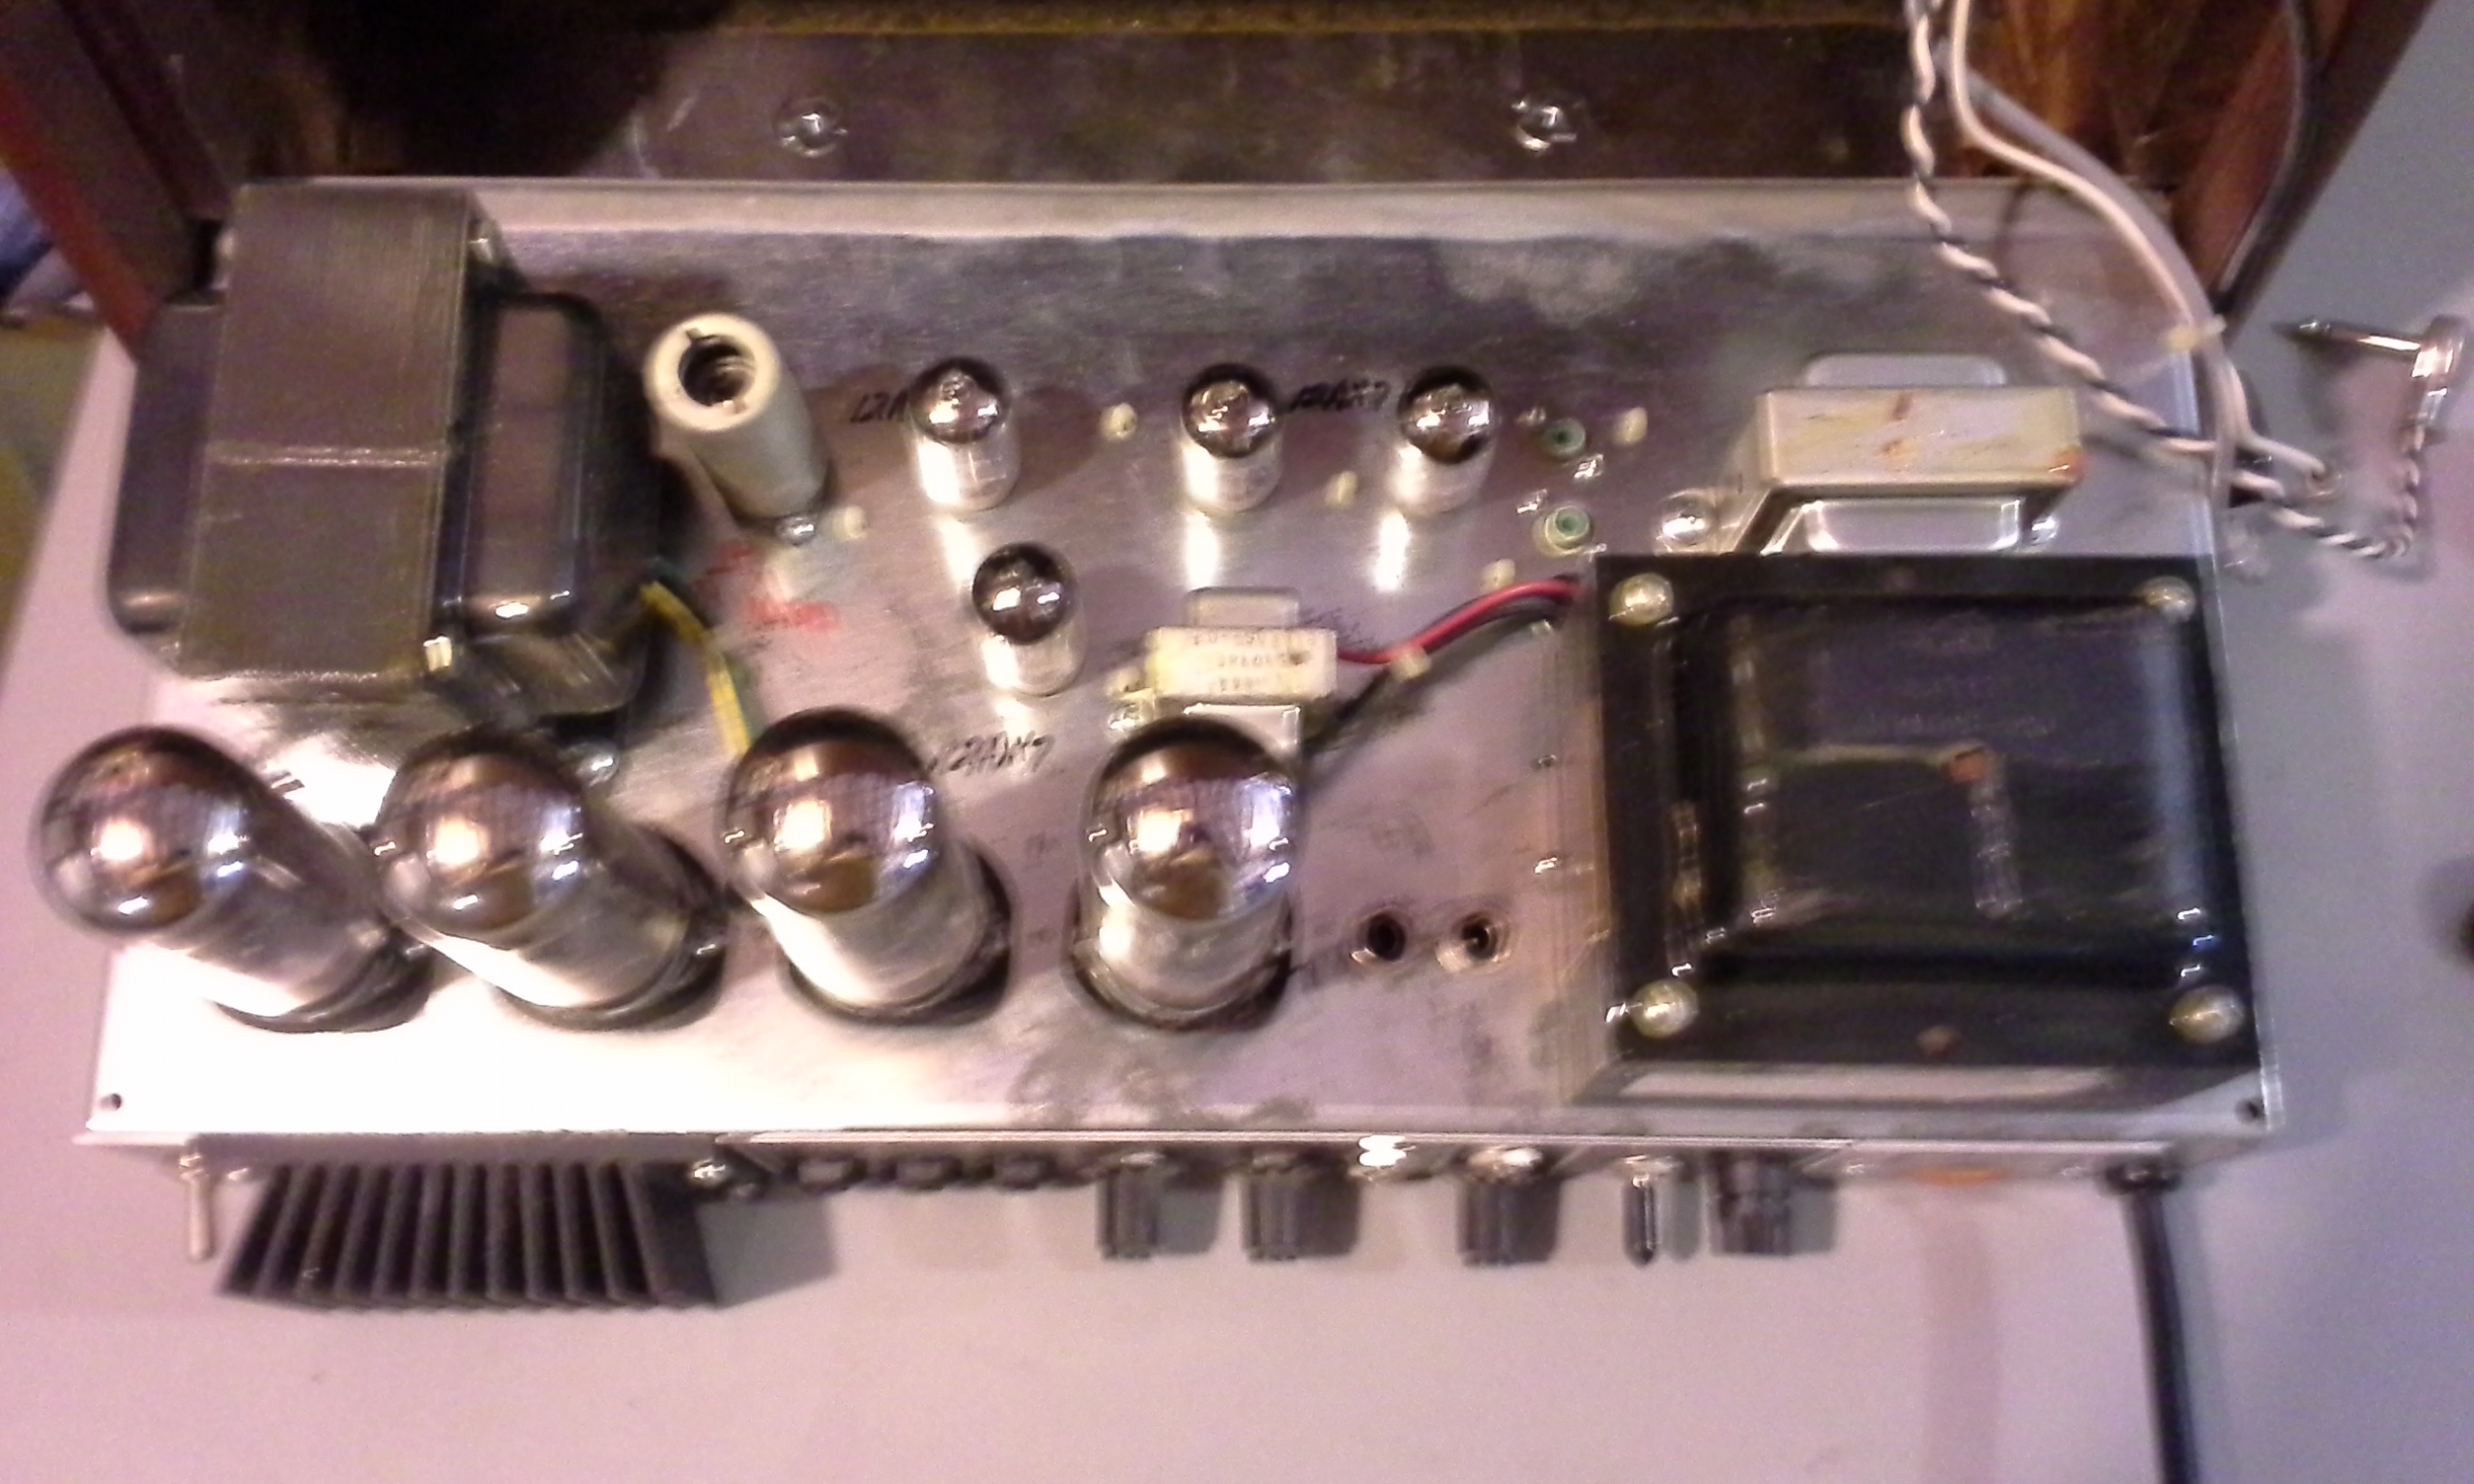
plug in the equalizer cables

slide the chassis back in the cabihet
turn the amp on its side
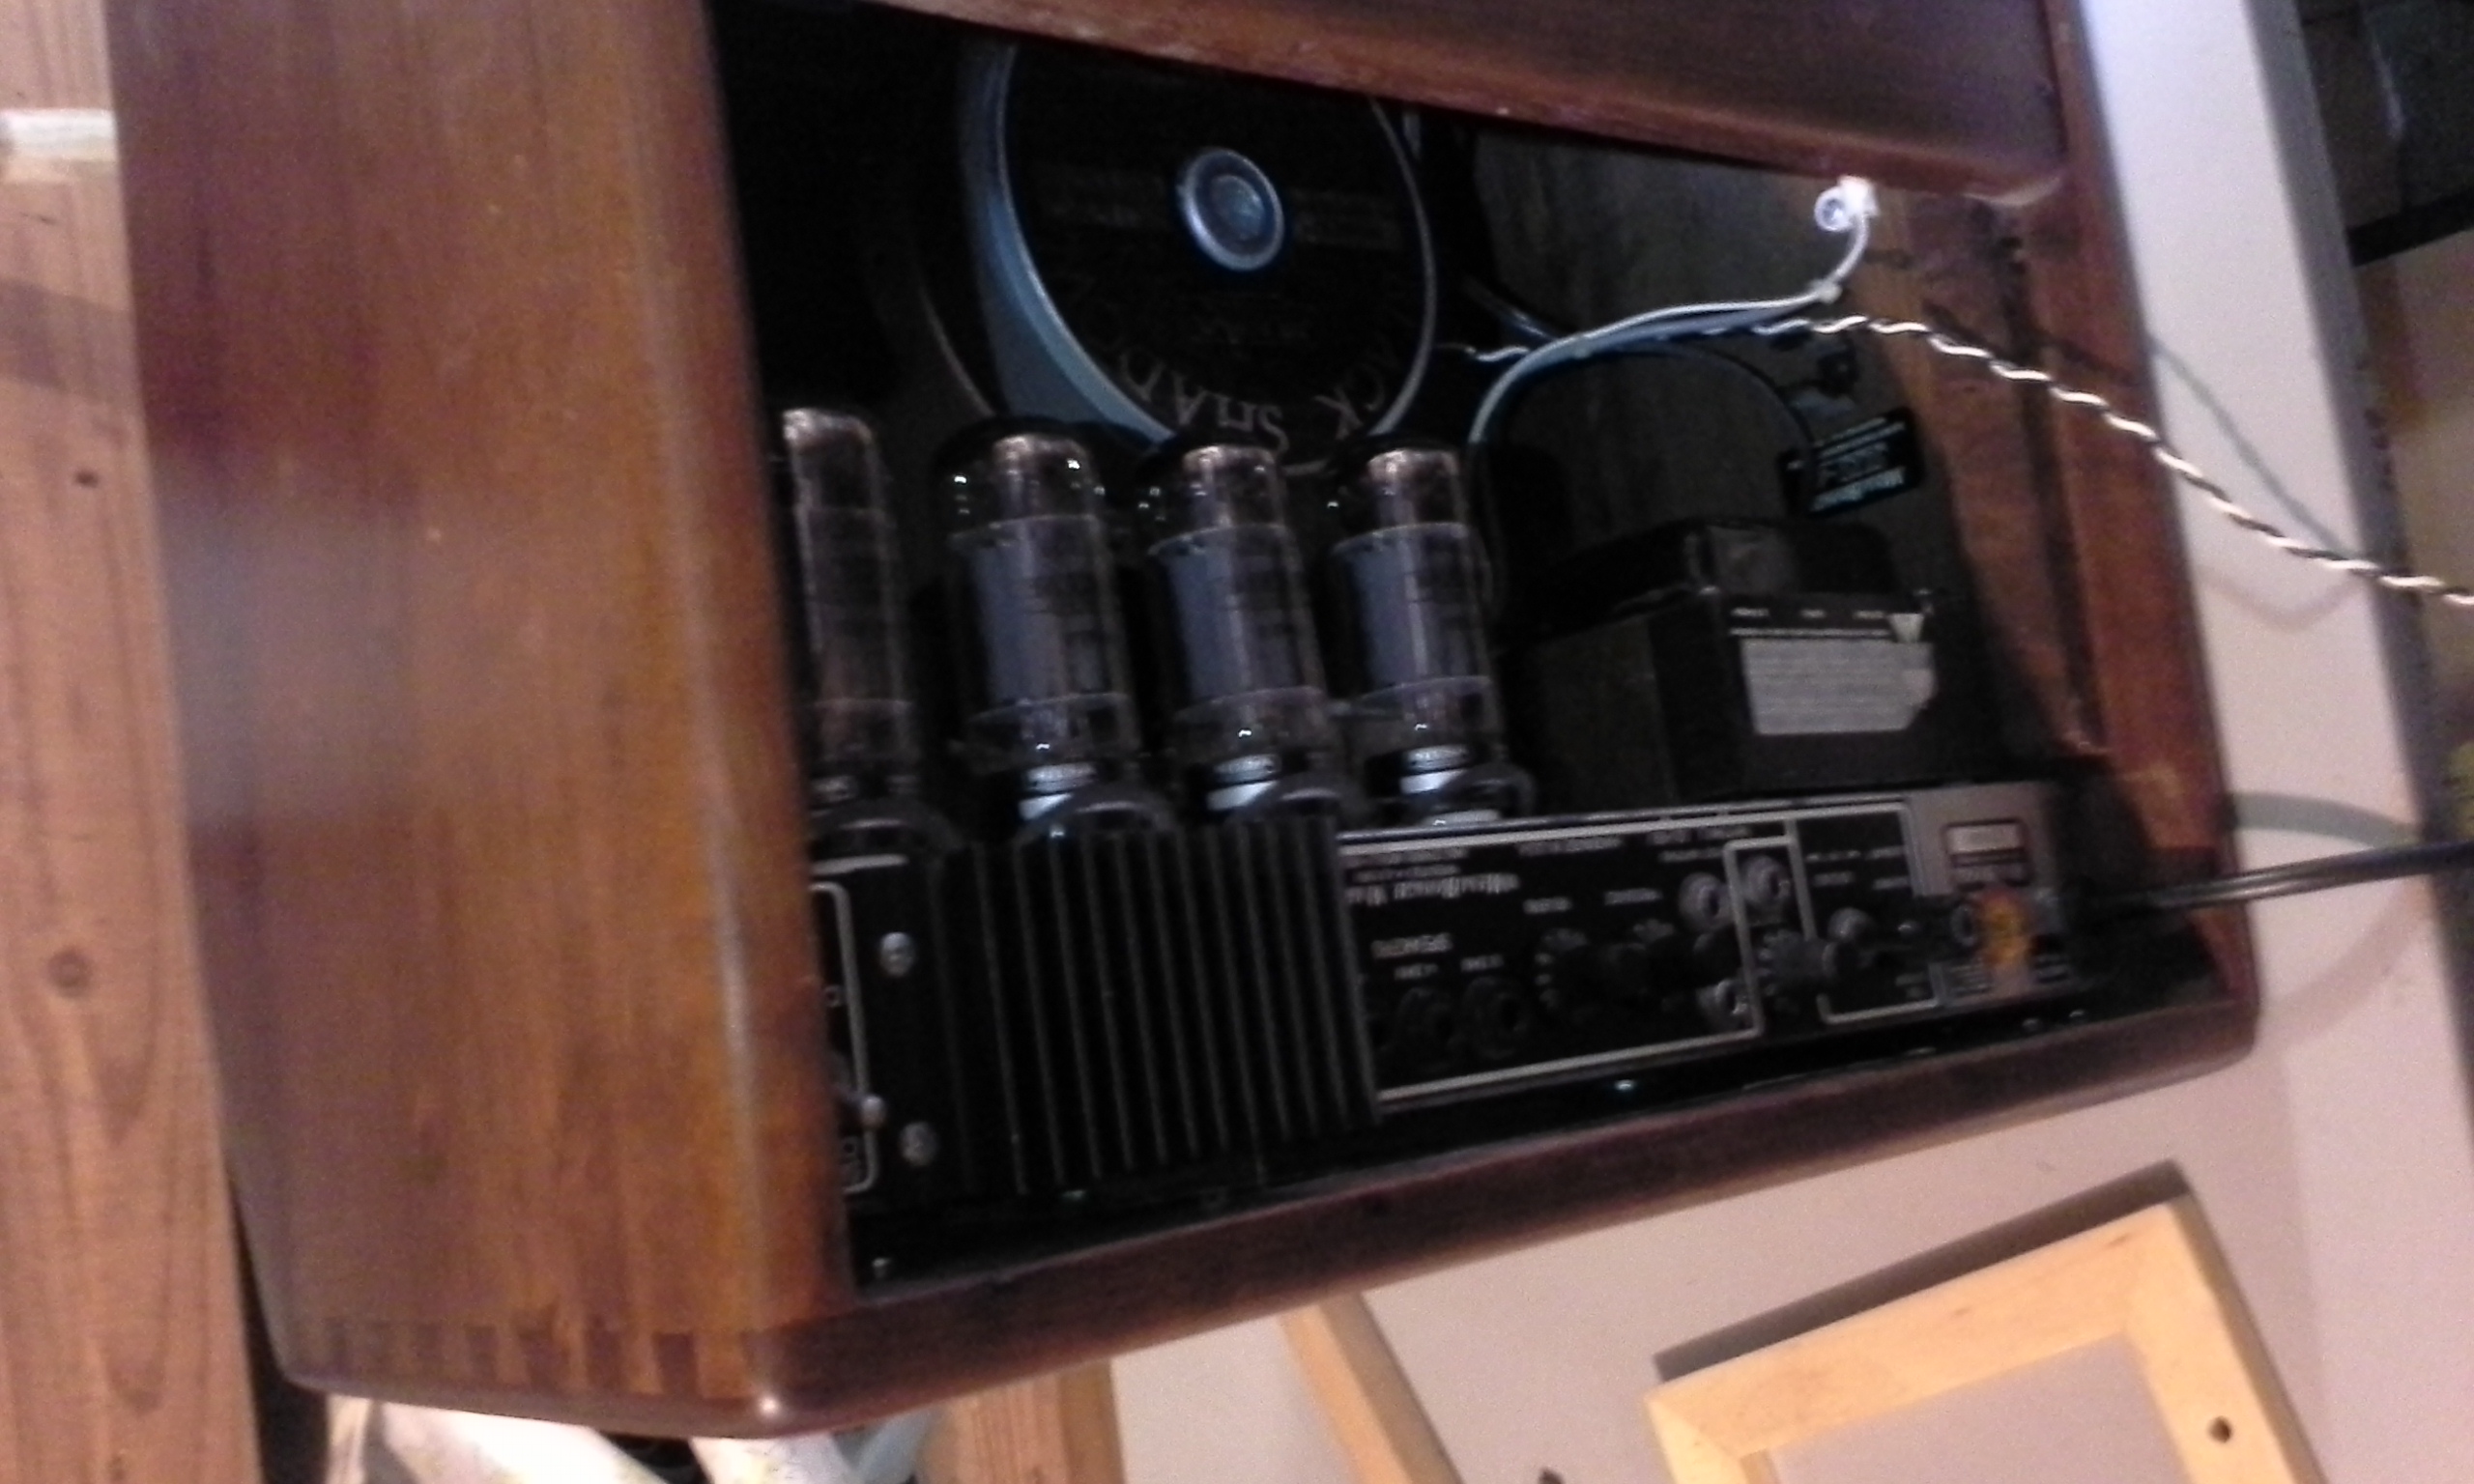
Add wax to the chassis bolts
starting with the socket (s1) on the other side from the knobs, with the back of the amp facing you this will be the one on the bottom left move the amp chassis to the right to create a gap so you can see the bolt coming through the socket
=( ) - tubes
         ______________________
        |+---------------------
     s2 || chassis
        ||
        ||   =( )
        ||
        ||   =( )
        ||
        ||   =( )
        ||
        ||   =( )
        ||             =( )
        ||
        ||             =( )
        ||
        ||         +-------+
        ||         | xfm   |
     s1 ||         +-------+
        |+----------------------
        ------------------------
line up the chassis bolt socket with the bolt and screw in the bolt use a flashlight or headlight to illuminate the gap and pliers, if needed to guide the bolt into the hole
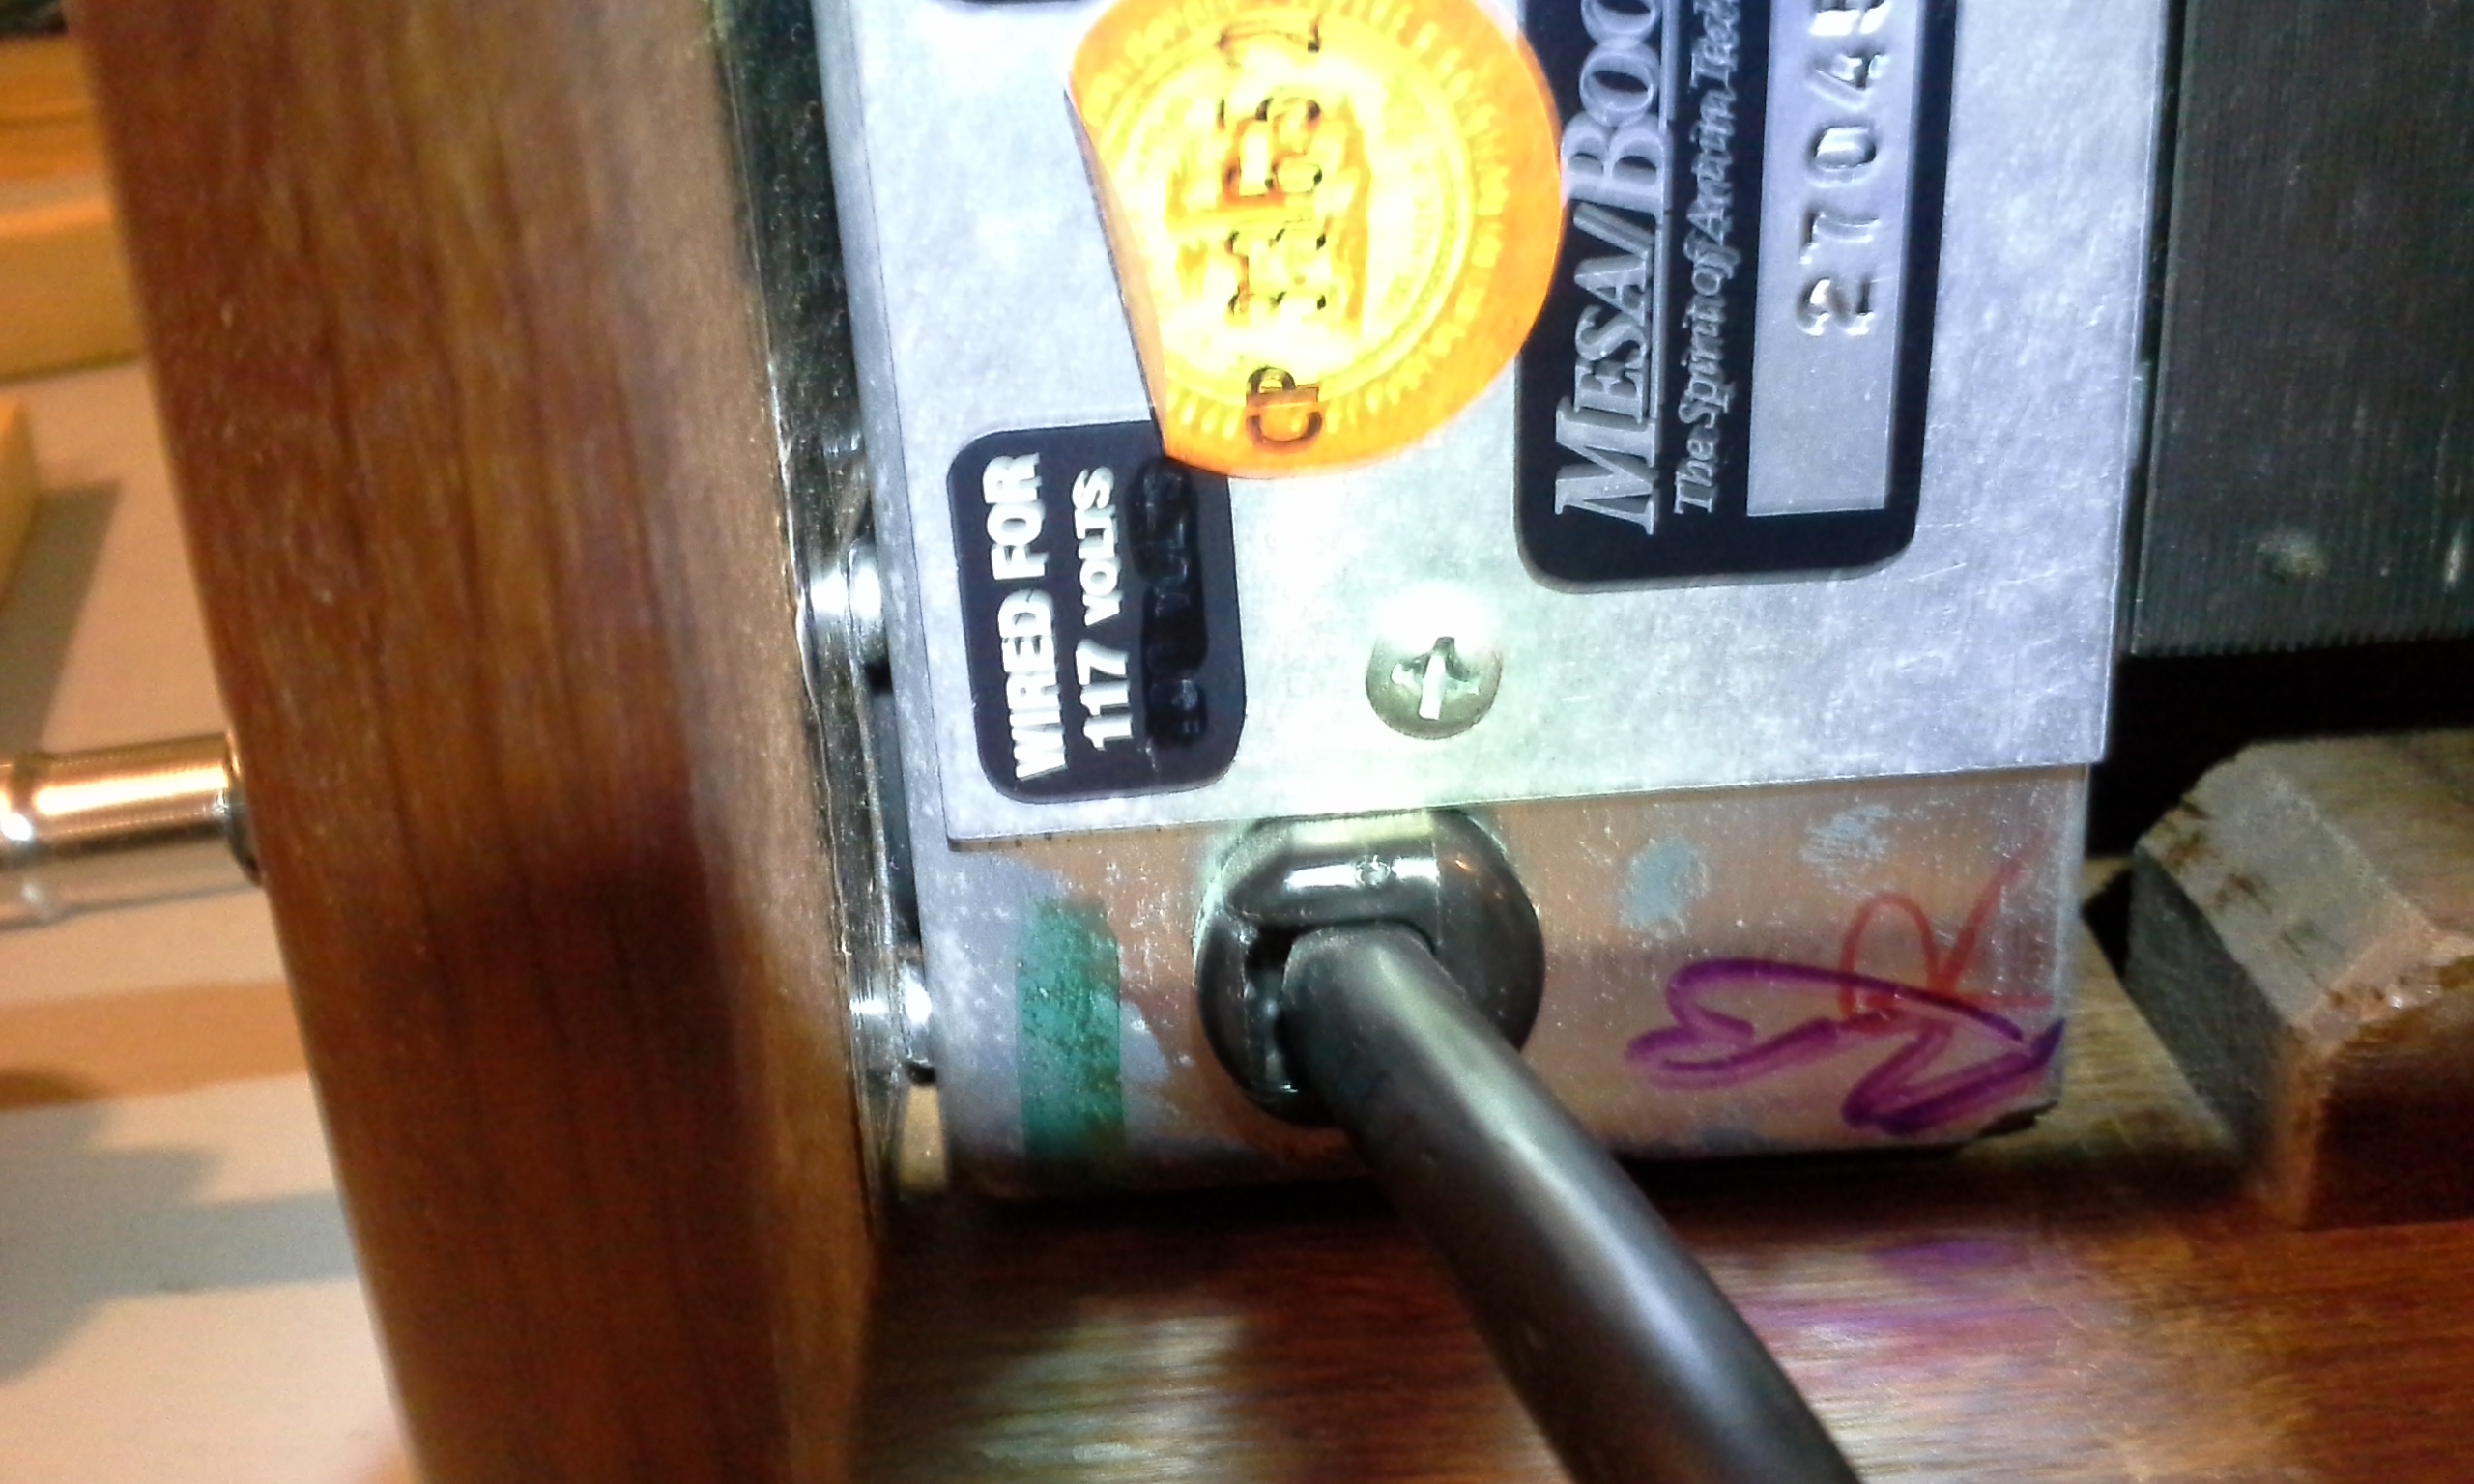
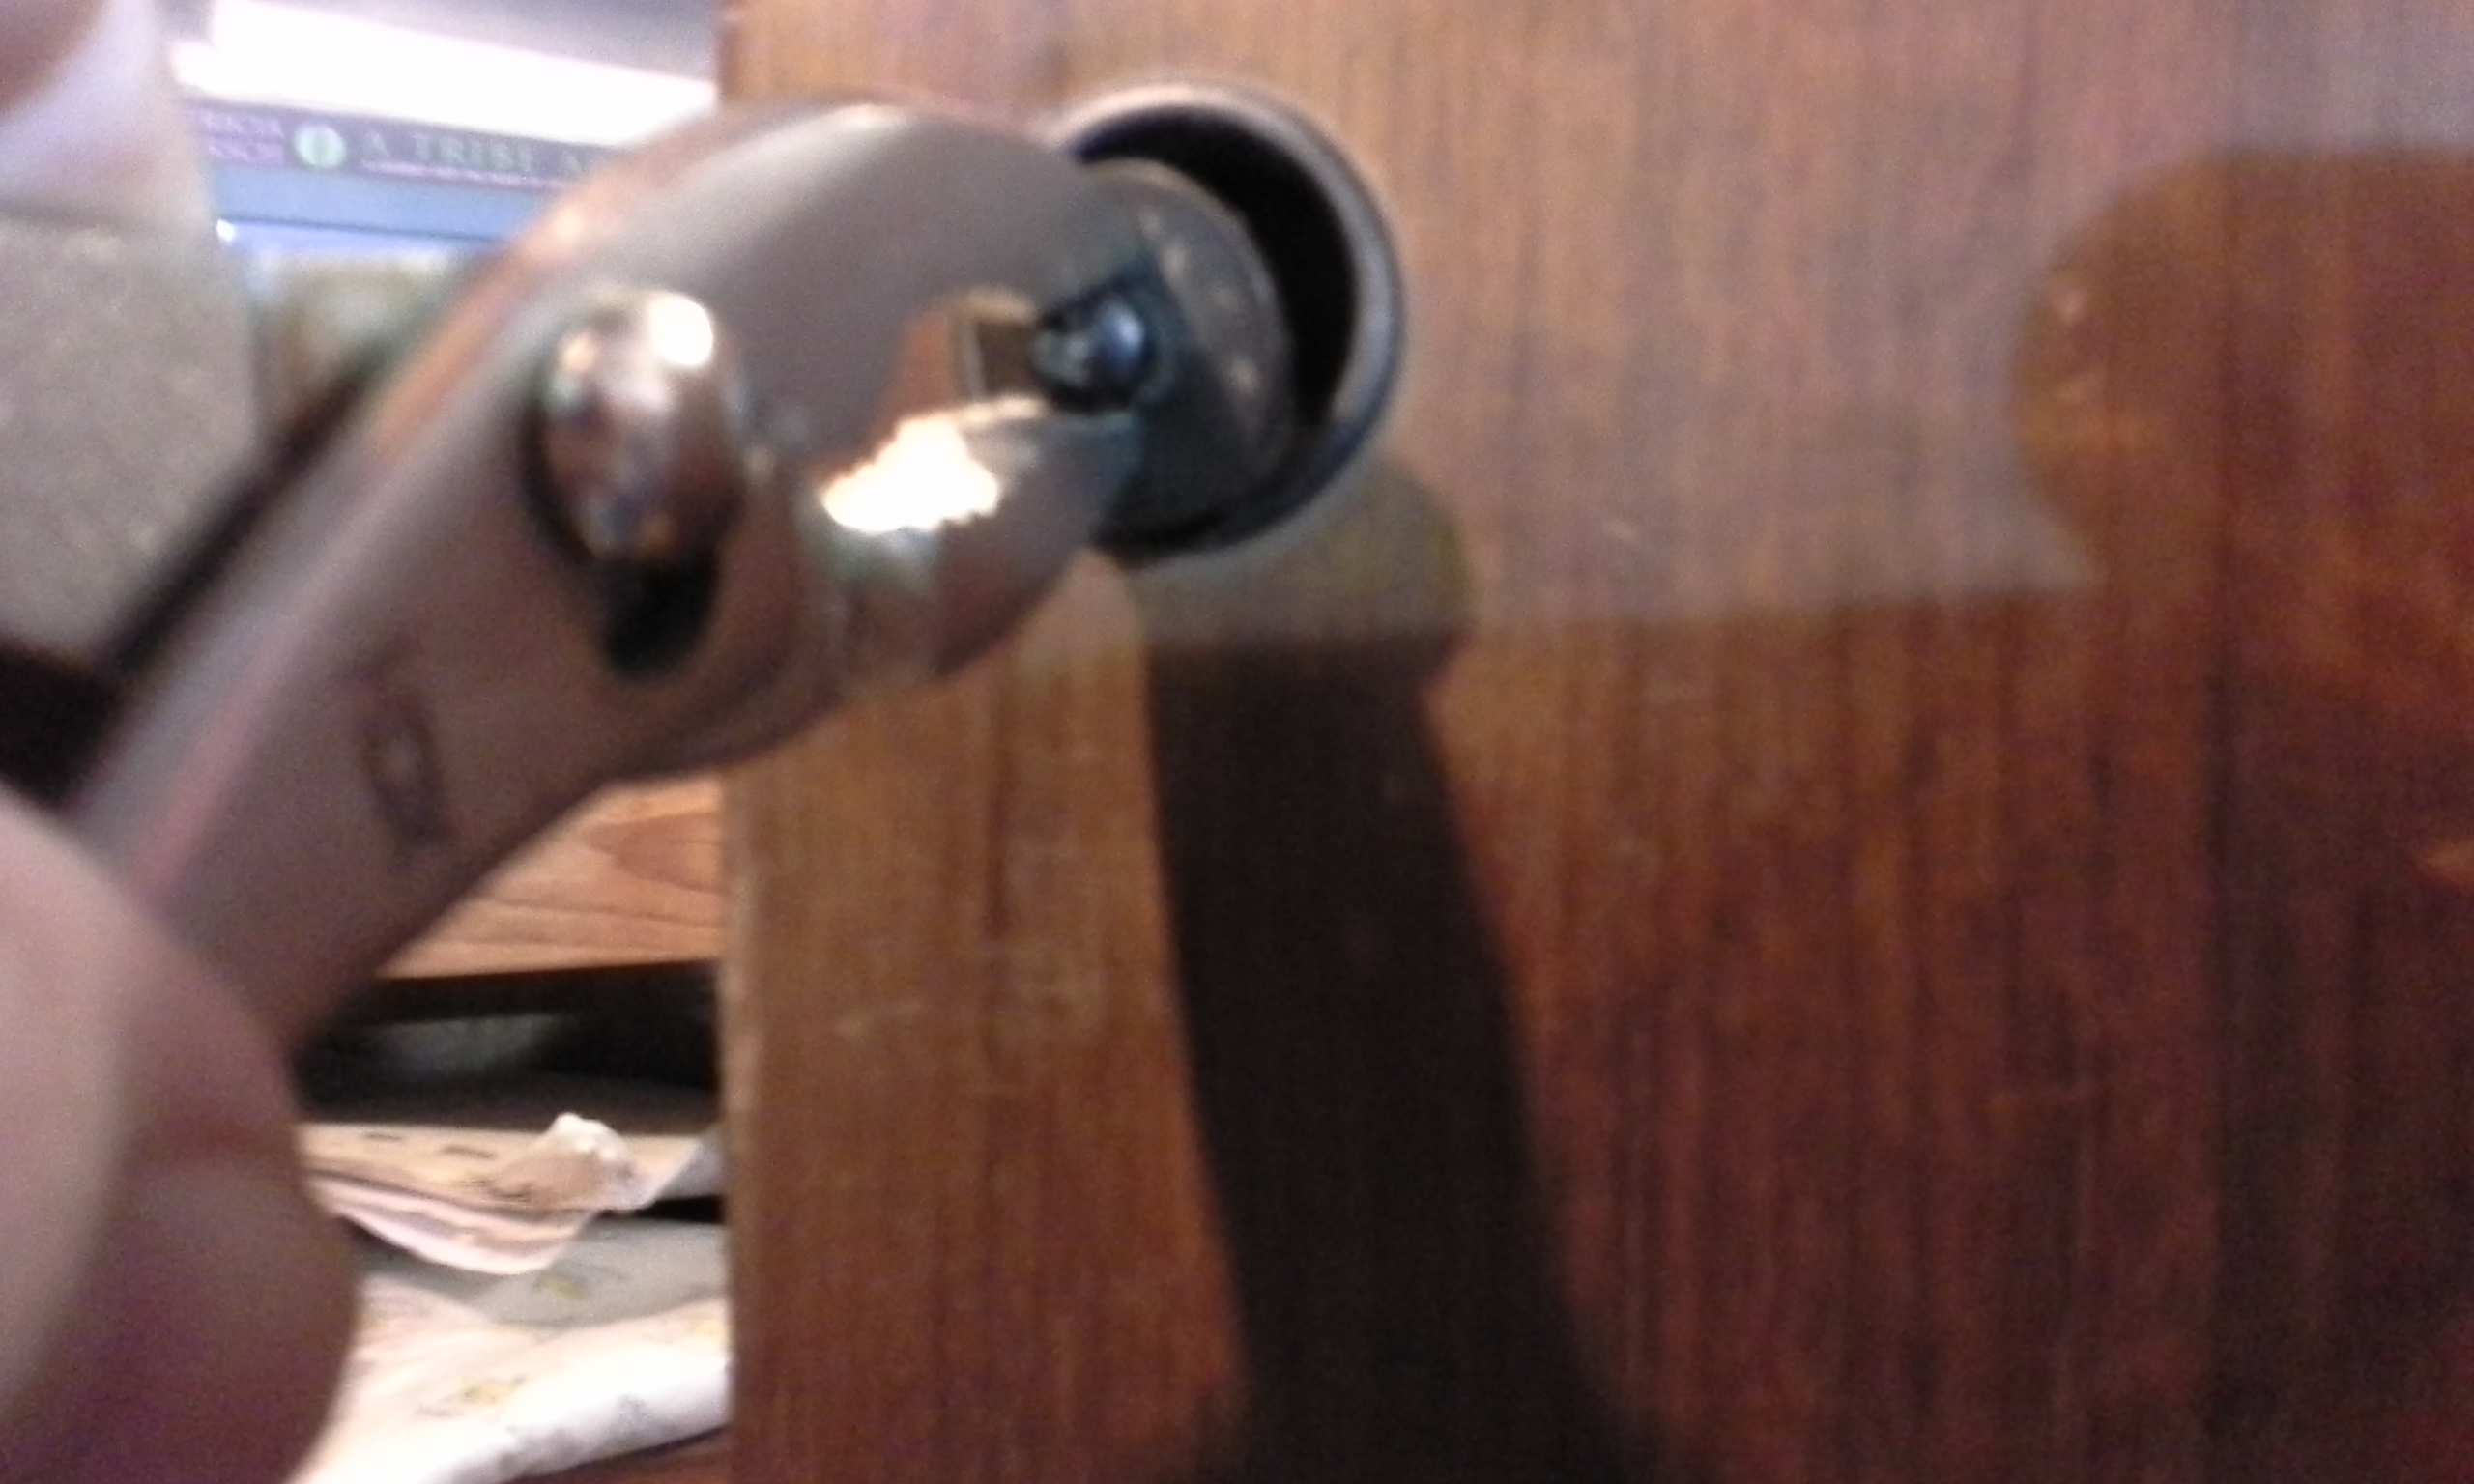
repeat the procedure for the mounting socket (s2) on the other side of the chassis
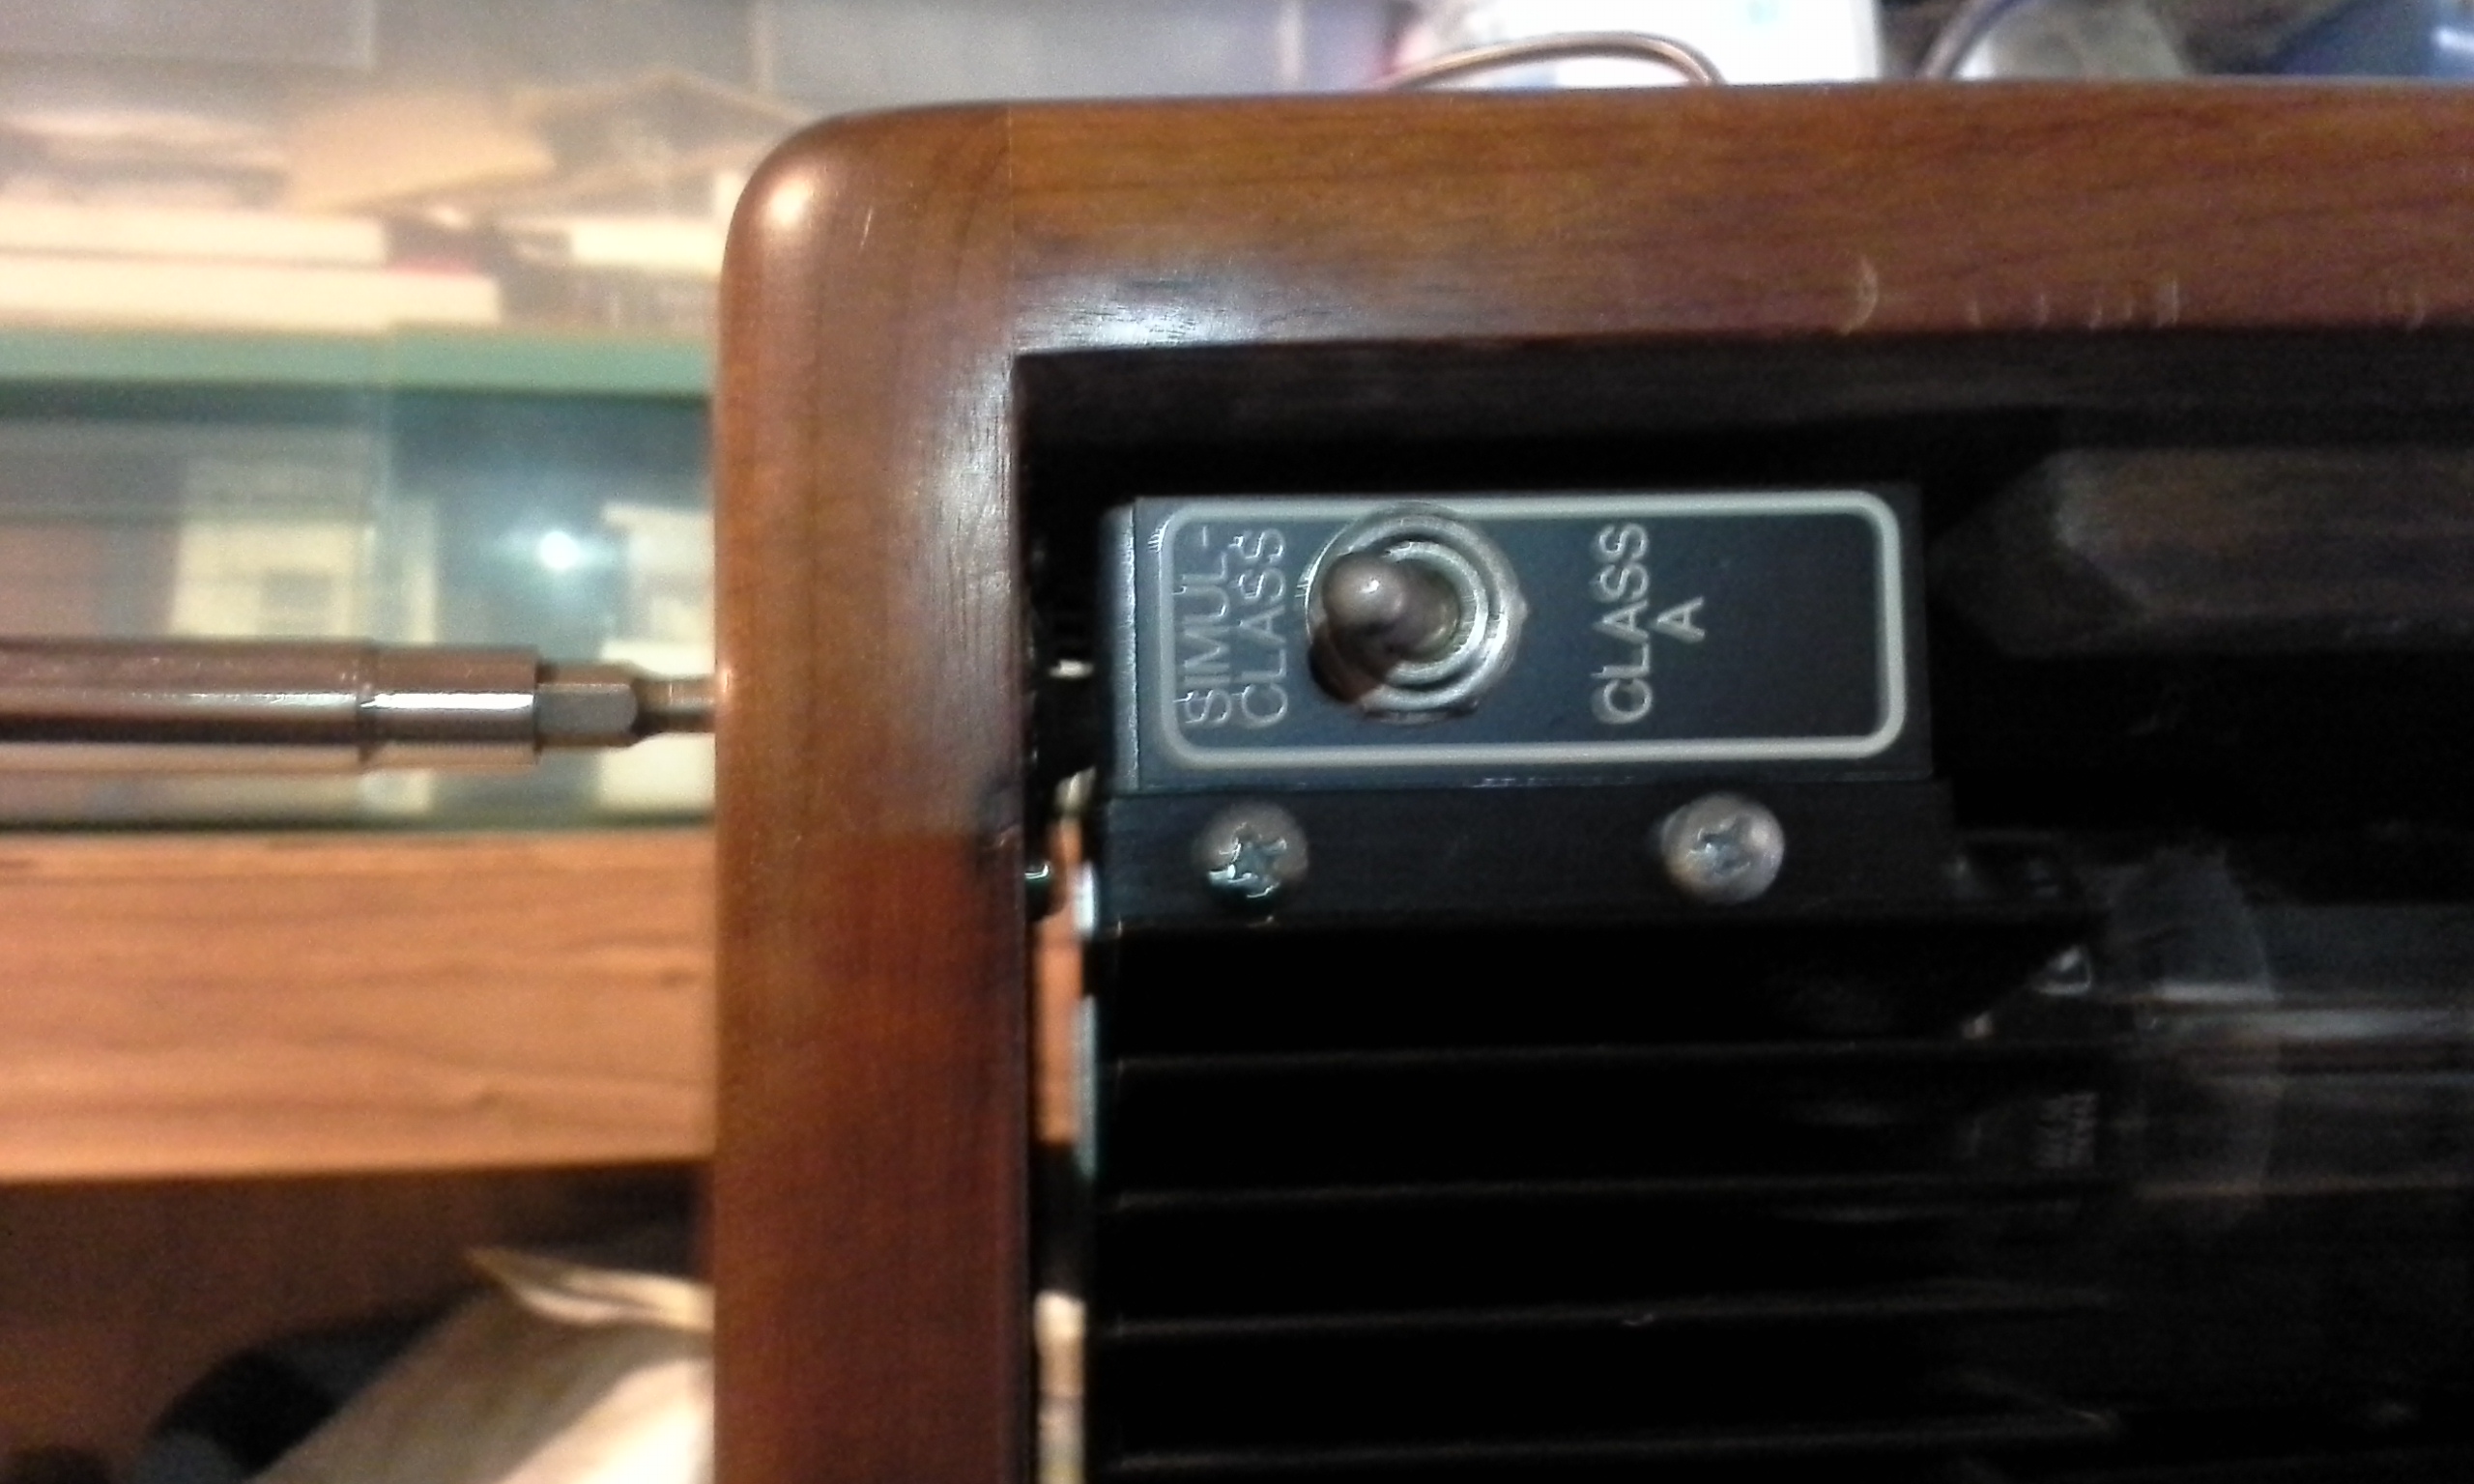
repeat for the two sockets on the other side of the cabinet

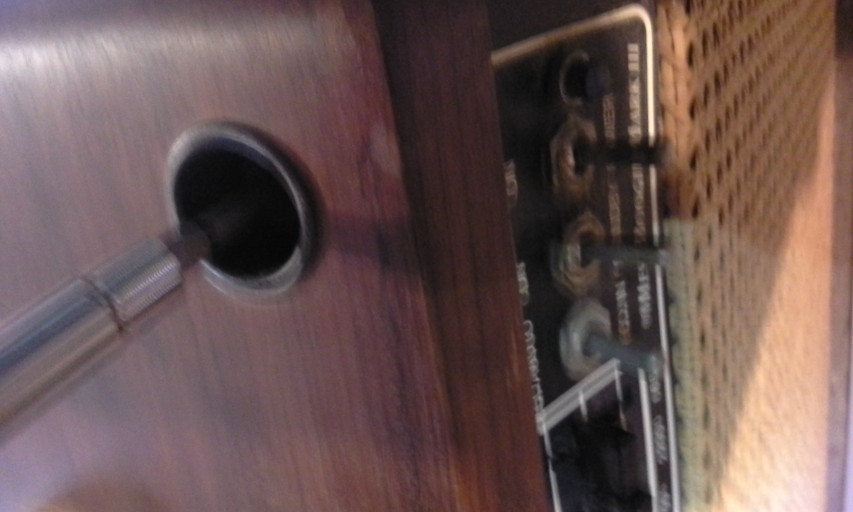
plug in the fan


plug in the speaker